


7
PREPARATION
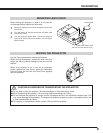
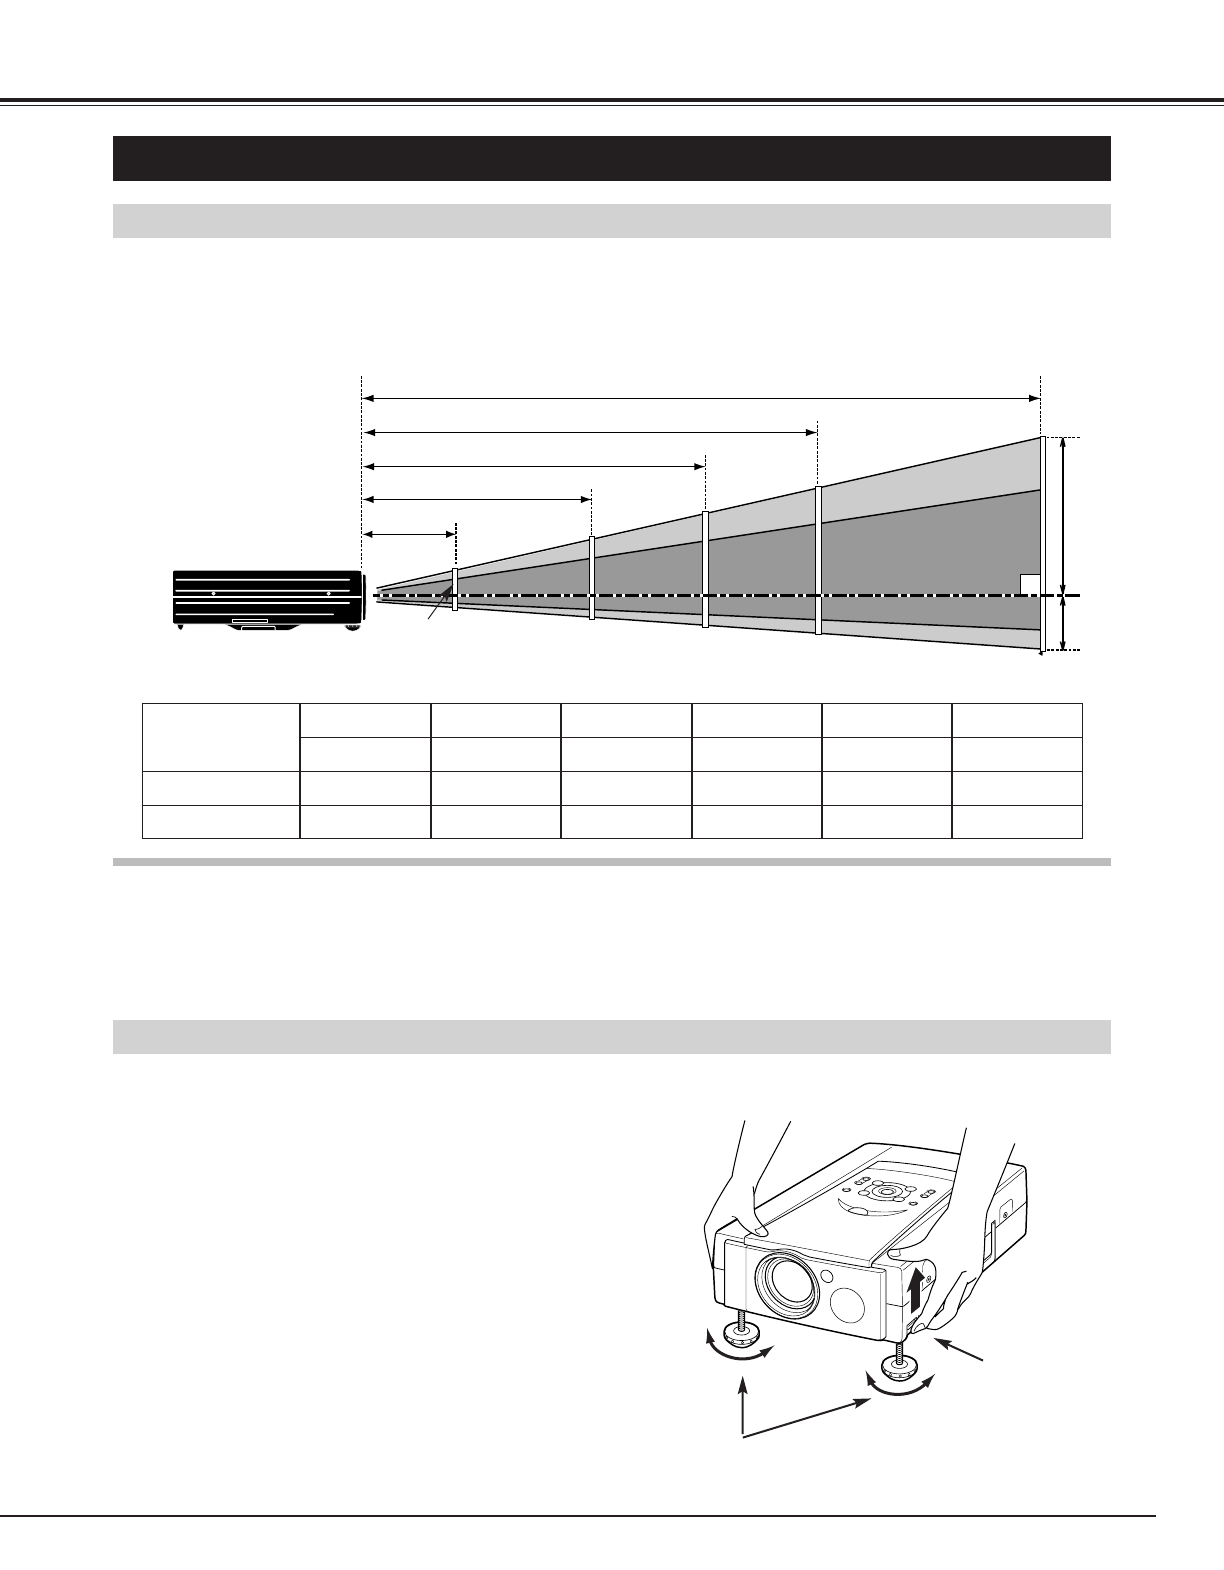
ADJUSTABLE FEET
Picture tilt and projection angle can be adjusted by
rotating the ADJUSTABLE FEET. Projection angle can
be adjusted to 10 degrees.
Lift the front of the projector and pull the FEET LOCK
LATCHES on both sides of the projector.
1
ADJUSTABLE FEET
SETTING-UP THE PROJECTOR
FEET LOCK
LATCHES
Release the FEET LOCK LATCHES to lock the
ADJUSTABLE FEET and rotate the ADJUSTABLE
FEET TO fine tune the position and the tilt.
2
To shorten the ADJUSTABLE FEET, lift the front of the
projector and pull and undo the FEET LOCK LATCHES.
The position and the keystone distortion of the image
can also be adjusted with the Menu Operation. (Refer
to pages 20, 28 and 29.)
3
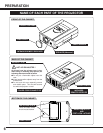
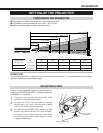
POSITIONING THE PROJECTOR
● This projector is designed to project on a flat projection surface.
● The projector can be focused from 4.6’(1.4m) ~ 35.4’(10.8m).
● Refer to the figure below to adjust the screen size.
Screen Size
(W x H) mm
Height (H1)
30”
Height (H2)
610 x 457
17.1”(435mm)
0.9”(22mm)
60”
1219 x 914
34.3”(870mm)
1.7”(44mm)
100”
2032 x 1524
57.1”(1451mm)
2.9”(73mm)
150”
3048 x 2286
85.7”(2177mm)
4.3”(109mm)
200”
4064 x 3048
114.3”(2903mm)
5.7”(145mm)
300”
6096 x 4572
171.4”(4354mm)
8.6”(218mm)
ROOM LIGHT
The level of brightness in a room has a great influence on picture quality. It is recommended to limit ambient
lighting in order to provide the best image.
H1
H2
300”
231”
200”
154”
150”
115”
100”
77”
40”
35.4’ (10.8m)
24.0’ (7.3m)
18.0’ (5.5m)
11.8’ (3.6m)
4.6’ (1.4m)
30”