


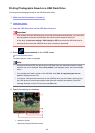
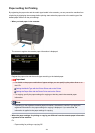
Follow the procedure below to add the print job.
1.
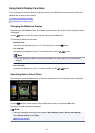
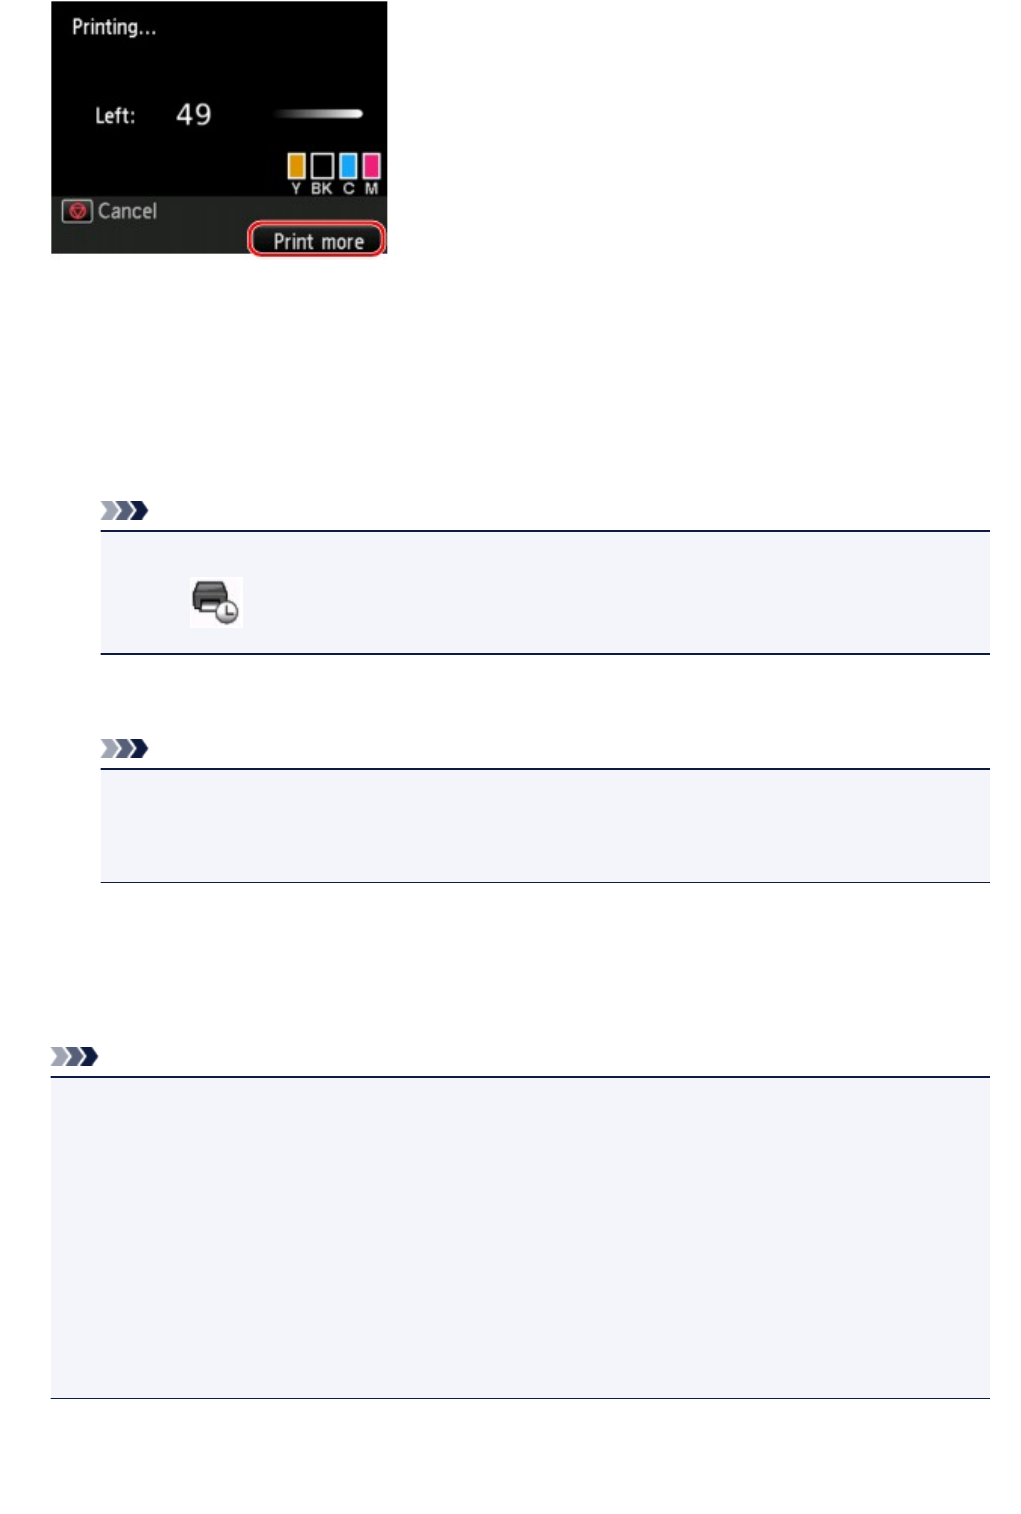
Press the right Function button when the print progress screen is displayed.
The photo selection screen is displayed.
2.
Select the next photo to print.
Note
• While you select the photo, the machine prints the reserved photos.
• The reserved photo icon appears on the photo included in the print job.
3.
Specify the number of copies for each photo.
Note
• While processing the print job, you cannot change the setting for Page size or Type on print
settings confirmation screen. The setting is the same as the setting for the photo included in the
print job.
4.
Press the Color button.
The reserved photo is printed next to the photo that has already been started printing.
If you want to print more photos, operate from step 1 again.
Note
• While processing the print job, you cannot display the HOME screen, change the print menu, or print
from the computer or other devices.
• While processing the print job, the photo in other group is not selected.
• If you press the Stop button while processing the print job, the screen to select a method to cancel
reservation is displayed. If you select Cancel all reservations then press the OK button, you can
cancel printing all photos. If you select Cancel the last reservation then press the OK button, you
can cancel the last printing job.
• If there are many print jobs, Cannot reserve more print jobs. Please wait a while and redo the
operation. may be displayed on the LCD. In this case, wait a while, then add the print job.
410