


7
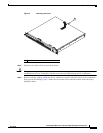
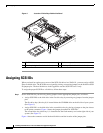
Installing Hard Disk Drives in the Cisco Wide Area Application Engine 611
78-17404-01
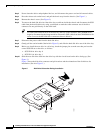
Removing and Replacing a SCSI Hard Disk Drive
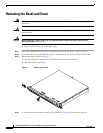
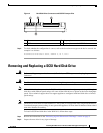
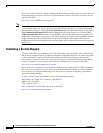
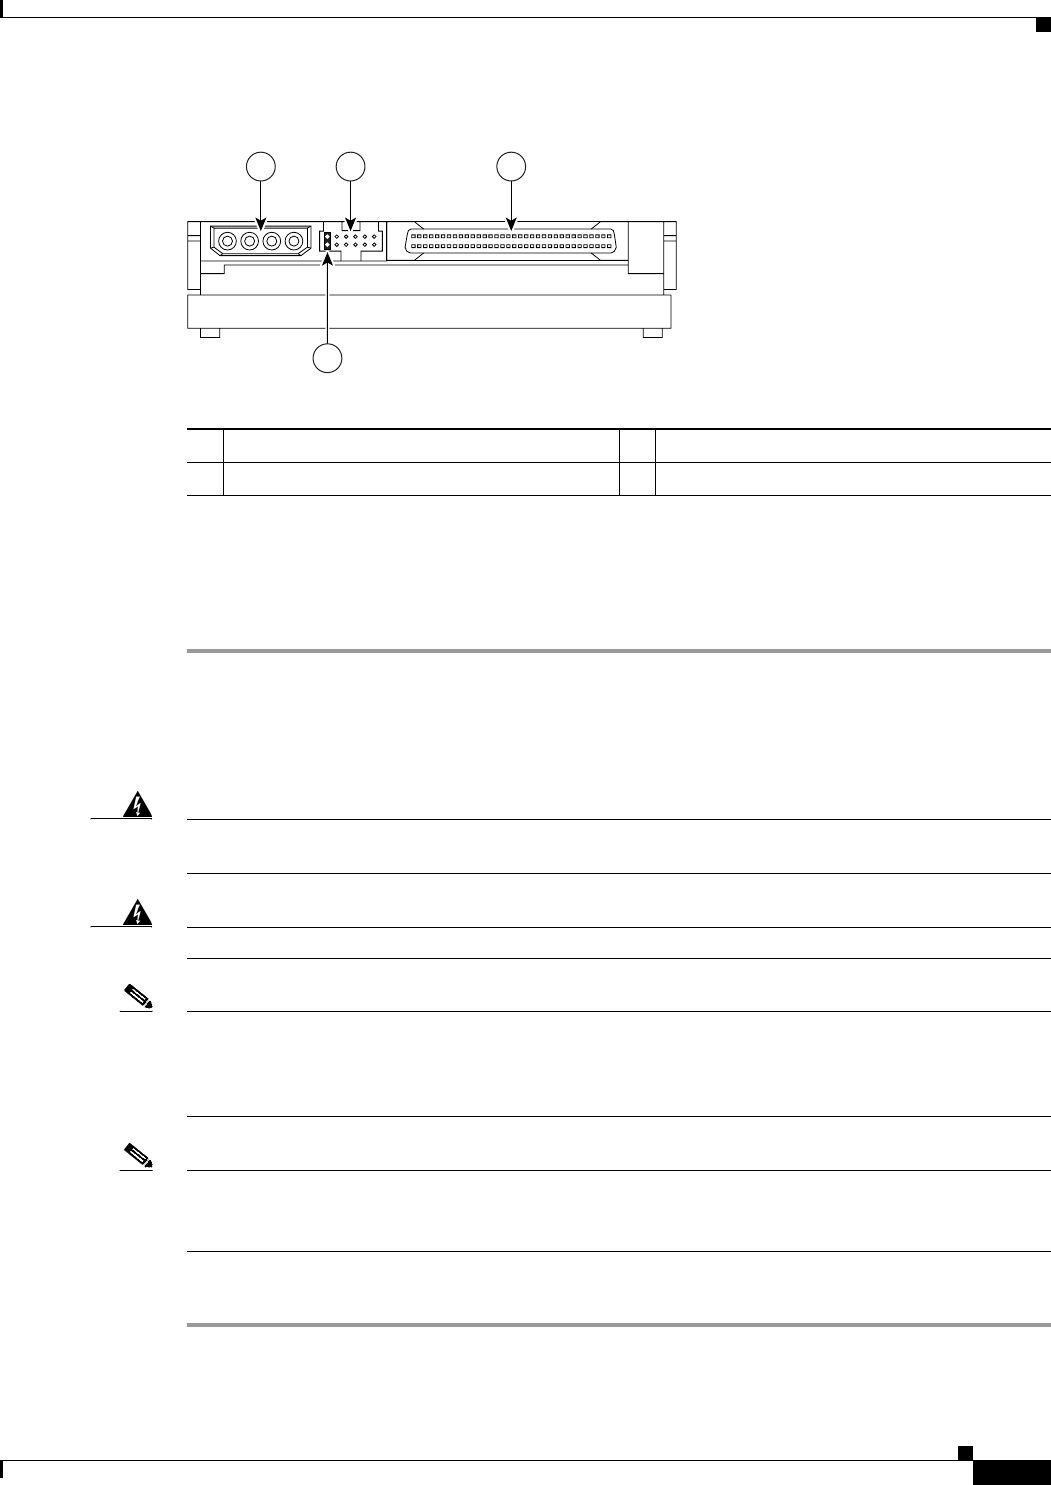
Figure 4 Hard Disk Drive Connectors and SCSI ID Jumper Pins
Step 2
To check whether the configuration is correct, refer to the boot time messages on the device console. An
example is as follows:
Attached scsi disk sda at scsi0, channel 0, id 0, lun 0
Attached scsi disk sdb at scsi0, channel 0, id 1, lun 0
Removing and Replacing a SCSI Hard Disk Drive
Warning
Before working on a system that has an on/off switch, turn OFF the power and unplug the power cord.
Statement 1
Warning
Read the installation instructions before connecting the system to the power source.
Statement 1004
Note All hard disk drives that you use in the WAE should have the same throughput speed rating. Mixing hard
disk drives with different speed ratings will cause all hard disk drives to operate at the lower throughput
speed. Cisco technical support does not support appliances configured with hard disk drives of mixed
speed ratings.
Note The WAE-611 must have two hard disk drives. This system is not supported with a single hard disk drive.
To maintain proper system cooling, do not operate the appliance for more than 10 minutes without a hard
disk drive installed in each bay.
To install a SCSI hard disk drive in the WAE-611, follow these steps:
Step 1 Review the information in the “Protecting Against Electrostatic Discharge” section on page 2.
Step 2 Inspect the new drive for any signs of damage.
1 Power connector 2 Jumper pins
3 SCSI connector 4 Jumper placement for SCSI ID 1
151557
1 2 3
4