


36 R
EMOVAL
S
EQUENCE
P
RESARIO
N
OTEBOOK
M
AINTENANCE
AND
S
ERVICE
G
UIDE
1600XL S
ERIES
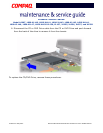
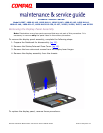
Presario 1600XL Series
Model 1600T, 1600-XL140, 1600-XL141, 1600-XL142, 1600-XL143, 1600-XL144,
1600-XL146, 1600-XL147, 1600-XL150 XL156, XL157, XL255, XL256, XL257, and XL258
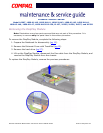
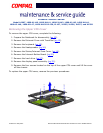
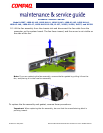
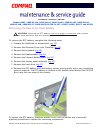
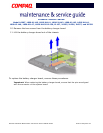
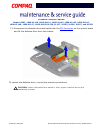
10. Lift the fan assembly from the chassis slot and disconnect the fan cable from the
connector on the system board. The fan faces inward, and the arrow is not visible on
the side of the fan.
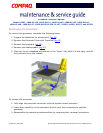
Note: If you are replacing the fan assembly, remove the fan gasket by pulling it from the
fan, and placing it on the new fan assembly.
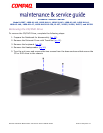
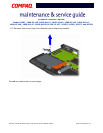
To replace the fan assembly and gasket, reverse these procedures.
Important: When replacing the fan assembly, be sure that the manufacturing label is
pointing inward.