16 517212-001 — Removing and Replacing the Optical Disc Drive
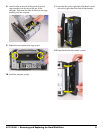
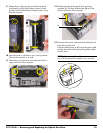
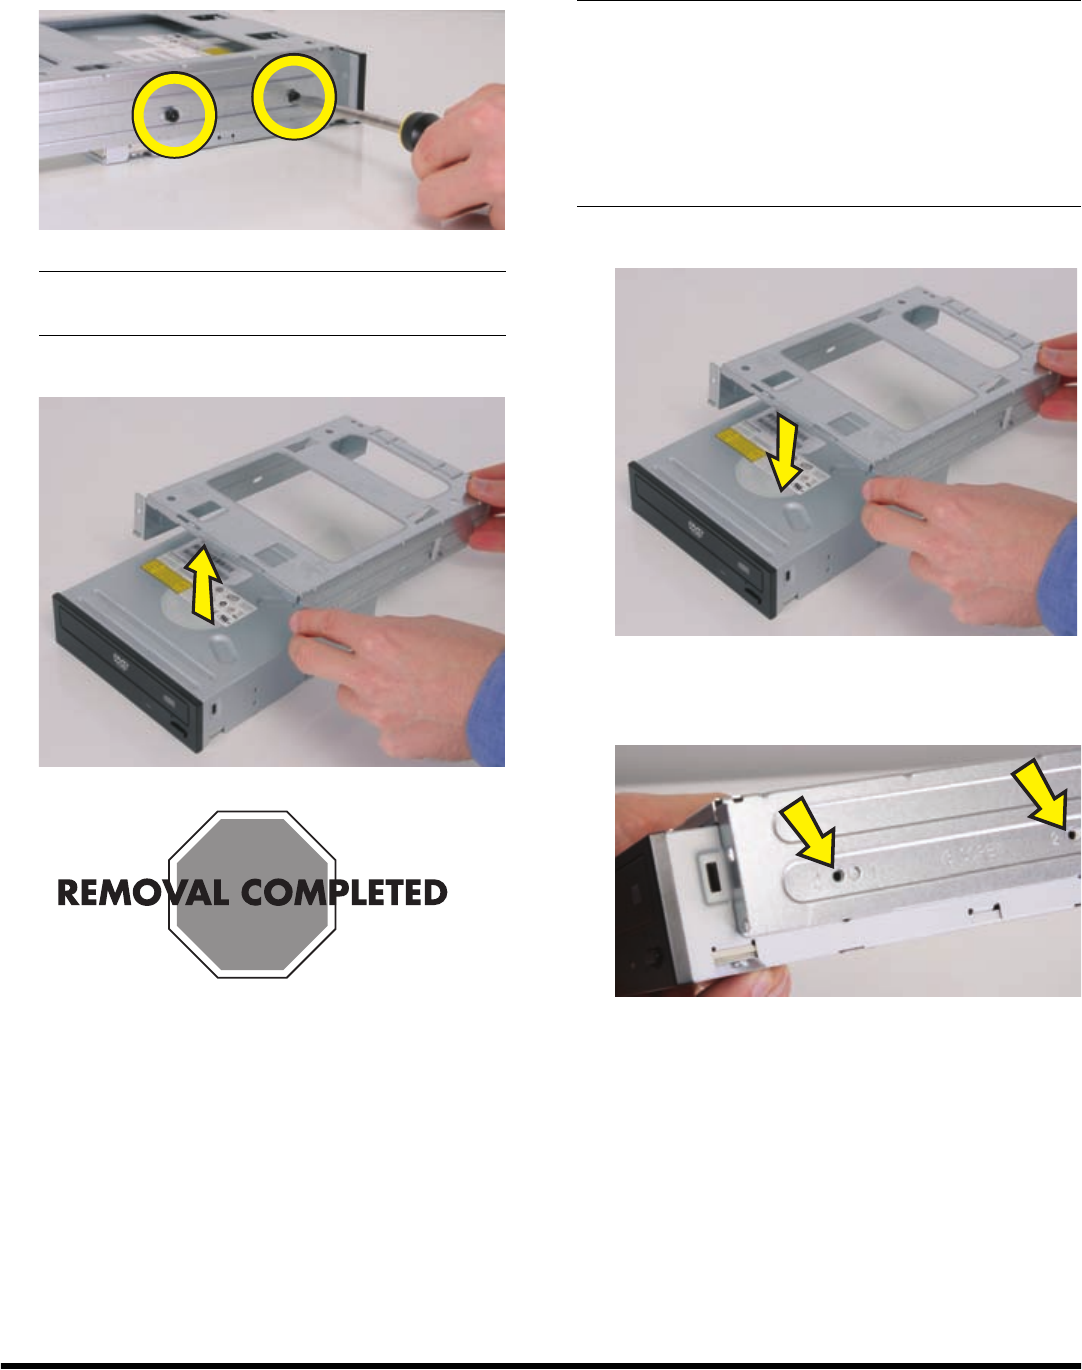
14 Remove the four screws (two on each side) that hold
the optical drive in the drive cage.
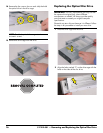
15 Remove the drive cage from the drive.
Replacing the Optical Disc Drive
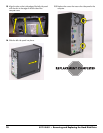
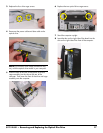
1 Place the drive cage onto the drive.
2 Align the holes marked “2” on the drive cage with the
holes on the sides of the disc drive.
NOTE: The black, optical drive cage retention screws
are metric screws.
IMPORTANT: The new (replacement) part may not look
the same as the original part, due to different
manufacturers or models. HP always provides quality
parts that meet or exceed your original computer
specifications.
Please do not return this part because it is different. Follow
the steps in this procedure to install your new drive.


