517212-001 — Removing and Replacing the Hard Disk Drive 7
Replacing the Hard Disk Drive
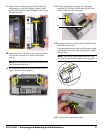
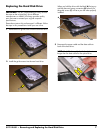
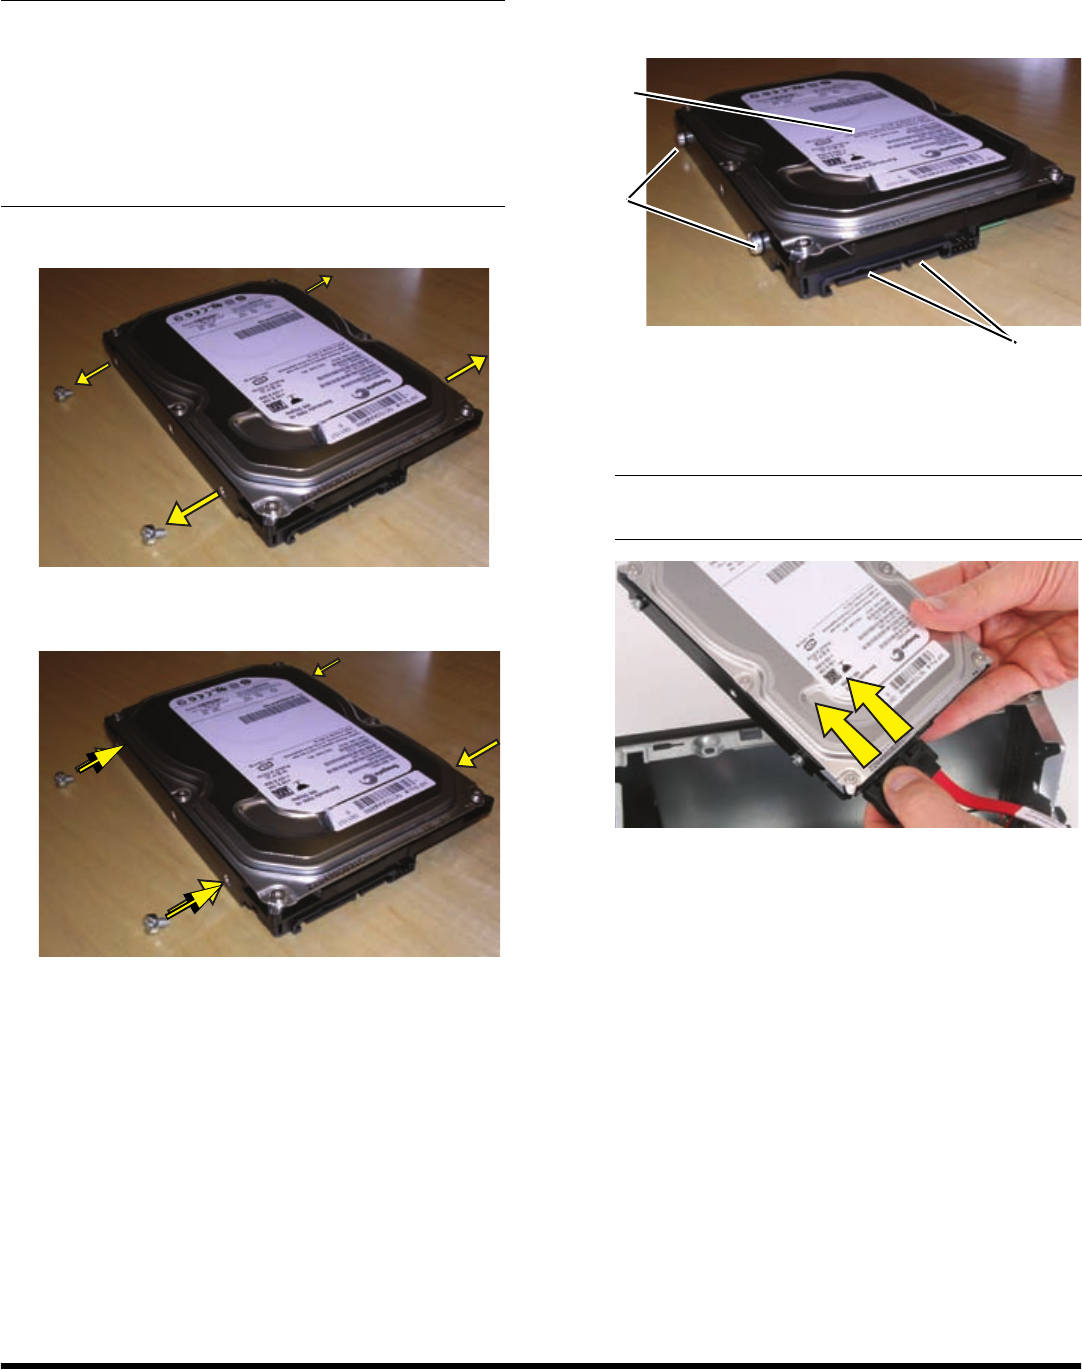
1 Remove the two guide screws from the old hard drive.
2 Install the guide screws into the new hard drive.
When you hold the drive with the label (A) facing up
and the data and power connectors (B) toward you,
the guide screws (C) will be to your left when properly
installed.
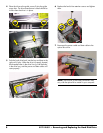
3 Reconnect the power cable and the data cable to
back of the hard drive.
IMPORTANT: The new (replacement) part may not look
the same as the original part, due to different
manufacturers or models. HP always provides quality
parts that meet or exceed your original computer
specifications.
Please do not return this part because it is different. Follow
the steps in this procedure to install your new drive.
NOTE: The SATA data cable for the hard drive is
longer than the data cable for the optical drive.
A
B
C


