


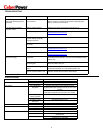
CPS900AVR
Guaranteed Uninterruptible Power System
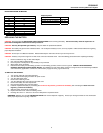
POWERPANEL PLUS™ SOFTWARE INSTALLATION GUIDE
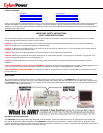
(Note:
Use of the software is optional.
The UPS will provide surge suppression and battery backup without the software. You must use the software if
you wish to have the automatic shutdown feature).
FOR WINDOWS 95/98/Me
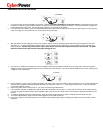
1. Turn the UPS off and unplug it.
2. Connect the serial interface cable to the UPS and an open serial port on the back of the computer. (Note: You must use the serial cable that was
supplied with the unit).
3. Plug the UPS into an AC outlet, turn the UPS on and then start your computer.
4. Windows will find
New Hardware
.
5. Insert the software disk into the floppy drive.
6. Follow the on-screen instructions.
7. Once the software is installed, remove the floppy disk and restart your computer.
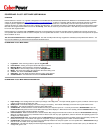
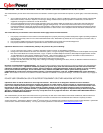
When your computer restarts, the PowerPanel Plus™ software will appear on your screen for a few seconds, and then minimize. It will appear as a
blue and white battery icon located in the system tray, near the clock.
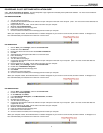
FOR WINDOWS NT
1. Click on
Start
, point to
Settings
, and then click
Control Panel
.
2. Double-click on the
UPS Icon
.
3. Remove the check mark from the box labeled
UPS is installed on
.
4. Click
OK
.
5. Acknowledge the message that the UPS is in an unknown state.
6. Exit to the desktop.
7. Shutdown your computer.
8. Turn the UPS off and unplug it.
9. Connect the serial interface cable to the UPS and an open serial port on the back of your computer. (Note: You must use the cable that was
supplied with the unit).
10. Plug the UPS into an AC outlet, turn the UPS on and then start your computer.
11. Click on
Start
, point to
Settings
, and then click
Control Panel
.
12. Double-click on
Add/Remove Programs
.
13. Insert the software disk into the floppy drive.
14. Click
Install
.
15. Follow the on-screen instructions.
16. Once the software is installed, remove the floppy disk and restart your computer.
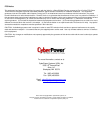
When your computer restarts, the PowerPanel Plus™ software will appear on your screen for a few seconds, and then minimize. It will appear as a
blue and white battery icon located in the system tray, near the clock.
FOR WINDOWS 2000
1. Click on
Start
, point to
Settings
, and then click
Control Panel
.
2. Double-click on
Power Options
.
3. On the
UPS Tab
, click
Select
.
4. In the
UPS Selection Dialog Box
, under
Manufacturers
, click
None
.
5. Exit to the desktop.
6. Shutdown the computer.
7. Turn the UPS off and unplug it.
8. Connect the serial interface cable to the UPS and an open serial port on the back of your computer. (Note: You must use the cable that was
supplied with the unit).
8. Plug the UPS into an AC outlet, turn the UPS on and then start your computer.
9. Windows will find
New Hardware
.
10. Insert the software disk into the floppy drive.
11. Follow the on-screen instructions.
12. Once the software is installed, remove the floppy disk and restart your computer.
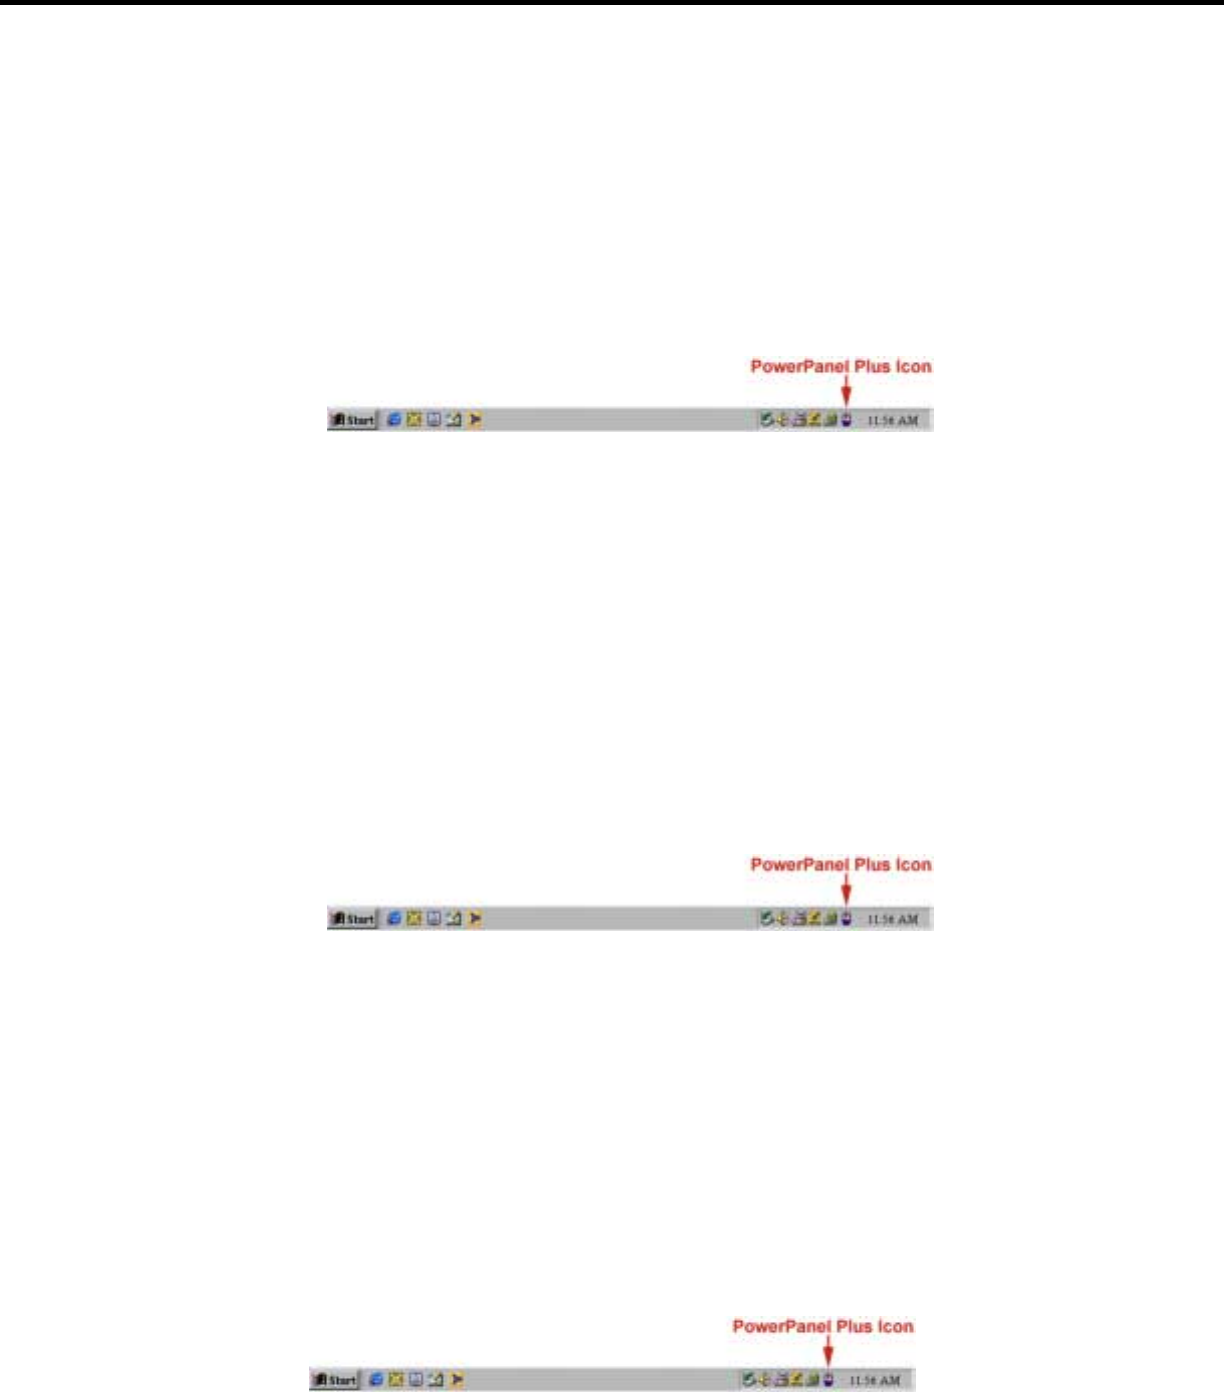
When your computer restarts, the PowerPanel Plus™ software will appear on your screen for a few seconds, and then minimize. It will appear as a
blue and white battery icon located in the system tray, near the clock.
3