


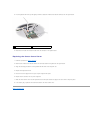

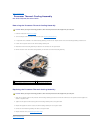

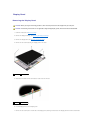


8. Disconnect the display data cable from the connector on the system board, loosen the captive screw, and release the cable from the securing plastic
tabs.
9. Disconnect the camera cable from the system board, loosen the captive screw, and release it from the securing plastic tabs.
10. Disconnect the display power cable from the connector on the system board and release it from the securing plastic tabs.
11. Pull the antenna cables from the routing hole and release them from the routing channel.
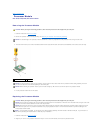
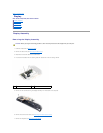
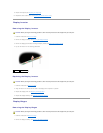
12. Remove the two screws from the display assembly hinges.
13. Lift the display assembly out of the computer.
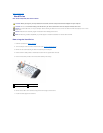
Replacing the Display Assembly
1. Follow the instructions in Before You Begin.
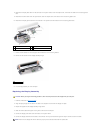
2. Align the display hinges with the holes in the base of the computer and then lower the display into place.
3. Replace and tighten the two display assembly hinge screws.
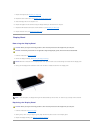
4. Slide the antenna cables through the routing hole to the base of the computer.
5. Connect the display power cable to the connectors on the system board.
6. Connect the display data and camera cables to the connector on the system board and tighten the captive screws to secure the cables.
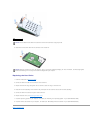
1
antenna cables
2
display power cable
3
camera cable
4
display data cable
1
hinge screws (2)
CAUTION: Before you begin the following procedure, follow the safety instructions that shipped with your computer.
NOTE: Ensure that the display and camera cables are properly routed and secured beneath the plastic tabs.