


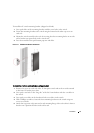


18 Installation
www.dell.com | support.dell.com
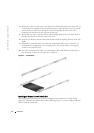
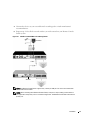
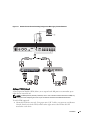
2 Plug the supplied power cord into the back of the Remote Console Switch unit and then
into an appropriate power source.
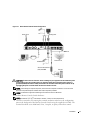
3 When the power is switched on, the Power indicator on the rear of the unit will blink for 30
seconds while performing a self-test. Press the <Enter> key to access the main menu.
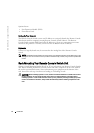
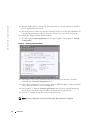
To configure the Remote Console Switch hardware:
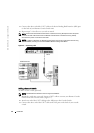
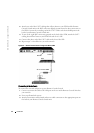
1 You will see the Terminal Applications menu with six options. Select option 1, Network
Configuration.
Figure 2-4. Network Configuration Menu
2
Select option 1 to set your network speed. Once you enter your selection, you will be
returned to the Network Configuration menu.
3 Select option 2 and specify if you are using a static or DHCP IP address. Dell recommends
using a static IP address for ease of configuration.
4 Select options 3-5 from the Terminal Applications menu, in turn, to finish configuring
your Remote Console Switch for IP address, Netmask, and Default Gateway.
5 Once this is completed, type Ø to return to the main menu.
NOTE: Network configuration can also be performed. See “Basic Operations” on page 25.