


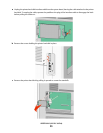
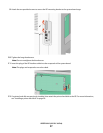
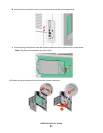
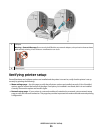
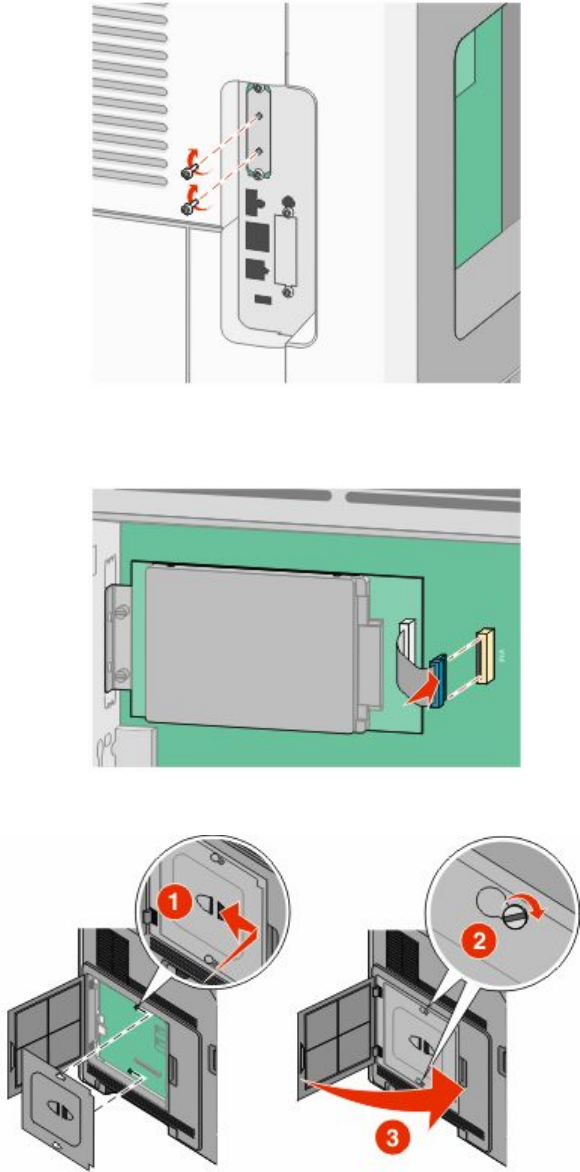
b Attach the two provided screws to secure the printer hard disk mounting bracket.
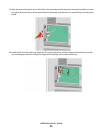
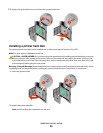
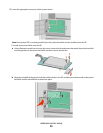
c Insert the plug of the printer hard disk interface cable into the receptacle of the system board.
Note: The plugs and receptacles are color coded.
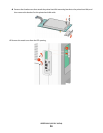
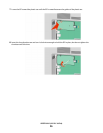
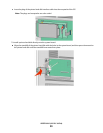
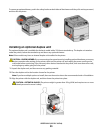
4 Replace the system board cover and close the system board door.
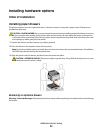
Additional printer setup
31