


Related Links
Installing the Power Supply
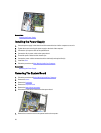
Installing the Power Supply
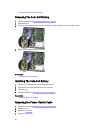
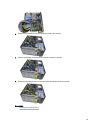
1. Place the power supply in the chassis and slide towards the back of the computer to secure it.
2. Tighten the screws securing the power supply to the back of the computer.
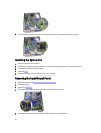
3. Connect the 4-pin power cable to the system board.
4. Connect the 24-pin power cable to the system board.
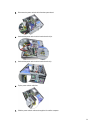
5. Thread the power cables into the chassis clips.
6. Connect the power cables connected to the hard drives(s) and optical drive(s).
7. Install the cover.
8. Follow the procedures in After Working Inside Your Computer.
Related Links
Removing the Power Supply
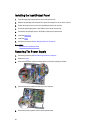
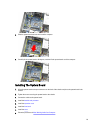
Removing The System Board
1. Follow the procedures in Before Working Inside Your Computer.
2. Remove the cover.
3. Remove the front bezel.
4. Remove the expansion card.
5. Remove the heat sink and processor.
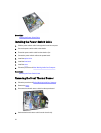
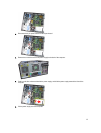
6. Disconnect all the cables connected to the system board.
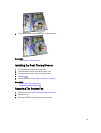
7. Remove the screws that secure the system board to the computer.
28