Replacing the System Board | 49
Replacing the System Board
WARNING: Before working inside your computer, read the safety information
that shipped with your computer and follow the steps in "Before Working Inside
Your Computer" on page 7. After working inside your computer, follow the
instructions in "After Working Inside Your Computer" on page 9.
For more safety best practices, see the Regulatory Compliance home page at
dell.com/regulatory_compliance.
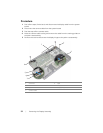
Procedure
CAUTION: Make sure that no cables are placed under the system board.
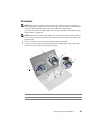
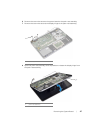
1 Slide the headset port into the slot on the palm-rest assembly and align the screw
holes on the system board with the screw holes on the palm-rest assembly.
2 Press down the display hinge into position.
3 Replace the screw that secures the display hinge to the palm-rest assembly.
4 Replace the screw that secures the system board to the palm-rest assembly.
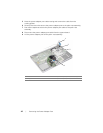
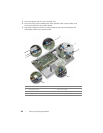
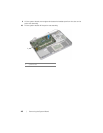
5 Slide the display and USB-board cables into the system board and press down on
the connector latches to secure the cables.
6 Adhere the tapes to the display and USB-board cables.
7 Connect the power-adapter port cable, speaker cable, camera cable, and
hard-drive cable to the system board.
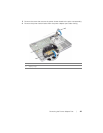
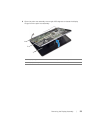
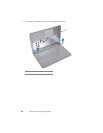
8 Turn the computer over and open the display as far as possible.
9 Slide the touchpad and status-lights cables into the system board and press down
on the connector latches to secure the cables.
Postrequisites
1 Replace the thermal-cooling assembly. See "Replacing the Thermal-Cooling
Assembly" on page 36.
2 Replace the coin-cell battery. See "Replacing the Coin-Cell Battery" on page 30.
3 Replace the bottom cover. See"Replacing the Bottom Cover" on page 28.
4 Replace the keyboard. See "Replacing the Keyboard" on page 24.
5 Replace the wireless card. See "Replacing the Wireless Card" on page 20.
6 Replace the memory. See "Replacing the Memory Module(s)" on page 15
7 Replace the battery. See "Replacing the Battery" on page 13.
8 Replace the base cover. See "Replacing the Base Cover" on page 11.


