Using Your Projector 41
• Audio Source—Select either
HDMI
,
Audio (Audio In)
, or
DisplayPort
as the
audio source for use.
•Volume—
Press to decrease the volume
and
to increase the volume.
• Mute—Allows you to mute the sound.
• Balance—Use
or to adjust the left and right speaker balance
.
•Bass—Use
or to adjust the bass tones
.
•Treble—Use
or to adjust the treble tones
.
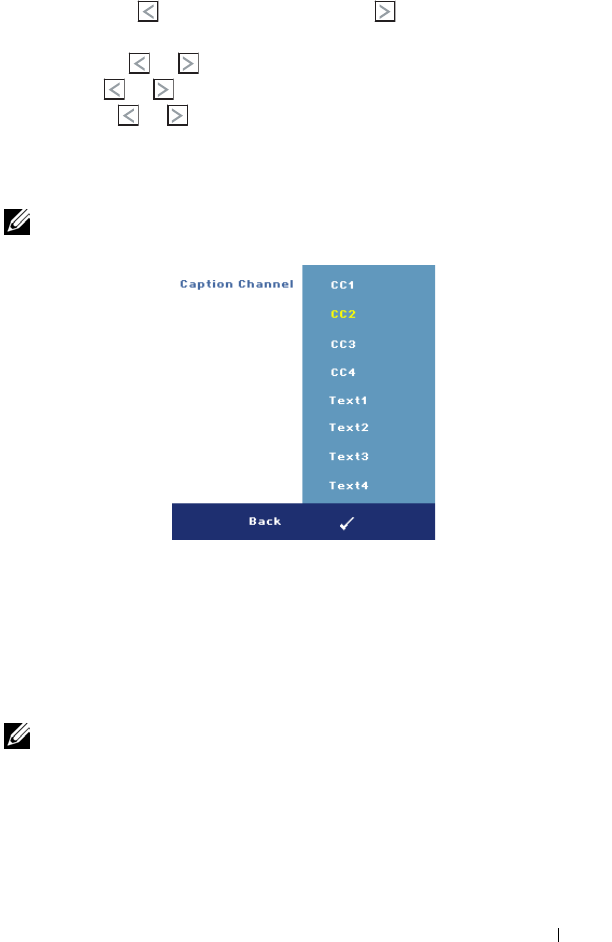
CLOSED CAPTION—Select On to deliver closed caption content to accommodate the
hearing-impaired. Select Off to disable closed caption.Select a suitable caption
channel from CC1 ~ CC4 and Text1 ~ Text4.
NOTE: Closed caption is only supported for input signals of S-Video and
Composite Video.
C
USTOMIZED SCREEN —Press Enter to pop up a Customized Screen menu. Input in a
source then press Enter and select Yes. The projector will capture the screen image
as a My Customized logo. This screen replaces all the original screens with the
Dell logo. You can recover the default screen by selecting Dell Logo on the pop-up
screen.
M
ENU LOCK—Select On to enable the Menu Lock and hide the OSD menu. Select
OFF to disable the Menu Lock and display the OSD menu.
NOTE: If the OSD disappears while you disable Menu Lock, press the Menu
button on the projector’s control panel or the remote control for 15 seconds, and
then disable the function.
M
ENU TIMEOUT—Allows you to adjust the time for an OSD Timeout. By default,
the OSD disappears after 30 seconds of non-activity.
M
ENU POSITION—Allows you to select the position of the OSD menu on the screen.
