


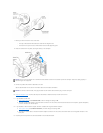

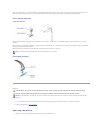
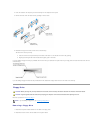
a. Disconnect the power and the data cable from the back of the first hard drive.
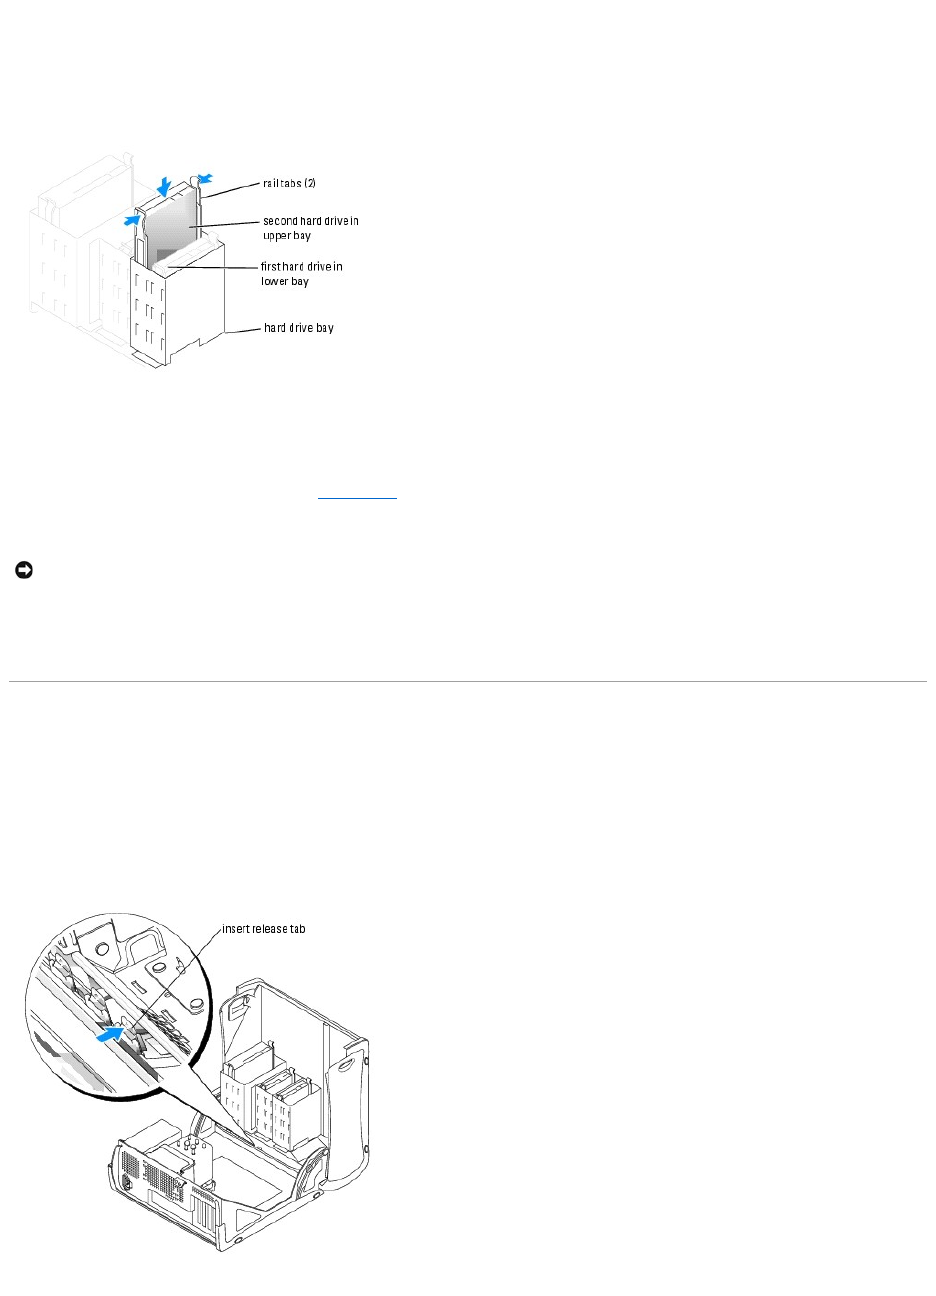
b. Press in the two rail tabs and pull the first hard drive out of the upper bay.
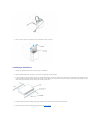
c. Gently slide the first hard drive into the lower bay until you hear a click.
d. Reconnect the power and data cable to the back of the first hard drive.
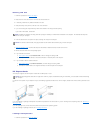
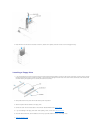
6. Gently slide the new hard drive into the upper bay until you hear a click.
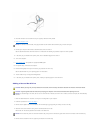
7. Connect a power cable to the drive.
8. Connect the data cable to the drive and to the system board.
9. Close the computer cover.
10. Connect your computer and devices to their electrical outlets, and turn them on.
See the documentation that came with the drive for instructions on installing any software required for drive operation.
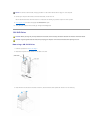
Front-Panel Inserts
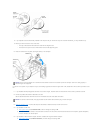
If you are installing a new floppy or CD/DVD drive instead of replacing a drive, remove the front-panel inserts.
1. Open the cover to a 90-degree angle.
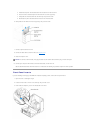
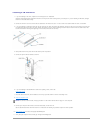
2. Locate the insert that is in front of the drive bay that you want to use.
3. From inside the computer, press in the release tab of the insert.
NOTICE: To connect a network cable, first plug the cable into the network device and then plug it into the computer.