


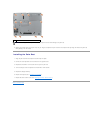

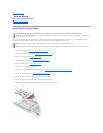

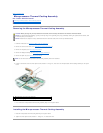

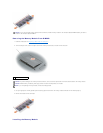
12. Turn the computer over and remove the five M2 x 3-mm screws labeled "B" that secure the system board assembly to the computer base.
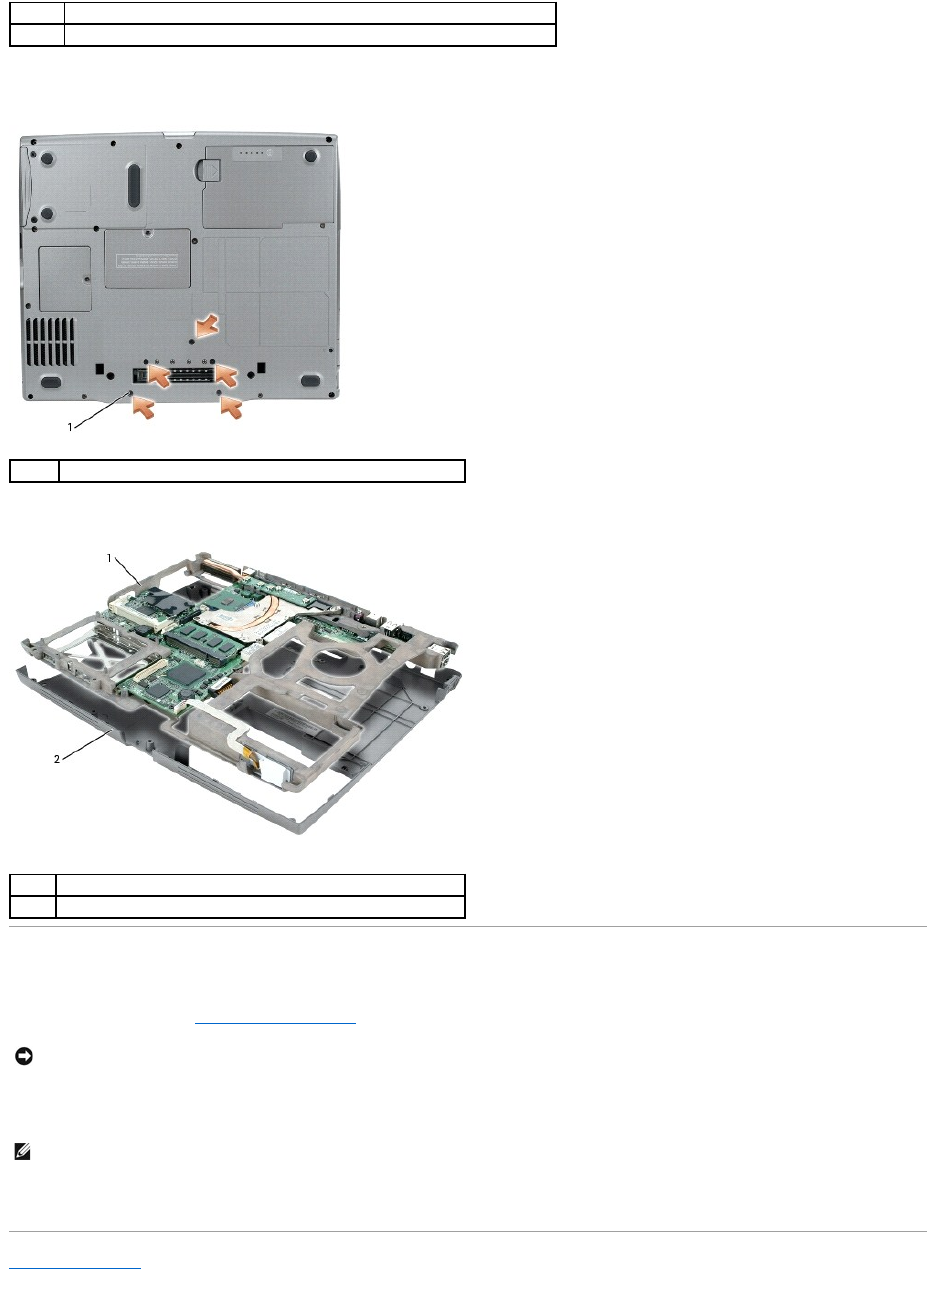
13. Pull out the system board assembly starting from the front of the palm rest.
Installing the System Board
1. Follow all of the steps in "Removing the System Board" in reverse order.
2. Turn on the computer.
3. Insert the CD that accompanied the replacement system board into the appropriate drive. Follow the instructions that appear on the screen.
Back to Contents Page
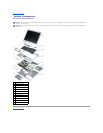
1
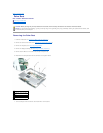
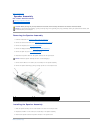
M2.5 x 4-mm screws (4)
2
PCMCIA card cage
1
M2 x 3-mm screws (5)
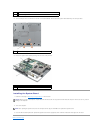
1
system board assembly
2
computer base
NOTICE: Before turning on the computer, replace all screws and ensure that no stray screws remain inside the computer. Failure to do so may result in
damage to the computer.
NOTE: After replacing the system board, enter the computer Service Tag into the BIOS of the replacement system board.