


Back to Contents Page
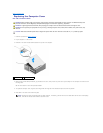
Replacing the Processor Heat Sink
Dell™XPS™625ServiceManual
1. Follow the procedures in Before You Begin.
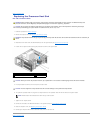
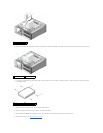
2. Remove the computer cover (see Replacing the Computer Cover).
3. Disconnect the fan cable from the CPU FAN connector on the system board (see System Board Components).
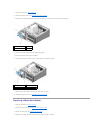
4. Loosen the four captive screws securing the processor heat sink to the system board.
5. Lift the processor heat sink out of the computer, and set it aside.
6. To replace the processor heat sink, align the four captive screws on the processor heat sink with the holes on the system board.
7. Tighten the four captive screws.
8. Connect the fan cable to the CPU FAN connector on the system board (see System Board Components).
9. Close the computer cover (see Replacing the Computer Cover).
10. Connect your computer and devices to electrical outlets, and then turn them on.
Back to Contents Page
WARNING: Before working inside your computer, read the safety information that shipped with your computer. For additional safety best
practices information, see the Regulatory Compliance Homepage at www.dell.com/regulatory_compliance.
CAUTION: Do not perform the following steps unless you are familiar with hardware removal and replacement. Performing these steps
incorrectly could damage your system board. For technical service, see the Setup Guide.
WARNING: The processor heat sink can get very hot during normal operation. Be sure that the heat sink has had sufficient time to cool before you
touch it.
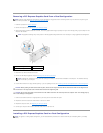
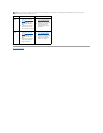
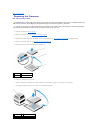
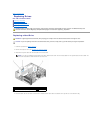
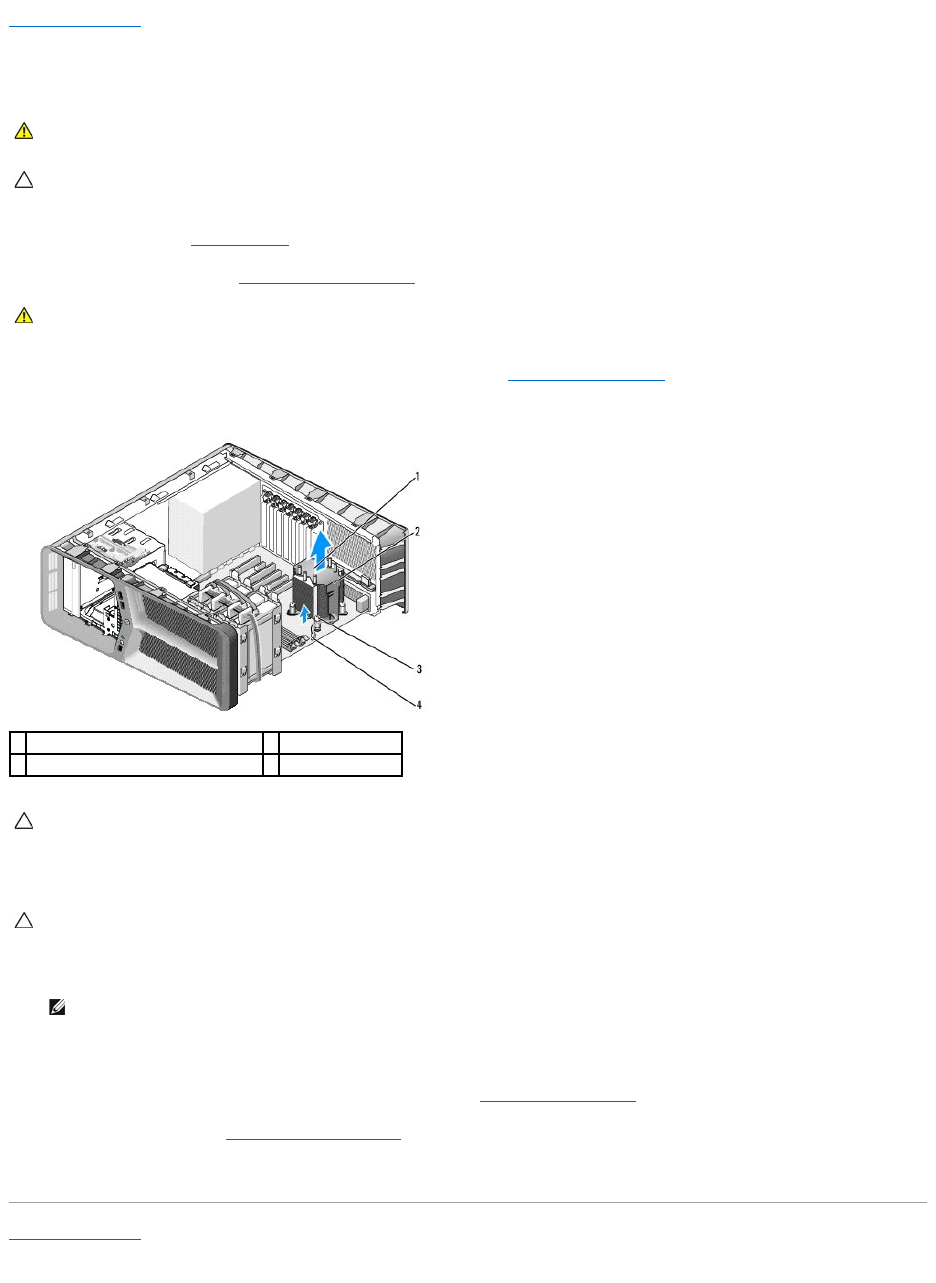
1
airflow direction and orientation arrows
2
processor heat sink
3
captive screws (4)
4
CPU FAN cable
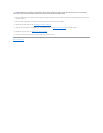
CAUTION: When you remove the processor heat sink, lay it upside down or on its side to avoid damaging the heat sink thermal interface.
CAUTION: Incorrect alignment of the processor heat sink can cause damage to the system board and processor.
NOTE: Airflow direction and orientation are shown on top of the heat sink.