


11. Replace the computer cover (see Replacing the Computer Cover).
12. Connect your computer and devices to electrical outlets, and then turn them on.
See the documentation that came with the drive for instructions on installing any software required for drive operation.
13. Enter system setup (see Entering System Setup) and select the appropriate USB for FlexBay option.
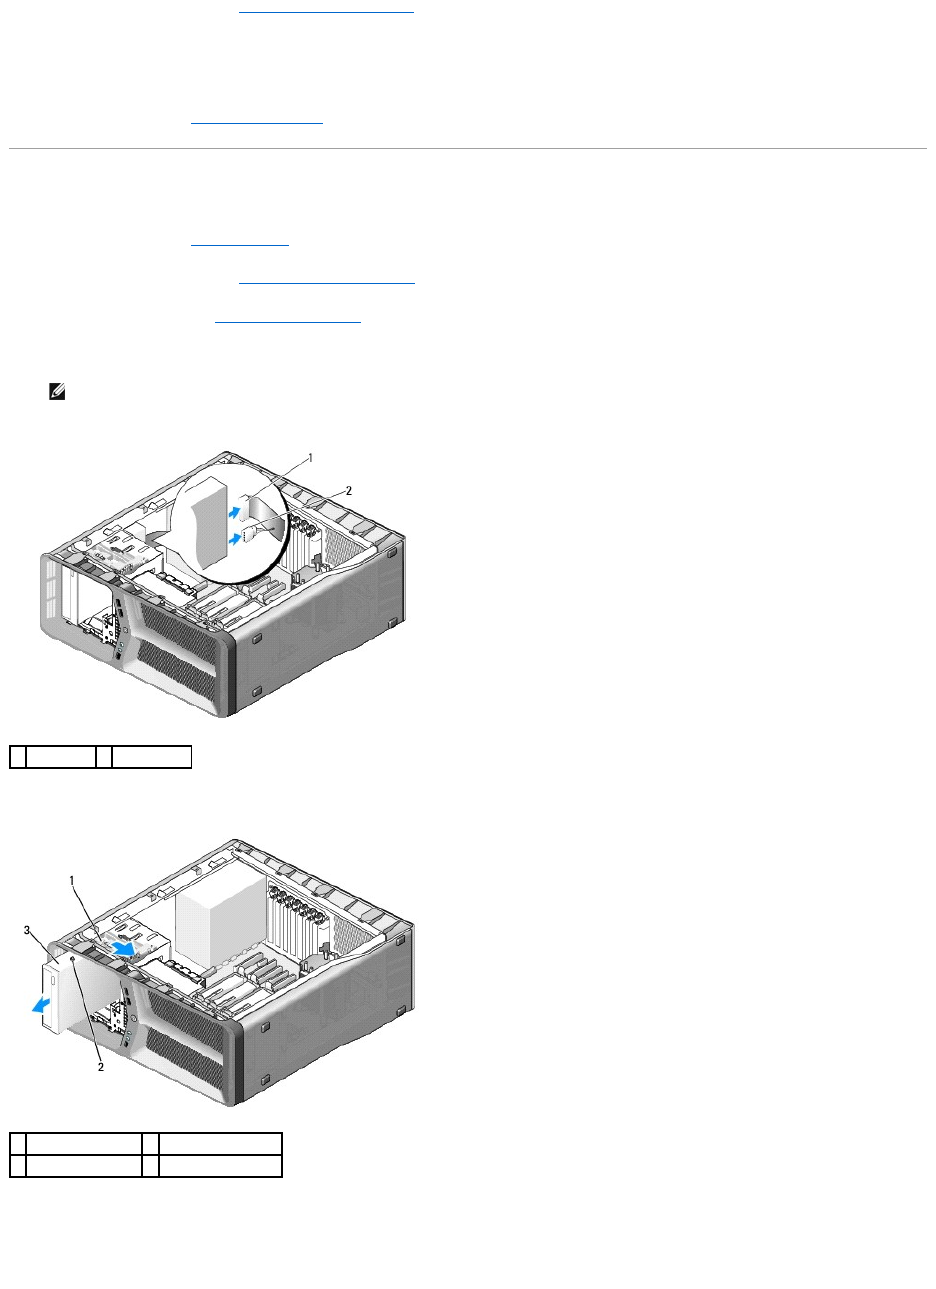
Replacing an Optical Drive
1. Follow the procedures in Before You Begin.
2. Remove the computer cover (see Replacing the Computer Cover).
3. Remove the drive panel (see Replacing the Drive Panel).
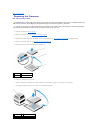
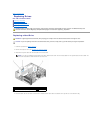
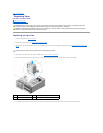
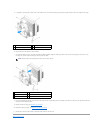
4. Disconnect the power and data cables from the back of the drive.
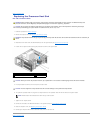
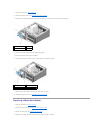
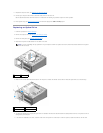
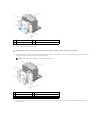
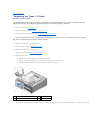
5. Slide the drive-release latch towards the base of the computer to release the shoulder screw, and then slide the optical drive out of the drive bay.
6. To replace the optical drive, prepare the optical drive for installation and check the documentation that accompanied the drive to verify that the drive is
configured for your computer.
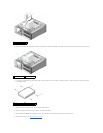
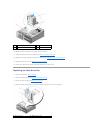
7. If no screws are attached to the drive, check the inside of the drive panel for screws and, if screws are present, attach the screws to the new drive.
NOTE: If you are uninstalling the only optical drive in your computer and will not replace it at this time, disconnect the data cable from the system
board and set it aside.
1
data cable
2
power cable
1
drive-release latch
2
shoulder screws (3)
3
optical drive