


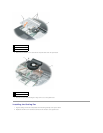
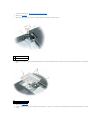

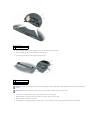

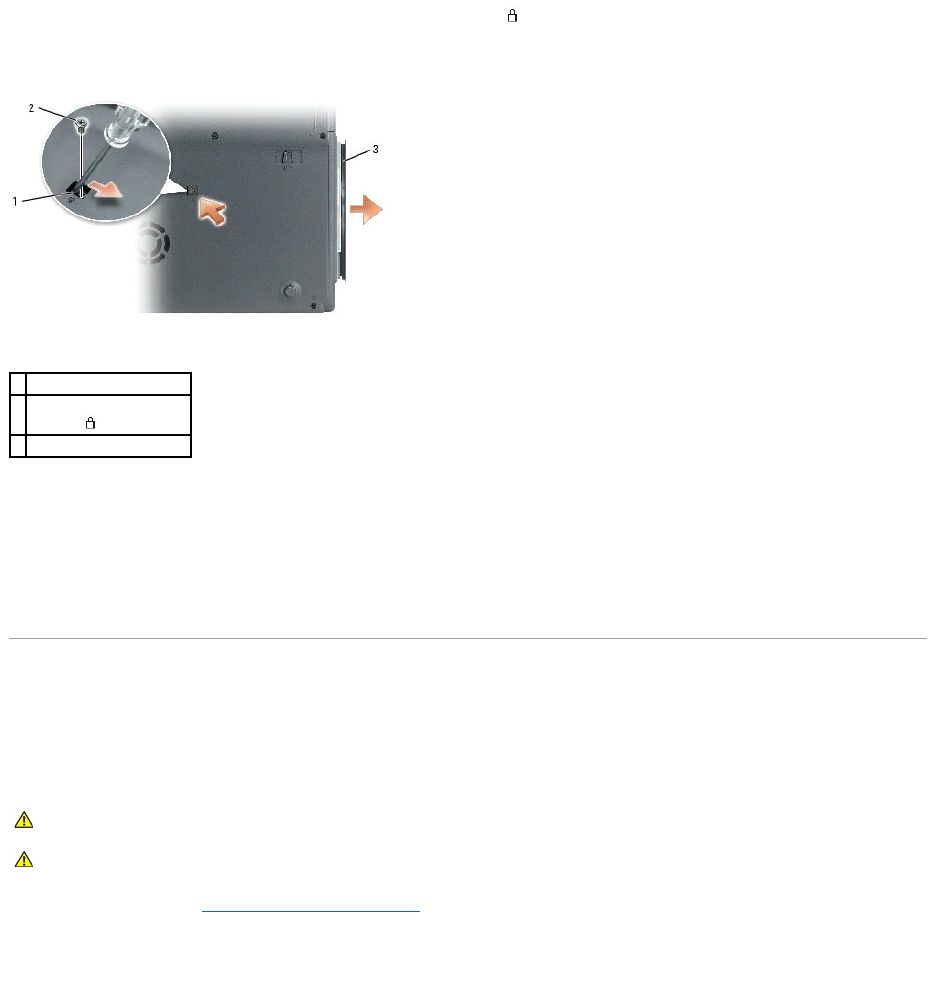
2. Remove the M2.5 x 8-mm screw from the indention labeled with a lock symbol ( ).
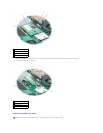
3. Insert a screwdriver into the indention and push the notch on the metal tab to release the drive from the bay.
4. Pull the drive out of the bay.
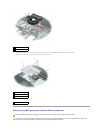
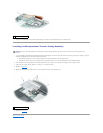
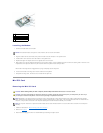
Installing the Optical Drive
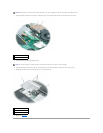
1. Slide the new drive into the bay until it snaps securely into place.
2. Replace the M2.5 x 8-mm screw.
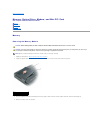
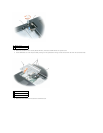
Modem
Removing the Modem
1. Follow the instructions in "Before Working Inside Your Computer."
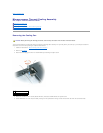
2. Turn the computer over and use a small plastic scribe to lift the two notched edges on the back of the hinge cover.
1
notch
2
M2.5 x 8-mm screw
labeled " "
3
optical drive
CAUTION: Before you perform the following procedures, see the safety instructions in the Product Information Guide.
CAUTION: To prevent static damage to components inside your computer, discharge static electricity from your body before you touch any of
your computer's electronic components. You can do so by touching an unpainted metal surface.