


13
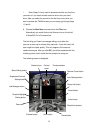
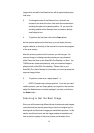
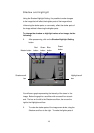
This is the Easy TWAIN Module user interface, or "TWAIN screen",
and this is where you'll find all the commands you need for scanning.
The scanning process is made up of three steps. The first step is
called prescanning. Prescanning is like making a "rough draft"
scan. The second step involves perfecting or altering the quality of
the prescanned image. The third step is called final scanning, or
simply scanning. We'll now take you through the first and third
steps, prescanning and scanning, and later we'll see how to adjust
settings in order to get the best possible image.
To scan, do the following:
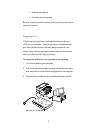
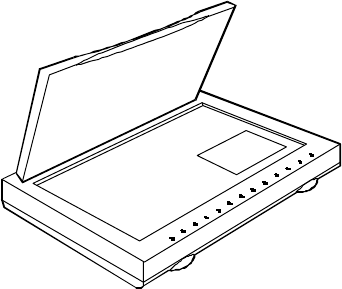
1. Place a photograph onto the scanner's glass plate, lined up
with the front right-hand corner of the plate.
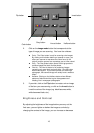
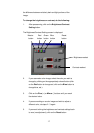
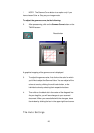
2. To prescan, click on the Preview button.
Shortly after you click on the Preview button, an image of the item
you've prescanned is displayed on the Preview window of the
TWAIN screen. If you cannot see the entire image, it may be that
you need to adjust the small blue tab on the left side of the Preview
window. Moving this tab changes the size of the area to be
prescanned or scanned. Slide the tab all the way to the bottom to
scan the largest area possible.
Notice the box in the Preview window made up of moving dotted
lines. This is the Selection box; only those parts of the preview