


14
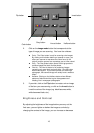
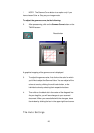
image which are within the Selection box will be captured during the
final scan.
3. To change the size of the Selection box, click with the
mouse on one side of the box, hold down the mouse button,
and drag the side to the desired position. Or you can click
and drag outside of the Selection box to create an entirely
new Selection box.
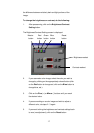
4. To perform the final scan click on the Scan button.
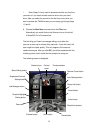
As the scanner performs the final scan, you can watch the scan-
engine indicator on the body of the scanner to monitor the progress
of the scan sensor.
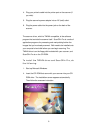
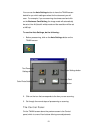
After the scanner performs the final scan, you will see your full
scanned image in a dialogue window where you may choose to
either Place the Scan on the ScanOffix Pro Desktop, or Abort. the
TWAIN screen closes automatically, and your scanned image is
placed onto the ScanOffix Pro desktop. Please refer to your
ScanOffix Pro User's Manual for information on how to process the
scanned image further.
5. To perform a new scan, repeat steps 2 - 4.
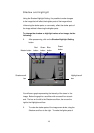
! NOTE: Prescanning is always optional. If you feel you don't
need to prescan, you can simply place your original on the scanner,
adjust the Selection box and other settings if you wish, and click on
the Scan button.
Scanning to Get the Best Image
Since you will be scanning different kinds of documents and images,
you should set the scanner according to the kind of original you're
working with and the kind of image you would like to produce. In this
section we will see how to set the image mode and resolution and
how to alter the quality of the tones (colors and shades) of the