


2 EATON CORPORATION Cutler-Hammer
Pow-R-Command 1000 LCD Display Instruction Leaflet IL01412010E Effective: June 2006
LCD Programming Procedure
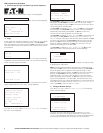
1. Press any key to begin. The Eaton logo will be displayed:
After a few seconds, the firmware version will be displayed:
After a few more seconds, the initial status screen will be displayed:
Press
SEL
to get to the
MAIN MENU
.
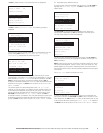
2. Login
If user passwords have been created on your system by your distrib-
utor/installer, you will see the following screen. Use
UP/DOWN
to
enter the letters of your password and the
SEL
key to advance to the
next letter. Advance the cursor past the end of the blanks to submit
the password.
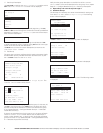
If this LCD tool has just been powered up, it will have to download
a database from the PRC1000 controller. You may see the following
screen with the progress indicator:
The database may take up to 10 minutes to download during initial
startup. Afterwards, the
MAIN MENU
will be displayed:
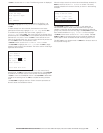
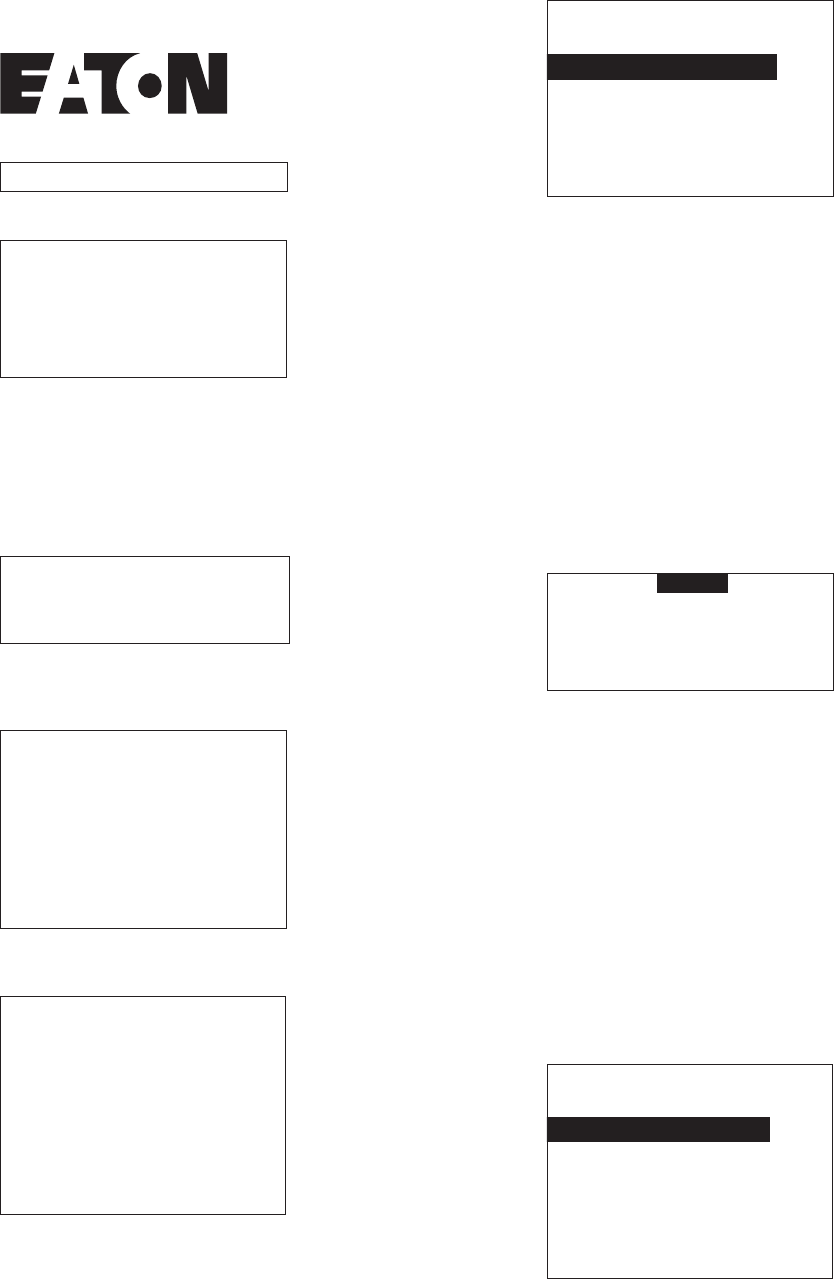
3. Set Date/Time/DST/Location
From the
MAIN MENU
, select
Configure Date/Time
. The follow-
ing menu will be displayed:
FIRMWARE VERSION A1
Aug 25, 2006 11:28A
Group Status:
ON: ABC N
OFF: DEFGHIJKLM OP
Press SEL for menu
Aug 25, 2006 11:28A
User ID:
________
Aug 25, 2006 11:28A
Refreshing Database
Please wait... 57%
Press BACK to quit
MAIN MENU
Command Groups ON/OFF
Panel Status Screen
Configure Groups
Configure Date/Time _
Group Status:
ON: ABC N
OFF: DEFGHIJKLM OP
Use
UP/DOWN
to select
Change Date
. Use
SEL
to move through the
date digits. Use
UP/DOWN
to set the month, day and year, respec-
tively. After setting the year, hit
SEL
one more time. The new values
will be displayed on the PRC1000.
Use
UP/DOWN
to highlight
Change Time
. Use
SEL
to move through
the time digits. Use
UP/DOWN
to set the hour, minute and AM/PM,
respectively. After setting the AM/PM, hit
SEL
one more time.
The new values will be displayed on the PRC1000.
Use
UP/DOWN
to highlight
Change DST
. Use
SEL
to start editing the
DST setting. Use
UP/DOWN
to choose
NONE
,
AUTO
or
MANUAL
. If
MANUAL
is chosen, settings for start and end date will appear. Hit
SEL
to jump to the start date. Use
UP/DOWN
to set the month and day
values. Use
SEL
to move through the digits. After setting the DST
setting (or dates for MANUAL), hit
SEL
one more time. The new
values will be displayed on the PRC1000.
Use
UP/DOWN
to highlight
Change ASTRO-Loc
. Hit
SEL
to start
editing the location. The following screen will be displayed:
Use
UP/DOWN
to set the latitude value in degrees. The latitude range
is -90 (South) to +90 (North).
Note:
Sunrise/sunset calculations lose accuracy outside the -62 to
+62 range. Hit
SEL
to move to the longitude setting. Use
UP/DOWN
to
set the longitude value in degrees. The longitude range is +180
(Alaska) to -180 (Western Pacific). Hit
SEL
to move to the timezone
setting. Use
UP/DOWN
to set the timezone value in hours. The
timezone range is +12 hours (west of GMT) to -12 hours (east of
GMT). After setting the timezone, hit
SEL
one more time. The new
values will be displayed on the PRC1000. The RISE and SET times
will update with the new values calculated from the input latitude and
longitude and the screen will return to the
Configure Date/Time
menu. Use
BACK
to return to the
MAIN MENU
.
4. Configure Breaker Group A
From the
MAIN MENU
, select
Configure Groups
. The following
screen will be displayed:
The group is shown, followed by its current status (
OFF
in this
example). The next line is the group description, if it exists (
GROUP A
LIGHTS
in this example), followed by the number of loads (breakers)
that has been associated with this group (15 in this example).
CONFIGURE DATE/TIME
Change Date__08/23/06
Change Time 11:37 AM
Change DST MANUAL
St: mm/dd End: mm/dd
Change Astro Loc.
ASTRO LAT: 33.00
LON: 84.00
TIMEZONE: 5
RISE 06:30 SET 07:00
SELECT GROUP
TO CONFIGURE:
Group A GRPA OFF
GROUP A LIGHTS
15 loads in group.
Use up/down/sel to
change selection