


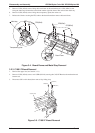
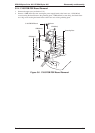
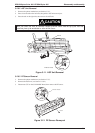
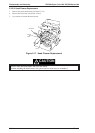
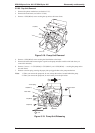

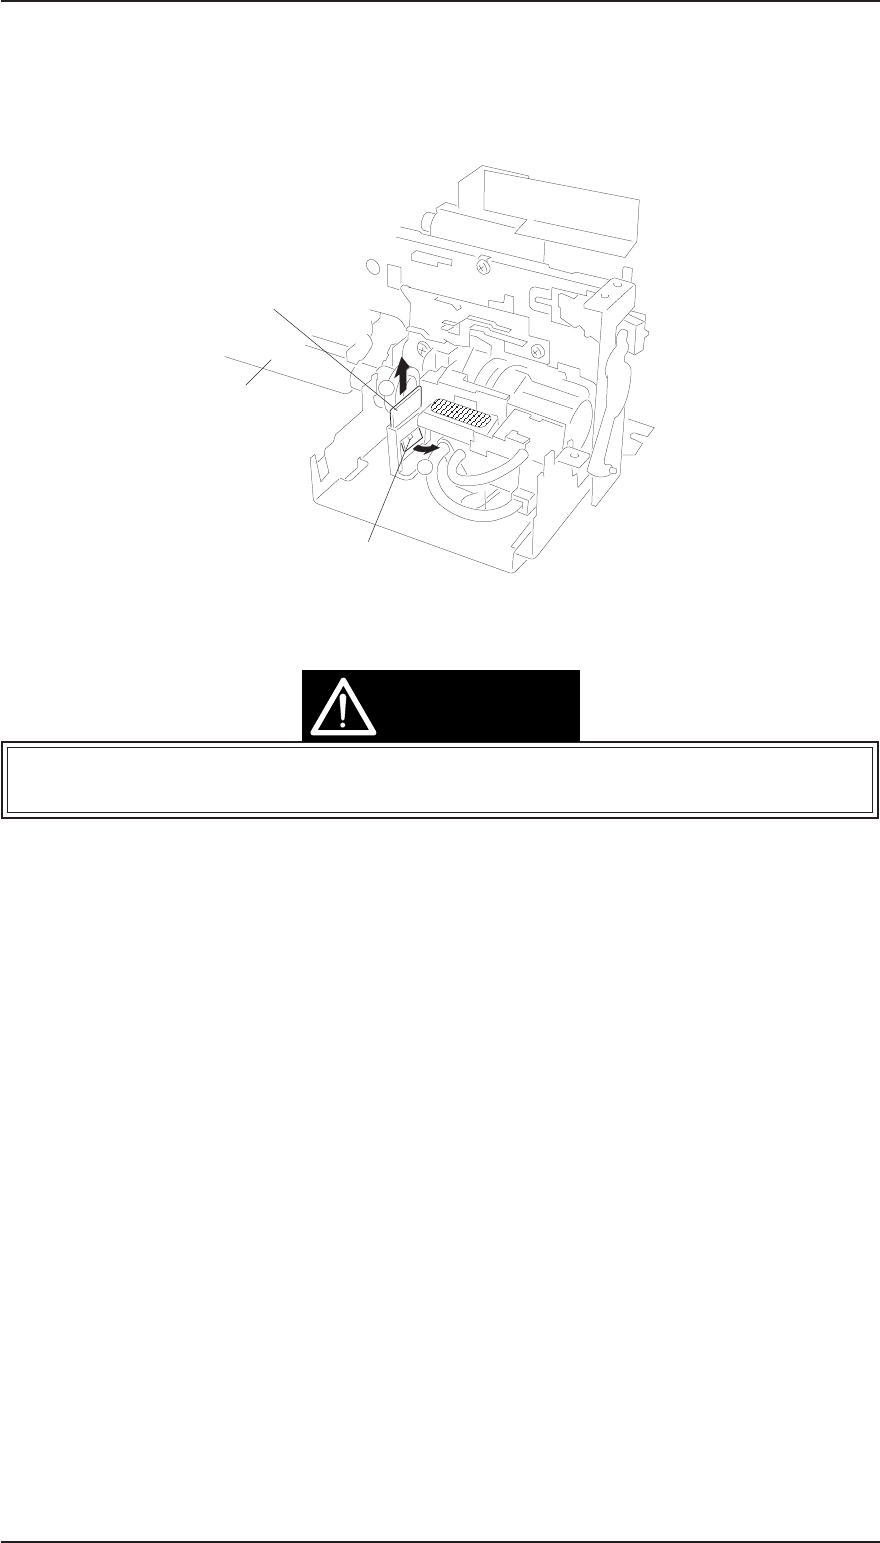
3.2.6.8 Head Cleaner Replacement
1. Remove the printer mechanism (see Section 3.2.5).
2. Remove the front frame (see Section 3.2.6.6).
3. Use tweezers to unhook the head cleaner.
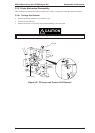
❏ Never touch the head cleaner with your bare hands.
❏ When attaching the head cleaner, wear gloves and use clean tweezers to handle it.
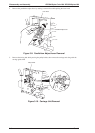
0
1
Head Cleaner
Hook
Platen
Figure 3-17. Head Cleaner Replacement
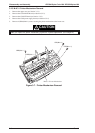
CAUTION
Disassembly and Assembly EPSON Stylus Color 200 / EPSON Stylus 200
3-12 Rev. A