


Basic Faxing (Fax Model Only) 10
EPSON AcuLaser CX11 Series Basic Operation Guide
Basic Faxing (Fax Model Only)
Sending faxes
Basics of sending faxes
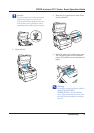
1. Make sure that the product is turned on.
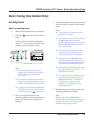
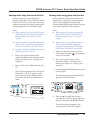
2. Press the Fax button on the control
panel.
The Fax light is lit and the LCD panel
shows Fax Mode for a few seconds, then
changes to the fax mode’s screen.
Note:
❏ Do not turn off the power or press
another mode’s button while faxing, as
the fax process may be performed
incorrectly.
❏ If no button is pressed for more than 3
minutes, any changes made are canceled
and the mode returns to the Print mode.
❏ Pressing the One Touch Dial button
(A, B, or C) can also enter the Fax mode
without pressing the Fax button.
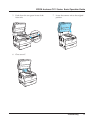
3. Place your original either on the
document table or in the Auto Document
Feeder. For details, see “Setting your
originals.”
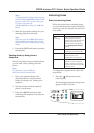
4. Enter the recipient’s fax number directly
from the numeric keypad on the control
panel.
Note:
❏ A maximum of 50 characters can be
entered for a recipient.
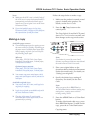
❏ If an incorrect number is entered, press
the Reset button to delete a
character left to the cursor. Pressing the
l Left or r Right button moves the
cursor left or right.
❏ When entering the recipient number,
numerics (0 to 9), #, and
✽
can be
inserted using the numeric keypad.
❏ When you press the Redial button
instead of entering the recipient’s fax
number, the fax number you previously
transmitted is automatically entered.
❏ When pressing the Pause button while
entering the recipient number, a “-” is
displayed for the pause.
❏ You can also enter a fax number using
the One Touch Dial button or the
Speed Dial button. For details, see
“Sending faxes using one-touch
function” or “Sending faxes using
speed-dial function.”
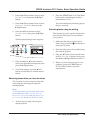
5. Make the appropriate settings for your
scanning purpose if necessary.
Note:
When you press the x B&W Start or
x Color Start button without making any
settings here, the fax transmission starts
with the existing setting values.