Maintenance 17
En glish
Maintenance
You can keep the operation of the product at its best
by performing the procedures described in this
chapter. Also, this section includes instructions on
how to replace ink cartridges and transport the
product.
Replacing Ink Cartridges
When the B ink light starts flashing, one or more
cartridges are low on ink. Make sure you have
replacement cartridges.
When the B ink light stays on, you need to replace the
appropriate cartridges.
Tip:
If a cartridge is more than six months old, print quality may decline.
If necessary, try cleaning the print head (& “Cleaning the print
head” on page 20). If printouts still do not look their best, you may
need to replace the cartridge.
Checking the ink cartridge status
You can also check the ink cartridge status when
checking the print head (& “Checking the print
head” on page 20). You can see the percentage of ink
left in each cartridge on a printed test pattern.
When your ink starts getting low, make sure you
have replacement cartridges available. You cannot
print if a cartridge is expended.
Note:
Epson cannot guarantee the quality or reliability of non-genuine
ink. If non-genuine ink cartridges are installed, the ink cartridge
status will not be displayed.
Purchasing ink cartridges
Use these Epson ink cartridges within six months of
installing them and before the expiration date.
c Caution:
Epson recommends the use of genuine Epson ink cartridges. The
use of non-genuine ink may cause damage that is not covered by
Epson’s warranties, and under certain circumstances, may cause
erratic printer behavior. Epson cannot guarantee the quality or
reliability of non-genuine ink. Information about the ink cartridge
status is not displayed when non-genuine ink is used.
Ink cartridge precautions
w Warning:
If ink gets on your hands, wash them thoroughly with soap and
water. If ink gets in your eyes, flush them immediately with water.
If you still have discomfort or vision problems, see a doctor
immediately.
■ To avoid damaging the product, never move the
print head by hand.
■ When an ink cartridge is expended, you cannot
continue copying or printing even if the other
cartridges still contain ink.
■ Leave the expended cartridge installed until you
have obtained a replacement. Otherwise the ink
remaining in the print head nozzles may dry out.
■ An IC chip on each ink cartridge monitors the
amount of ink used from the cartridge.
Cartridges are usable even if they are removed
and reinserted. However, some ink is consumed
each time cartridges are inserted because the
printer automatically checks their reliability.
■ For maximum ink efficiency, only remove an ink
cartridge when you are ready to replace it. Ink
cartridges with low ink status cannot be used
when reinserted.
Removing and installing ink
cartridges
Make sure you have a new ink cartridge before you
begin. Once you start replacing a cartridge, you must
complete all the steps in one session.
Note:
Do not open the ink cartridge package until you are ready to install
it in the printer. The cartridge is vacuum packed to maintain its
reliability.
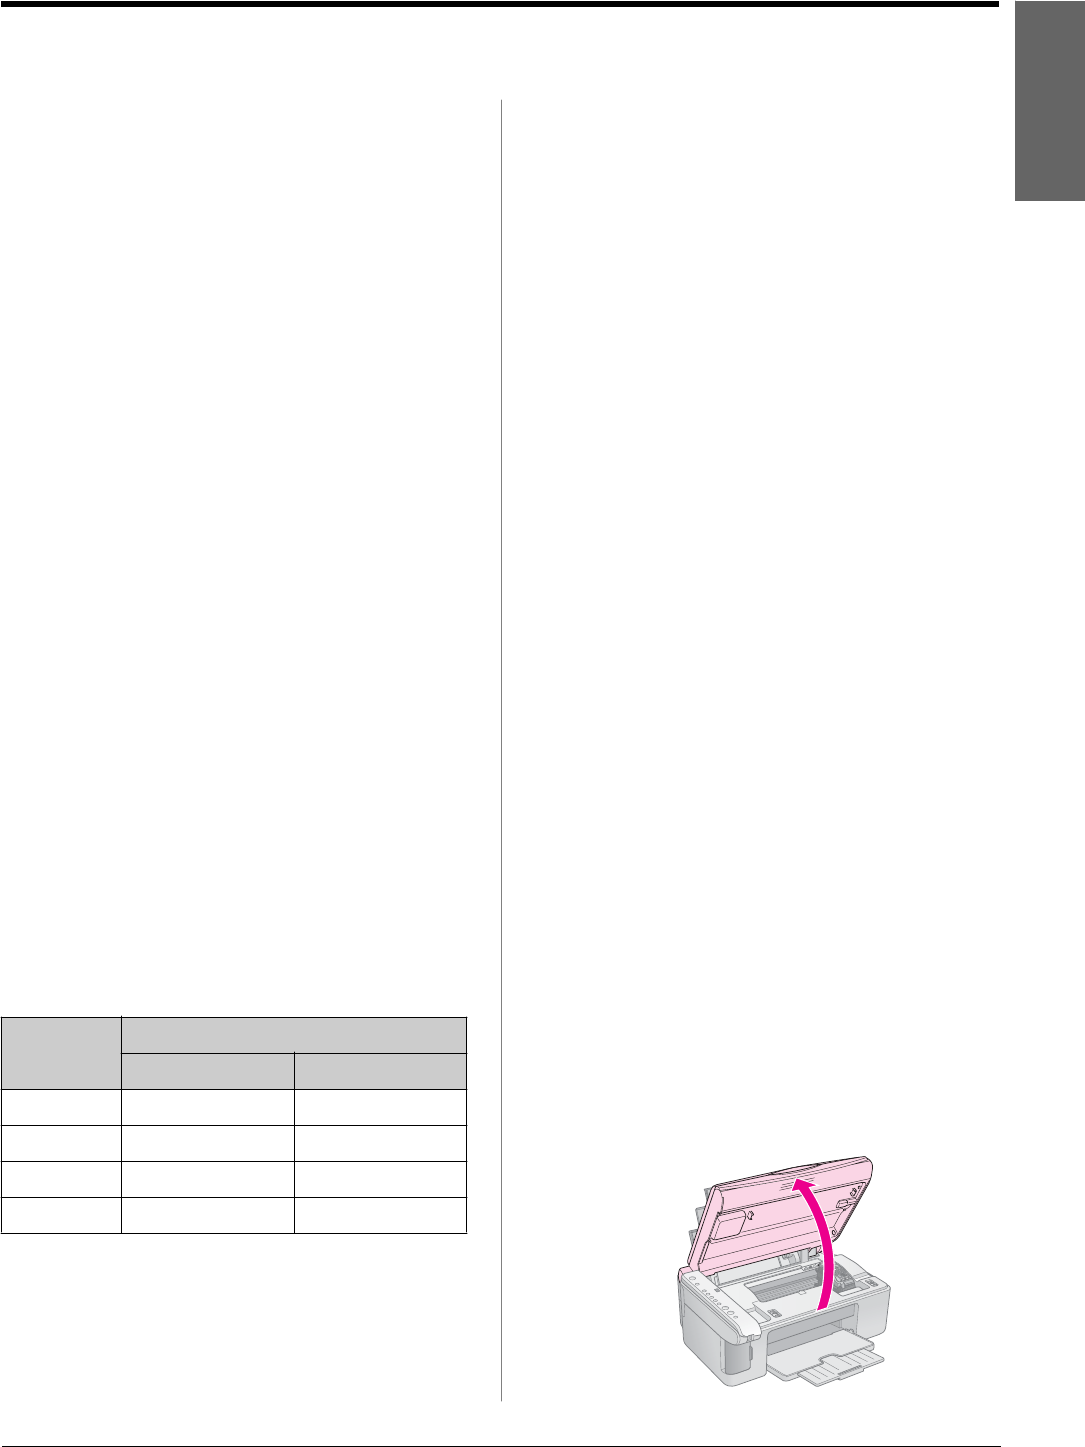
1. Make sure the product is on.
2. Make sure the document cover is closed, then lift
up the scanner unit.
c Caution:
Do not lift up the scanner unit when the document cover is
open.
Color Part Number
DX5000 series CX4900 series
Black T0711 T0731
Cyan T0712 T0732
Magenta T0713 T0733
Yellow T0714 T0734


