


ISSUED: 01-23-07 SHEET #:055-9498-1
7 of 10
Visit the Peerless Web Site at www.peerlessmounts.com For Technical Support Contact Peerless Mounts at 1-800-729-0307 or 708-865-8870.
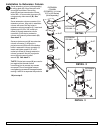
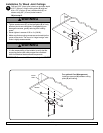
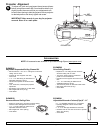
Screw projector mount (A) into ceiling plate (G). Align the notch with one of the four holes of the ceiling
plate (G) and secure projector mount (A) with a M5 x 10 mm socket pin screw (C) using security allen
wrench (B) as shown in detail 1.
NOTE: Slotted set screw (K) is used to jam against the threads of mount to prevent any excess movement of the
projector mount (A). Do not overtighten screw; overtightening screw will damage threads making
it difficult to separate the products.
Flush Mount Application
DETAIL 1
A
G
A
C
CEILING
NOTCH
G
K
1
L
MOUNTING
HOLE
*
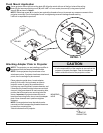
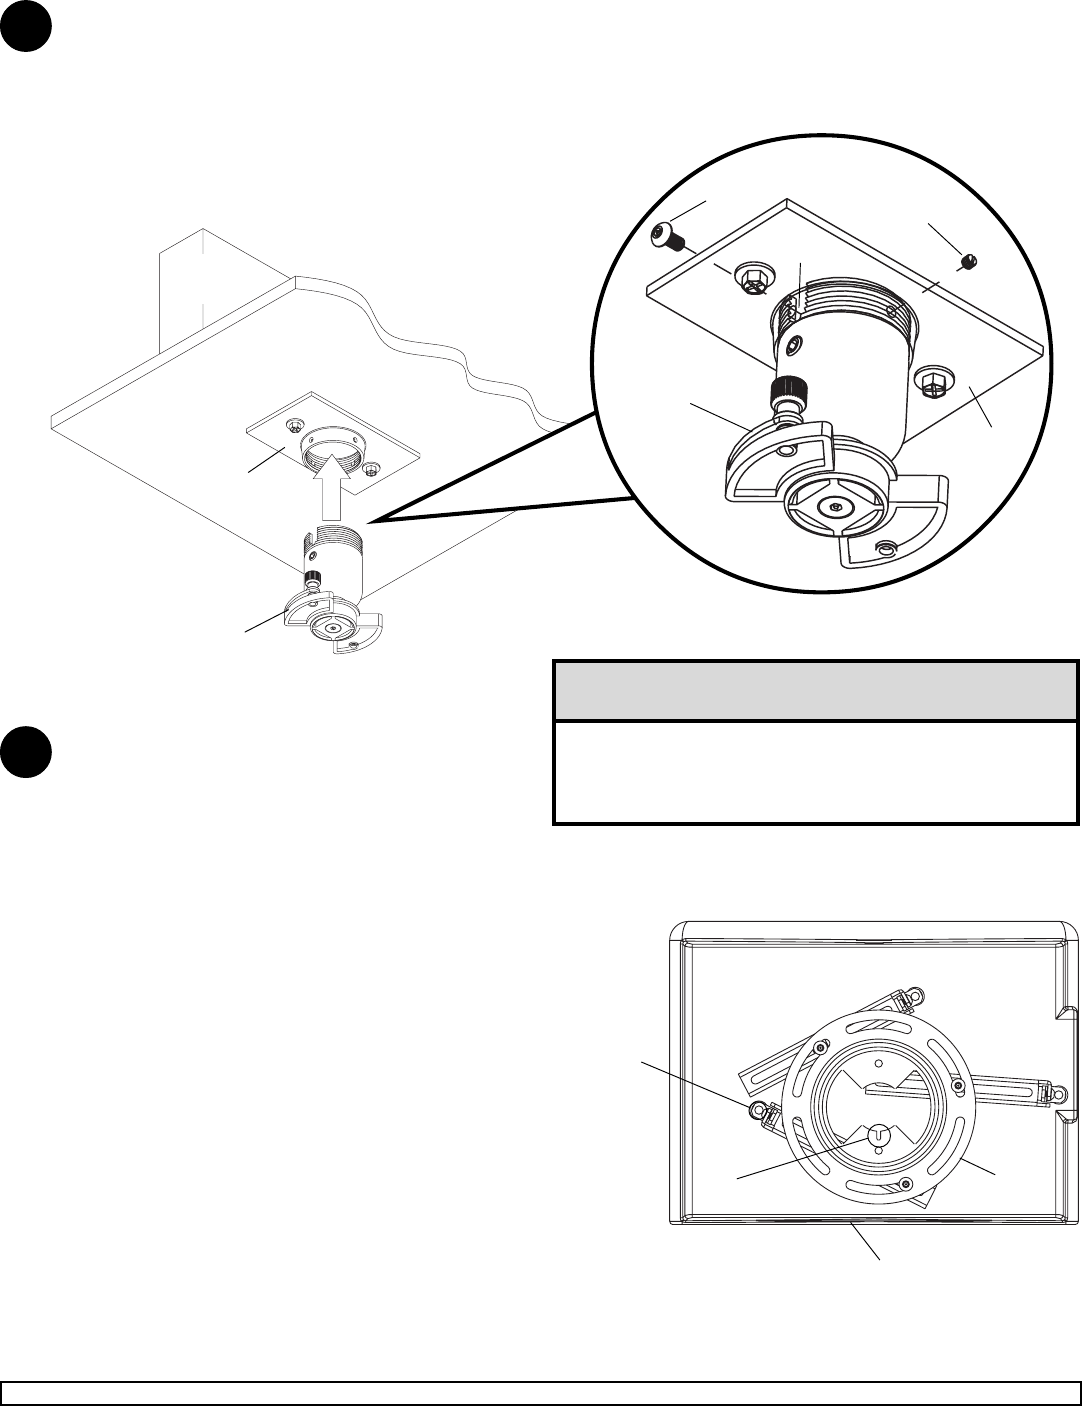
NOTE: The projector you are installing may differ in
appearance from the sample illustrated below.
NOTE: Some projectors may have three or four
attachment points. If projector has three attachment
points, the unused leg may be removed.
Place projector upside down. Locate adapter
plate (L) with notch* facing forward as close to
projector center of gravity as possible without
covering any mounting holes. Loosen channels, and
if there are only three mounting holes remove fourth
channel. Using one channel for each mounting hole,
position feet of channels over mounting holes as
shown. Important: If projector does not have at
least three mounting holes, do not use this adapter
plate. Once channels are in position retighten
fasteners.
NOTE: Some projectors have feet which can be
removed and the corresponding threaded insert can
be used for a mounting hole.
*Notch indicates front of projector.
Attaching Adapter Plate to Projector
2
WOOD
JOIST
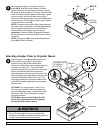
*FRONT OF
PROJECTOR
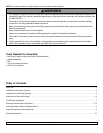
• It is the responsibility of the installer to ensure that the
projector is properly ventilated. Feet of channels are
used to raise the mount off the projector surface.
CAUTION