


23
Image Quality Adjustments
Examining Image Quality Further
In addition to colour adjustments, adjustments to advanced sharpness and the amount of light from the
lamp can also be made to match the image in search of the best picture.
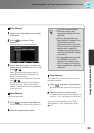
Sharpness (Advanced) adjustment
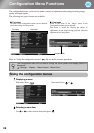
Auto Iris (automatic aperture) setting
Sharpness (Advanced) adjustment
Auto Iris (automatic aperture) setting
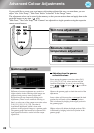
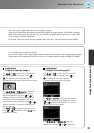
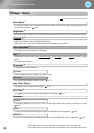
Use or to select a menu item,
and use or to make
adjustments.
You can adjust "High-band Enhancement" and
"Low-band Enhancement" at the same time by
using the bar on the top in the screen.
To return the adjustment results to their default
settings, press .
Press to exit the menu.
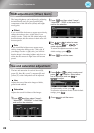
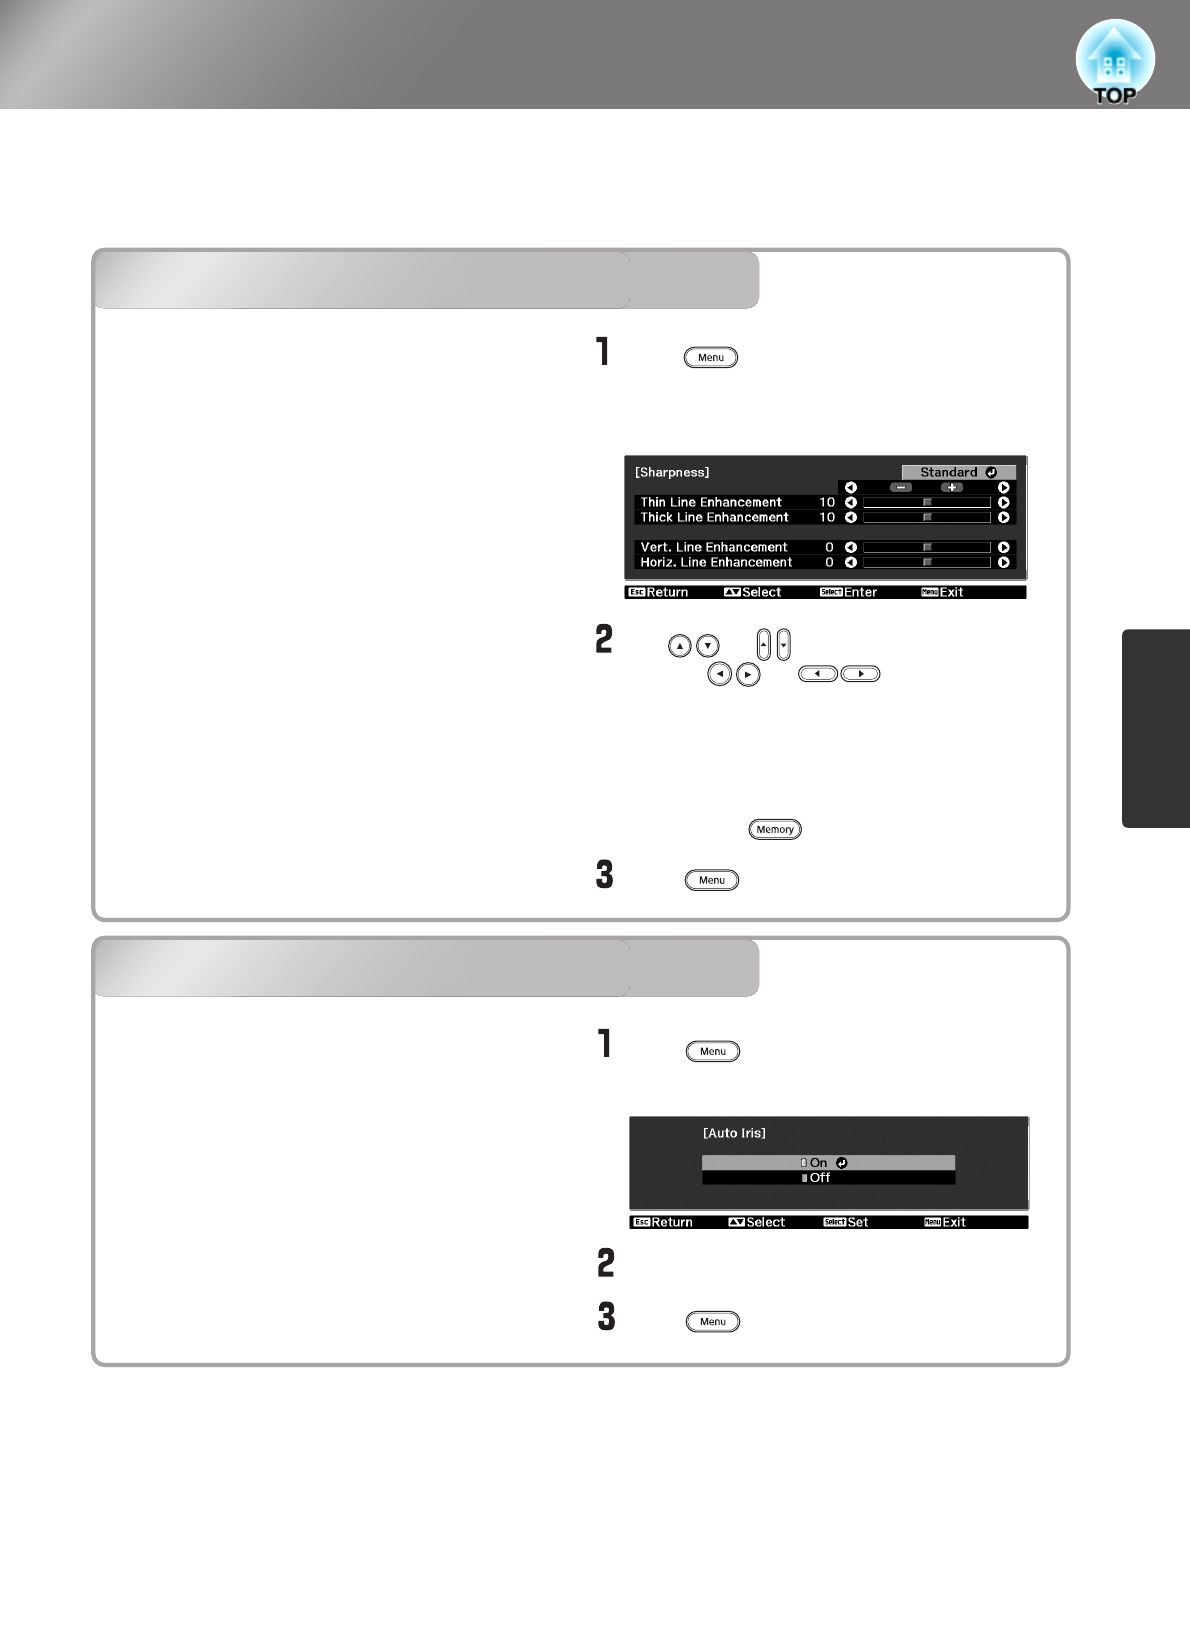
Select "On".
Press to exit the menu.
Press , and then select "Image" -
"Auto Iris".
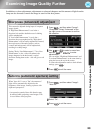
Press , and then select "Image" -
"Sharpness". Select "Advanced" at the
top-right corner of the screen to confirm
the selection.
This cannot be adjusted during input of computer
image signals.
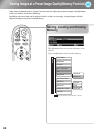
If "High-band Enhancement" is set in the +
direction, hair and the detailed areas of clothing
will be emphasized.
If "Low-band Enhancement" is set in the +
direction, the areas emphasized by "High-band
Enhancement" will be hardly emphasized. Instead,
the rough areas of the entire subject, such as
contour and background, will be emphasized,
resulting in a sharp image.
Setting "Horiz. Line Enhancement" / "Vert. Line
Enhancement" to the + side will enhance the
image sharpness in the horizontal / vertical
direction. Setting them to the - side will give a soft
image.
When "Auto Iris" is set to "On", the amount of
light will be automatically adjusted to the
brightness of the image, creating a picture with
depth and perspective.
*
An operation sound of Auto Iris function may
be emitted while projecting some images. This
is not a failure of the projector.