


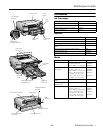
EPSON Stylus Pro 5500
2/01 EPSON Stylus Pro 5500
- 13
Caution:
To avoid damaging the printer, never turn it off while the
P Operate light is flashing—unless the printer hasn’t moved or
made any noise for more than five minutes.
3. After the
P
Operate
light stops flashing, print a few lines
or run a printer check (as described on page 7) to confirm
that the nozzles are clean.
If you don’t see any improvement after cleaning three or four
times, check the solutions in your Printer Guide. You can also
turn the printer off and wait overnight—this allows any dried
ink to soften—and then try cleaning the print head again.
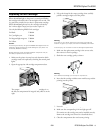
Transporting the Printer
If you need to ship your printer, you must prepare it for
transportation and repack it in the original box. You must also
remove the ink cartridges, to avoid the possibility of ink leakage.
However, if you are moving the printer only a short distance,
for example, from one table to another, you don’t need to
remove the cartridges.
Be sure to keep the printer level whenever you move it.
1. Turn on the printer.
2. Remove any paper in the printer and in the paper trays.
Press the
Eject/Continue
button to eject any paper that has
been fed into the printer.
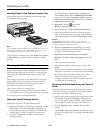
3. If you’re shipping the printer or moving it a long distance,
remove all four of the ink cartridges and store them in
separate, resealable plastic bags. Close the ink cartridge
clamps and compartment covers.
Caution:
You must remove the ink cartridges before shipping the printer to
prevent leakage. Remove the ink cartridges while the printer is
turned on, and then turn off the printer using the Operate button.
This will properly close and seal the ink supply valves.
Don’t turn off the printer by unplugging it or turning off a power
strip. This will not properly lock the print head in the home position,
causing ink to leak out and damage the printer.
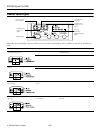
4. Turn off the printer and make sure the print head is in the
home (far right) position.
If it’s not, turn the printer back on, wait until the print head
stops moving and is in the home position, then turn off the
printer. After you turn it off, the
P
Operate
light may
flash for a while. Do not unplug the power cord until the
light goes off.
5. Unplug the power cord from the electrical outlet, then
disconnect the interface cable from the printer.
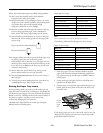
6. Remove the standard paper tray. If the optional lower paper
cassette is installed, remove the lower tray too.
Warning:
The printer weighs approximately 50 lb. Do not try to lift or carry the
printer alone.
7. If the optional lower paper cassette is installed, unscrew it
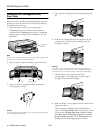
and lift the printer off of the cassette.
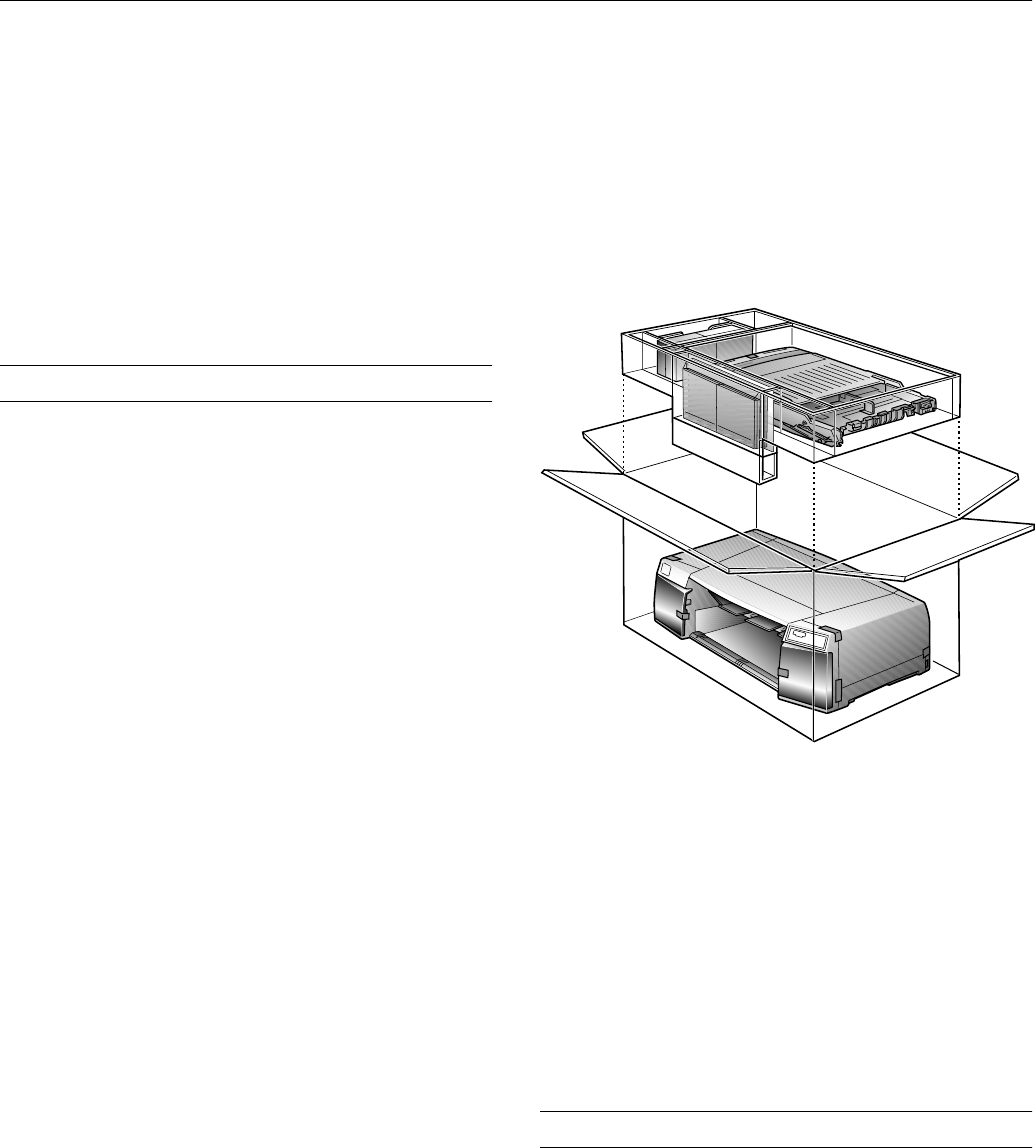
8. Insert the protective materials you removed when you
unpacked the printer.
9. Repack the printer, paper tray, and any other parts in the
original boxes.
Remember to keep the printer level during transport.
To set up the printer after transporting it, follow the
instructions in Chapter 1 of the Printer Guide, except:
❏ Turn off the printer before reinstalling the cartridges, if you
removed them before transporting the printer. It is best to
install new cartridges because your printer’s ink counter will
be reset and able to report the remaining ink level
accurately.
❏ The first time you print after transporting the printer, the
print head nozzles may be clogged. You may need to run a
cleaning cycle, as described on page 12.
Related Documentation
EPSON Stylus Pro 5500 Printer Guide CPD-11338
EPSON Stylus Pro 5500 CD-ROM CPD-12055
EPSON Stylus Pro 5500 Service Manual TM-SPro5500
EPSON Stylus Pro 5500 Parts Price List PL-SPro5500