6
Chapter 1: Installation
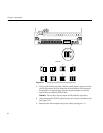
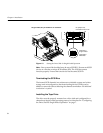
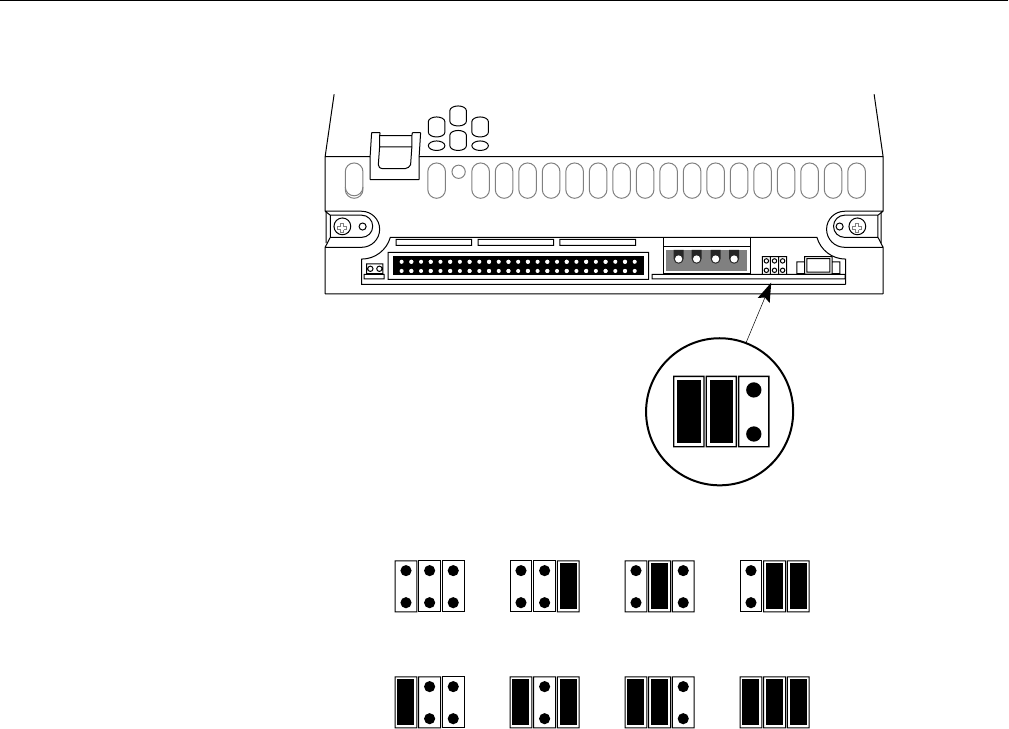
Figure 1-2 Setting the SCSI ID (Default Setting Shown)
4. Using a pair of flat-nose pliers, slide the small plastic jumpers over the
pins on the jumper block to obtain the desired address. Extra jumpers
are shipped in a separate bag. Save the unused jumpers in case you
need to select a different SCSI ID later.
Caution: Do not allow loose jumpers to fall inside the tape drive.
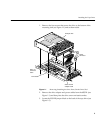
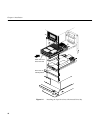
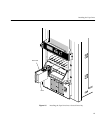
5. After changing the SCSI ID, place the tape drive back on the drive sled
(see Figure 1-1).
6. Reconnect the drive adapter and power cables (see Figure 1-1).
0123
4567
SCSI ID
1
2
5
6
3
4


