


Cable Cubby
®
Products • Installation
Installation, cont’d
2-12
Cable Cubby
®
Products • Installation
2-13
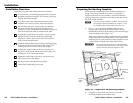
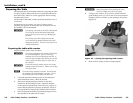
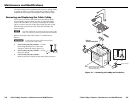
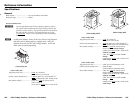
3. Carefully lower the Cable Cubby into the hole to test the
fi t. If necessary, remove the enclosure and use a fi le or rasp
to enlarge or smooth the edges of the opening (fi gure 2-7).
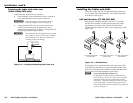
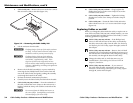
Mounting
Surface
Screw Clamp
Audio Cable
RJ-45 Cable
15-pin HD Cable
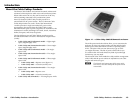
Cable Cubby 300C
Surface-Mountable
Enclosure for Cables, AAPs &
AC Power Outlet
Figure 2-7 — Cable Cubby 300C, installation view
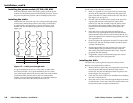
4. Cable Cubby 300, 600, and 800 — From the underside of
the table, reinstall the screw clamps on the enclosure at a
height at which the clamp will reach the underside of the
tabletop.
C
Do not overtighten the Phillips head screws on
the screw clamps. Overtightening can bend the
horizontal fl ange of the screw clamp.
5. Cable Cubby 300, 600, and 800 — Snugly tighten the
Phillips head screws on the screw clamps to secure the
enclosure to the surface.
6. Cable Cubby 300, 600, and 800 — Tighten the locking
thumbscrews on the screw clamps to lock the clamp in
position.
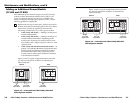
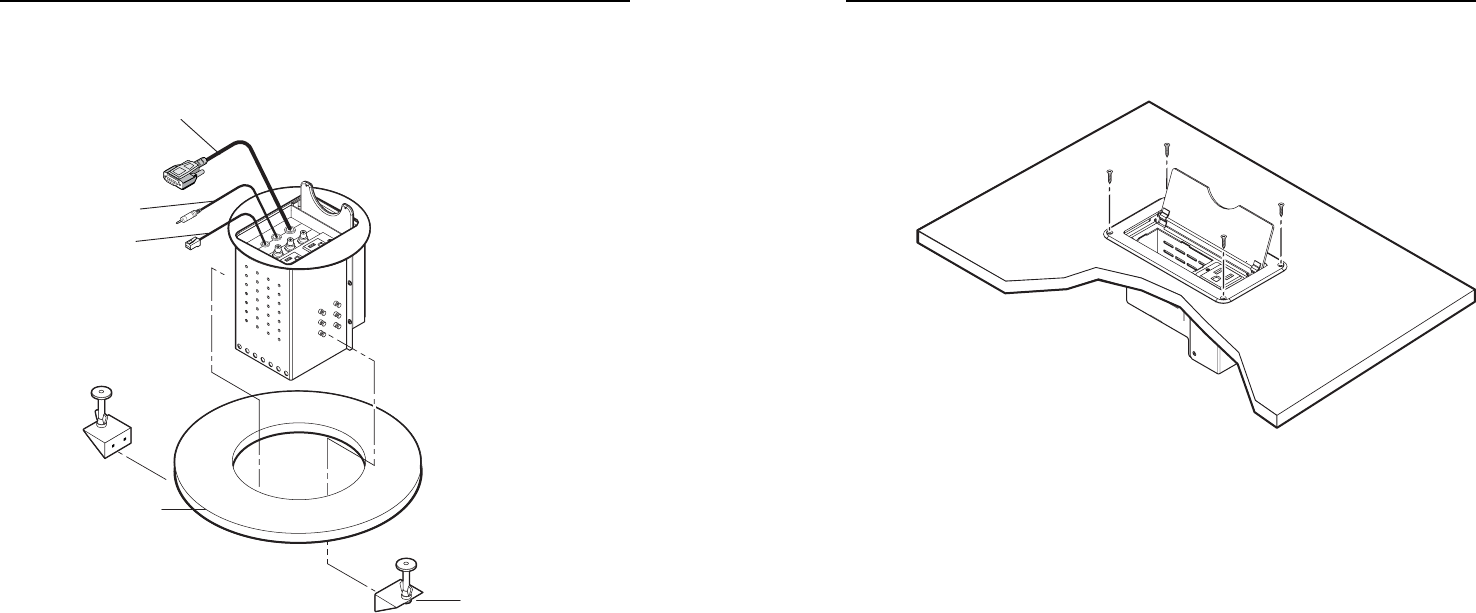
7. Cable Cubby 200 — Drill 1/8" (3 mm) pilot holes ½"
(12 mm) deep into the table in the mounting holes at each
of the four corners of the cubby.
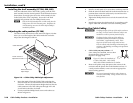
8. Cable Cubby 200 — Use the four included 6-32 x 1/2"
screws to fasten the Cable Cubby 200 to the table
(fi gure 2-8).
Figure 2-8 — Cable Cubby, installation view