


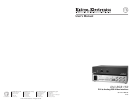

DVI-RGB 150 • Installation and Operation
Installation and Operation
DVI-RGB 150 • Installation and Operation
2-2 2-3
Installation Overview
To install and set up an Extron DVI-RGB 150 for operation,
follow these steps:
1
Turn off all of the equipment. Ensure that the video
sources and the output display are all turned off and
disconnected from the power source.
2
Mount the interface. See Mounting the Interface, below.
3
Connect the cables. See Rear Panel Connections and Controls
in this chapter.
4
Plug in the power supply, then turn on the display devices
and the input devices.
5
Set the level and peaking. See Front Panel Controls and
Indicator, on page 2-8.
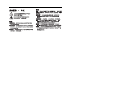
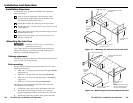
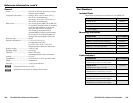
Mounting the Interface
C
Installation and service must be performed by
authorized personnel only.
The 1" high, quarter-rack width interface can be placed on a
tabletop, mounted on a rack shelf, mounted under a desk or
tabletop, or mounted through a desk.
Tabletop placement
Affi x the four included rubber feet to the bottom of the unit and
place it in any convenient location.
Rack mounting
For optional rack mounting, mount the interface on any of the
following rack shelves:
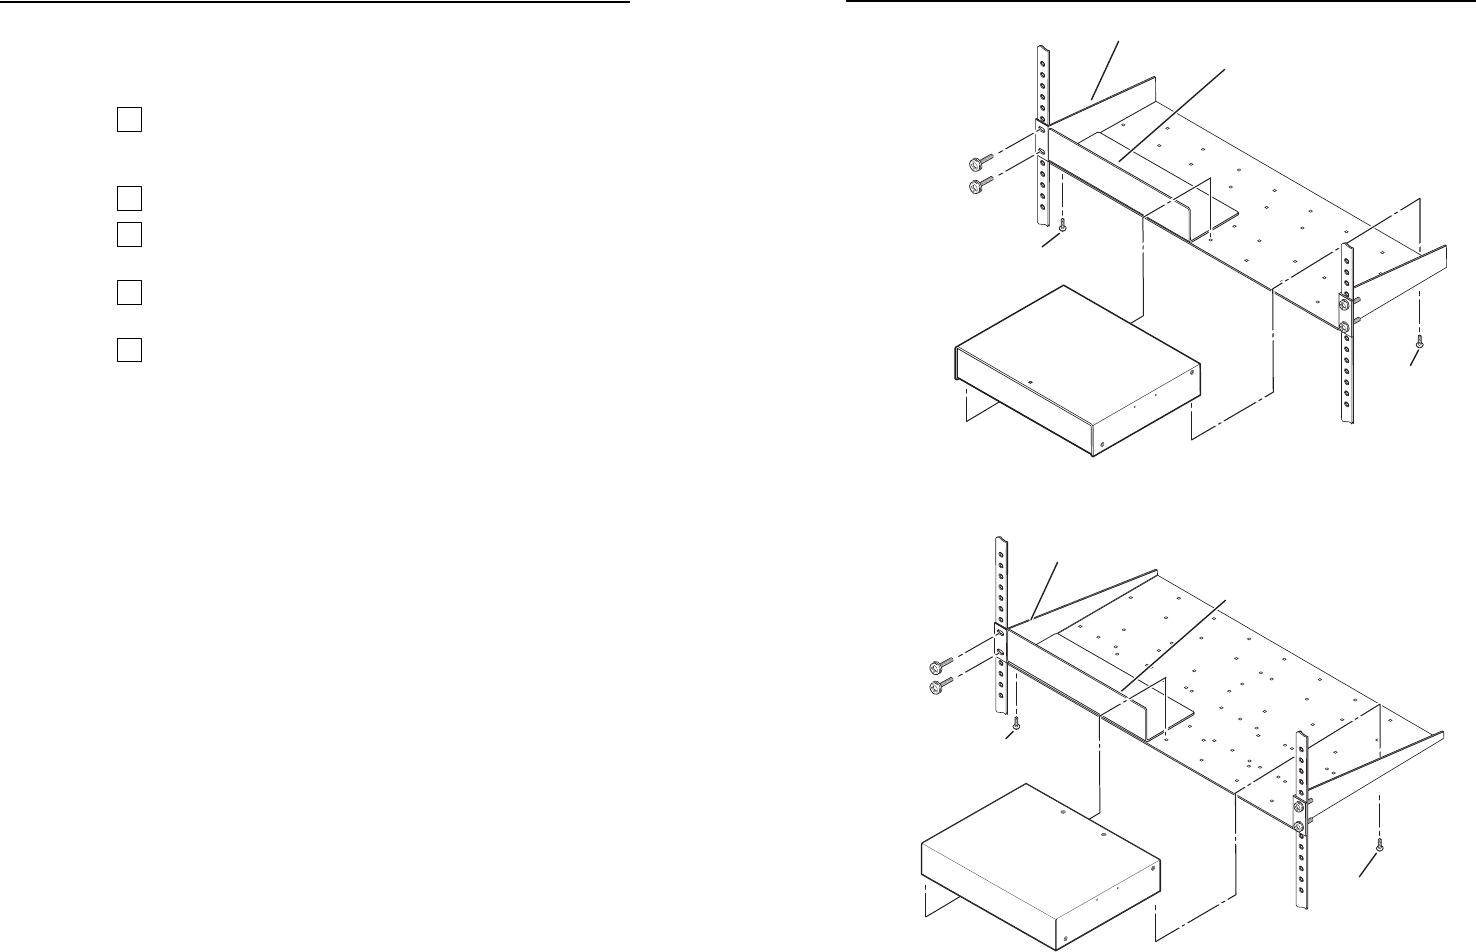
• RSU 126 6" 1U deep universal rack shelf kit (part #60-190-
10) (fi gure 2-1)
• RSB 126 6" 1U deep basic rack shelf (part #60-604-10)
• RSU 129 9" 1U universal rack shelf kit (part #60-190-01)
(fi gure 2-2)
• RSB 129 9" 1U basic rack shelf (part #60-604-01)
The interface can be mounted in the front or the rear of the
full-size (non-6") rack shelves.
1. If installed, remove the feet from the bottom of the unit.
2. Mount the interface using two 4-40 x 3/16" screws in
opposite (diagonal) corners to secure the unit to the shelf.
3. Install false faceplate(s) or other unit(s) to the rack shelf.
6" Deep Rack Shelf
Front false
faceplate
uses 2
screws.
1/2 Rack Width Front False
Faceplate
Use 2 mounting holes on
opposite corners.
(2) 4-40 x 3/16"
Screws
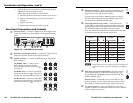
Figure 2-1 — Mounting the unit on a 6-inch rack shelf
Use 2 mounting holes on
opposite corners.
(2) 4-40 x 3/16"
Screws
NOTE:
Using screws longer
than 3/16” will damage the
unit and void the warranty.
1U Universal Rack Shelf
Front false
faceplate
uses 2
screws.
1/2 Rack Width Front False
Faceplate
Figure 2-2 — Mounting the unit on a standard rack shelf