


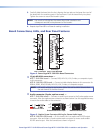

Board Setup and Operation
On the MTP T 15HD RSA board there are two DIP switches (switch #1 is for refresh rate,
switch #2 is for audio/RS-232), and a 16-position rotary encoder for EDID selection.
The factory set defaults for these are:
• DIP switch #1 is 60 Hz (down)
• DIP switch #2 is audio (down)
• EDID encoder is 1024x768 (position 2)
On the MTP R 15HD RSA SEQ board there are four active DIP switches. These are:
switch #1 = Horizontal sync, switch #2 = Vertical sync, switch 3 = RS-232 communication,
switch #4 = S-video chroma routing, switch #5 = not used, switch #6 = not used.
The factory default settings for these are:
• DIP switch #1 is H– (down)
• DIP switch #2 is V– (down)
• DIP switch #3 is unidirectional RS-232 (down)
• DIP switch #4 is MTP compatible (down)
• DIP switch #5 and #6 not used (down)
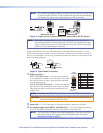
For both boards, access to the DIP switches and encoder is via a cut-out in the cover. If the
settings need to be changed from the default setting, they should be set before the board
is installed.
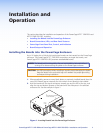
Alternatively, if changes are to be made after a board is installed, the board should be
removed from the PowerCage by loosening the top and bottom retaining screws and
carefully pulling the board out of its slot.
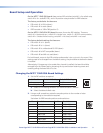
Changing the MTP T 15HD RSA Board Settings
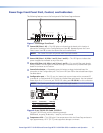
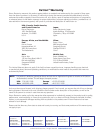
1. Set the DIP switches as required.
Switch Position Switch #1 Setting Switch #2 Setting
Up/On 50 Hz RS-232
Down/Off (default) 60 Hz Audio
a. Select RS-232 setting where RS-232 communication is desired.
b. Select the desired refresh rate.
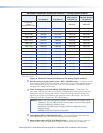
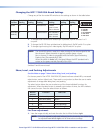
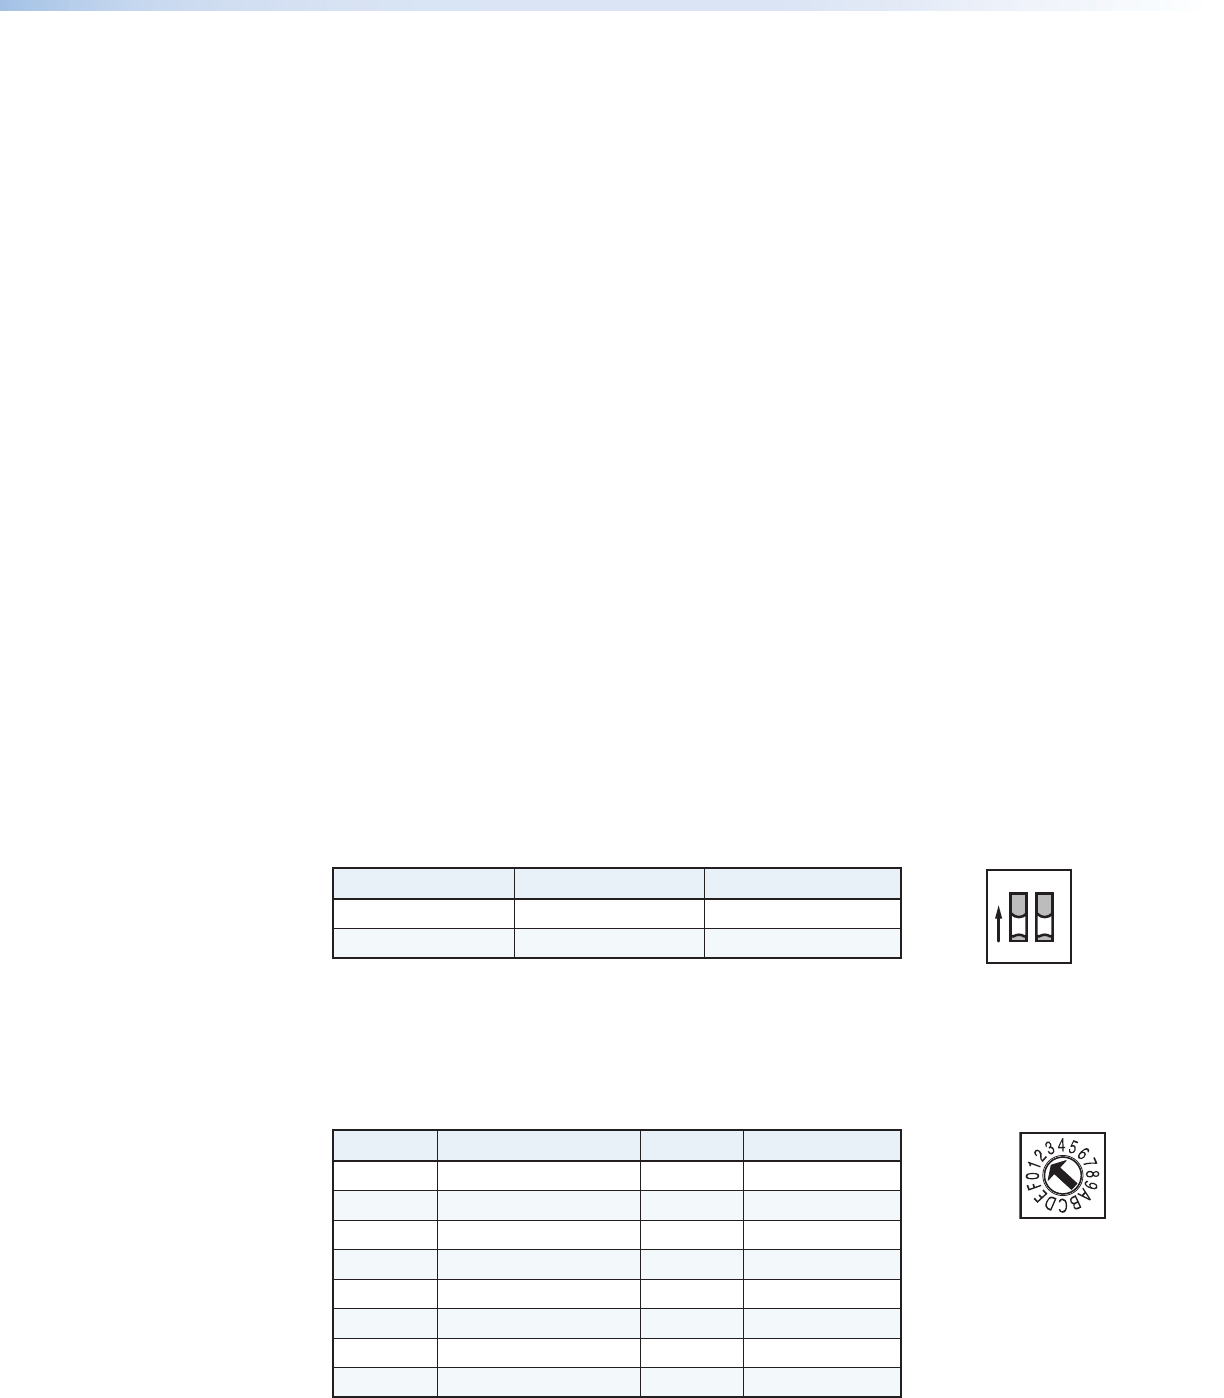
2. Using a small screwdriver, rotate the encoder pointer to the number or letter
corresponding to the resolution required.
See below for EDID encoder positions and resolutions:
Position Resolution Position Resolution
0 N/A 8 1366 x 768
1 800 x 600 9 1400 x 1050
2 1024 x 768 (default) A 1440 x 900
3 1280 x720 B 1600 x 1200
4 1280 x 768 C 1680 x 1050
5 1280 x 800 D 1920 x 1080
6 1280 x 1024 E 1920 x 1200
7 1360 x 768 F N/A
O
N
1 2
PowerCage MTP T 15HD RSA and PowerCage MTP R 15HD RSA SEQ • Installation and Operation 9