4
English
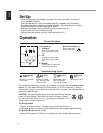
Set-Up
•Make sure the back of the shredder is at least 5 cm away from walls or furniture to
ensure sufficient ventilation.
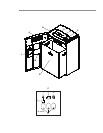
•Open the cabinet door and pull the waste basket (D) completely out of the cabinet.
•Put plastic waste bag in basket (sample bags provided). Allow bag edges to overhang.
Contact Fellowes to order more bags (part # 36054).
•Slide the waste basket into the cabinet and shut the cabinet door (A).
•Plug the power cord into a convenient outlet.
•Store use and care manual in slot (M) inside cabinet door (A).
Operation
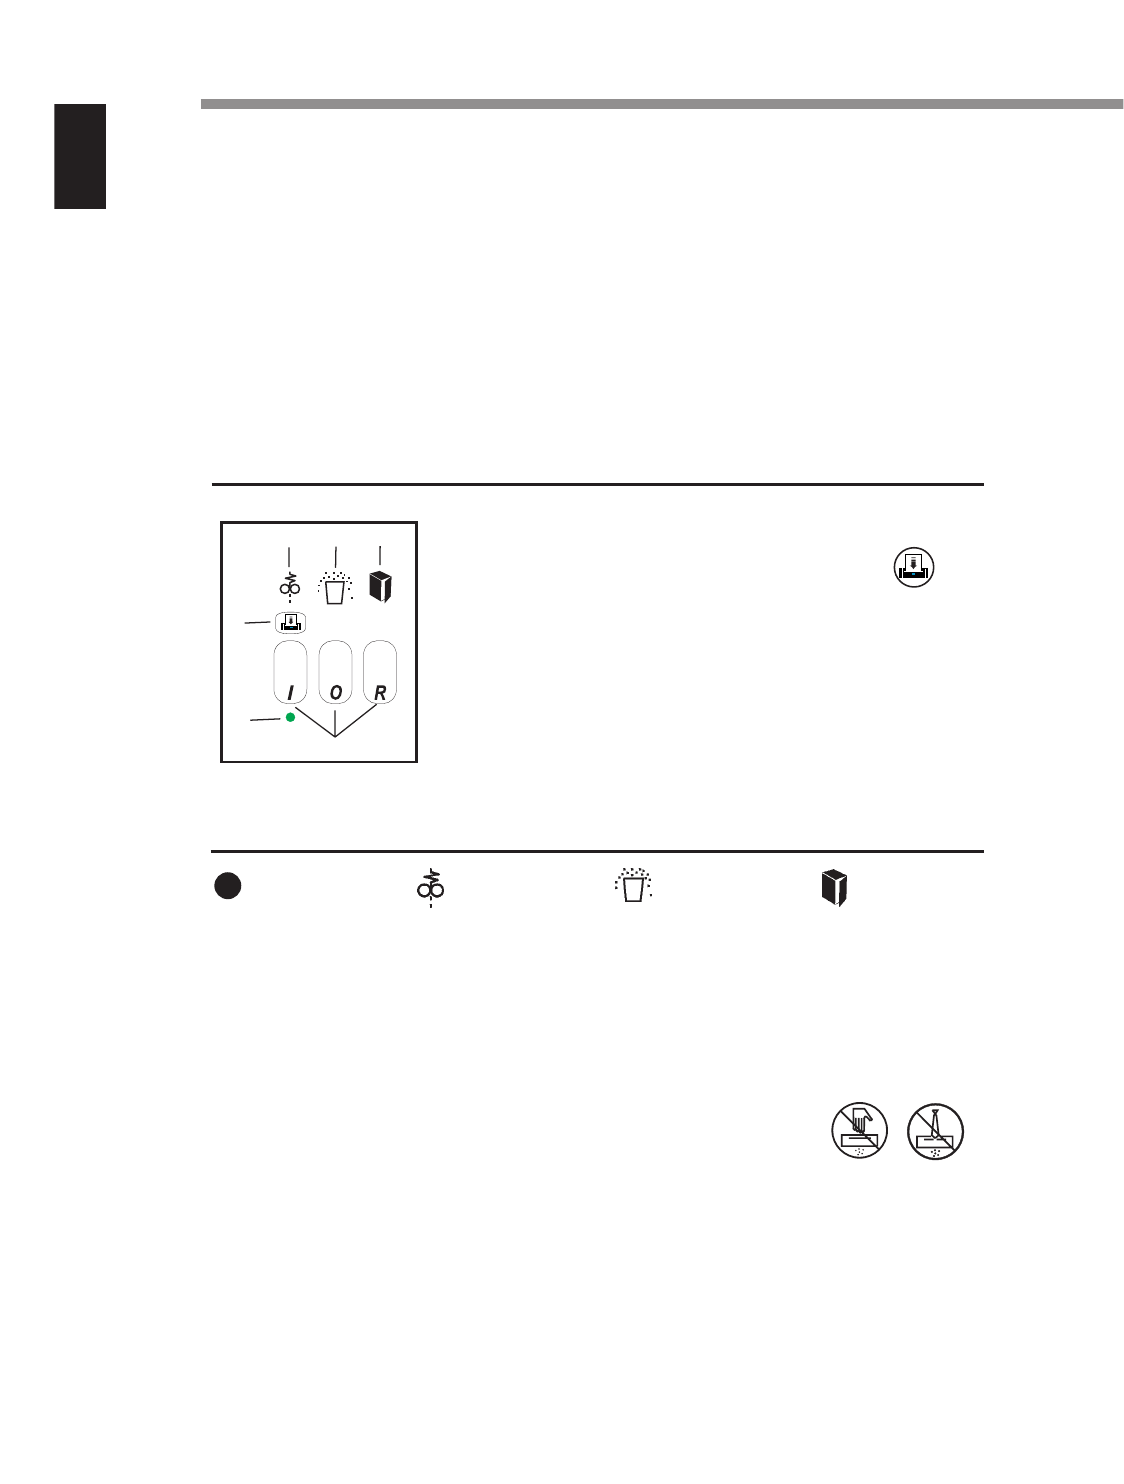
Control Switches
Control Switch (H)
I AUTOMATIC
Turns on the automatic-start
sensor and the green Ready
light.
O OFF
Turns off the automatic-start
sensor and the green Ready
light.
R REVERSE
Runs shredder in reverse mode.
Press and hold to activate.
Manual Forward Button (F)
Runs shredder when
button is held down.
Troubleshooting Lights
Ready Light (G)
(Green)
Shredder is in automat-
ic start mode.
Paper Jam (I)
(Red)
Shredder is jammed
(e.g., too much paper
fed at one time).
Basket Full (J)
(Red)
Waste basket is full or
paper has collected
under cutting cylinders.
Door Ajar (K)
(Red)
Cabinet door is open.
For convenience and energy savings, your shredder is equipped with an
automatic-start
sensor
(O). This means that when the control switch (H) is in the automatic [I] position,
the shredder will start running when you put paper into it and stop a few seconds after the
paper has passed through.
CAUTION:
The automatic-start sensor cannot tell the difference between
paper and other objects. This feature can also be a hazard. Always
turn off the shredder when it is not in use. Unplug the shredder if it will
not be used for an extended period.
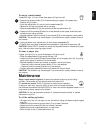
To shred paper
•Press the automatic [I] button. The green ready light (G) should turn on.
•Feed paper straight into paper entry (B) releasing when the shredder begins shredding.
To shred CDs (Model 220-2 only)
•Feed one CD straight into CD entry (E) releasing when the shredder begins shredding.
H
F
G
J
I
K


