33
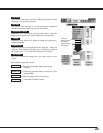
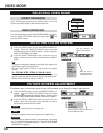
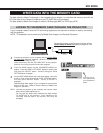
Press the MENU button and the ON-SCREEN MENU will appear.
Press the POINT LEFT/RIGHT buttons to select MCI and press
the SELECT button.
SELECTING MCI MODE
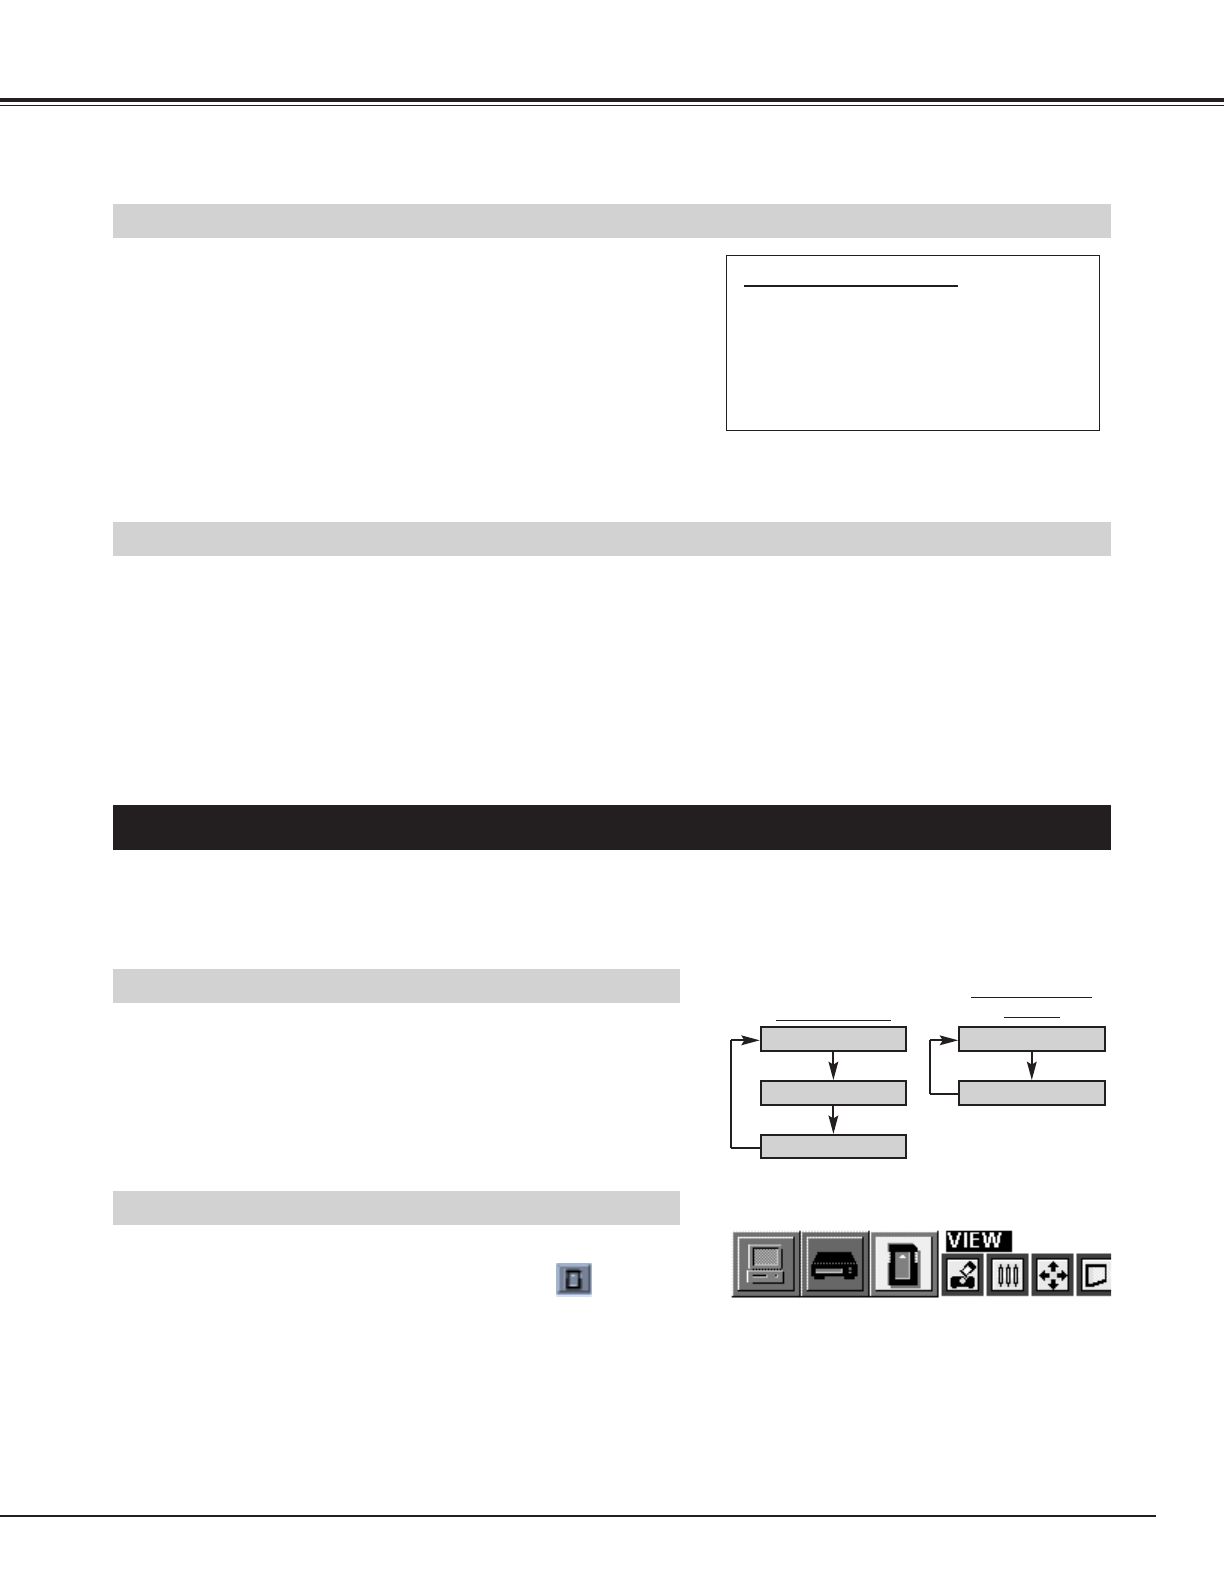
DIRECT OPERATION
Select MCI mode by pressing the MODE button on the Top Control
or the COMPUTER / MCI button on the Remote Control Unit.
MENU OPERATION
COMPUTER / MCI
button
COMPUTER
MCI
VIDEO
COMPUTER
MCI
MODE button
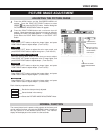
When the memory card is inserted into PC CARD SLOT, mode is automatically set to MCI mode and the first
Page of the latest Index is projected on the screen. To turn Video/Computer mode to MCI mode manually,
operate as follows.
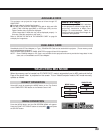
AVAILABLE DATA
AVAILABLE CARD
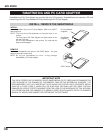
SmartMedia (with PC Card Adapter) or Type || PCMCIA-ATA Card can be used with this projector. (Those memory cards
are supplied with this projector.)
Refer to SMARTMEDIA AND PC CARD ADAPTER on pages 38 and 39 for operation.
NOTE : Some PCMCIA Adapter or PC Card is not available for this projector and cannot provide the image data. In that
case, use our SmartMedia and PC Card Adapter.
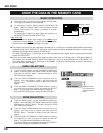
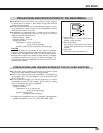
Media Card Imager
Media Card Imager (CD-ROM) is attached
to this projector to edit the image data for
projecting. Installation of Media Card
Imager is recommended. Refer to
Owner’s Manual of Media Card Imager for
installation and operation.
This projector can project the image data as follow through PC
CARD SLOT.
● The data edited by “Media Card Imager.”
● The data of the resolution between VGA (640 X 480) and XGA
(1024 X 768) in Bit Map type (BMP) or JPEG type (JPG), such as
Digital Camera data, can be also displayed.
(Some image data in XGA size may not be displayed properly. In
that case, reset the resolution to the lower.)
Refer to “SHOW THE DATA IN THE MEMORY CARD” on page 34
to display the image data.


