


7
GB
1
Installation of the Freecom software
Chapter 1: Installation of the Freecom software (PC)
Before you can use the Sync button on your Freecom Hard Drive Pro, you need to install
the Freecom Personal Media Suite software rst.
Note: To use the functions of the Freecom Personal Media Suite described
in this handbook, your Freecom Hard Drive Pro has to be connected to
your PC.
The sync button will only work with certain eSATA host controllers when
connected over eSATA. In some cases the sync button will not work when
the device is connected via eSATA to the computer. This is related to a
compatibility issue of the eSATA host controller. Should this be the case,
the synchronization process can be initiated from the Freecom Personal
Media Suite by clicking the “sync now” button. When connected over USB,
the sync button works on all USB hosts that have the bundled Freecom
Personal Media Suite installed.
1.1 Installation of the Freecom Personal Media Suite
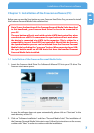
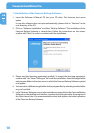
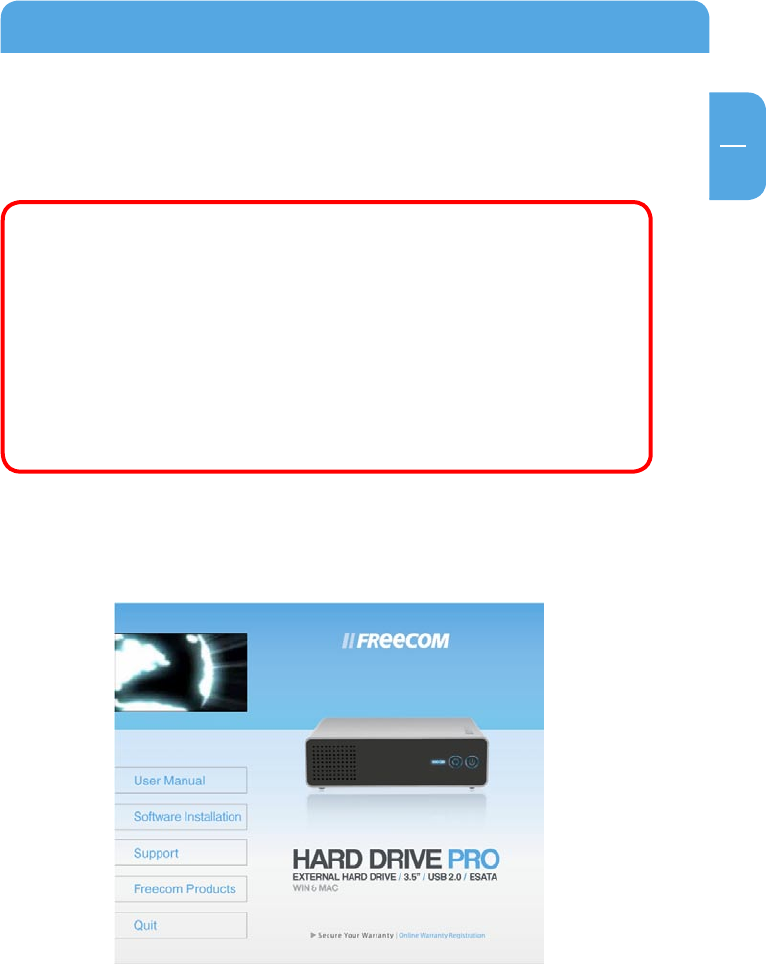
1. Insert the Freecom Hard Drive Pro Software & Manual CD into your CD drive. The
Freecom start menu opens:
In case the software does not open automatically, please click on "Start.exe" in the
main directory of the CD.
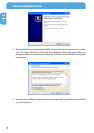
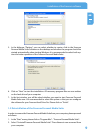
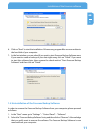
2. Click on "Software Installation" and then "Personal Media Suite". The installation of
the Freecom Personal Media Suite starts now. Follow the instructions on the screen,
conrm with "Next" in order to continue with the installation.