81
- Restoring Your System Image and Software
e. Click [Finish] on “Step 5: Copy completed. Confirm the results” screen.
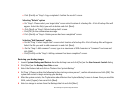
Selecting “Delete” option
a. On “Step 1: Please select your target data” screen select location of a backup file. A list of backup files will
appear. Select the file(s) you wish to delete and click [Next].
b. Click [Start] on “Step 2: Delete backup data” screen.
c. Click [OK] to the confirmation message.
d. Click [Finish] on “Step 4: Delete process has been completed” screen.
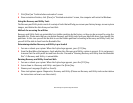
Selecting “Add Comment” option
a. On the “Step 1: Select target data” screen select location of a backup file. A list of backup files will appear.
Select the file you wish to add comments to and click [Next].
b. On the “Step 2: Add comment” screen, type in a maximum of 300 characters in “Comment” text area and
click [Add].
c. Click [Finish] on the “Step 3: Adding comment has been completed” screen.
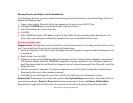
Restoring your backup images
1 Launch System Backup and Restore from the desktop icon and click [Yes] on the User Account Control dialog
2 Click [Next] on the Backup Your Data screen
3 Select the Restore tab and click on “Restore User System Backup”
4 On “Step 1: Please confirm the following before starting restore process”, confirm information and click [OK]. The
system will restart to begin restoring your backup.
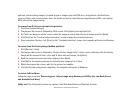
5 After the system restarts, the “Explanation about Restore User System Backup” screen is shown. Once you read the
EULA, select [Agree] choice and click [Next].
6 Select an image to restore from the Backup data list and click [Next]


