


SCENICVIEW B17-3/B19-3/P19-3
Changing the monitor settings
When putting the monitor into operation for the first time, the screen display should be optimally
adapted to the screen controller used and adjusted in accordance with your needs.
Choosing basic monitor settings using the supplied software
If one of the operating systems Windows 95/98, Windows NT, Windows Me, Windows 2000,
Windows XP or OS/2 (with Windows emulation installed) is used, the basic monitor settings can be
set with the CD supplied.
► Insert the supplied CD into the CD-ROM drive.
► Open the
Readme file on the CD and follow the instructions in the file.
Your monitor should now already be properly adjusted. If none of the above operating systems is
used or minor corrections are to be made to the screen display, then change the monitor settings
with the OSD menu.
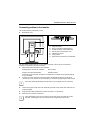
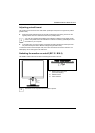
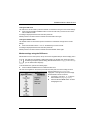
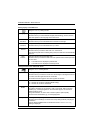
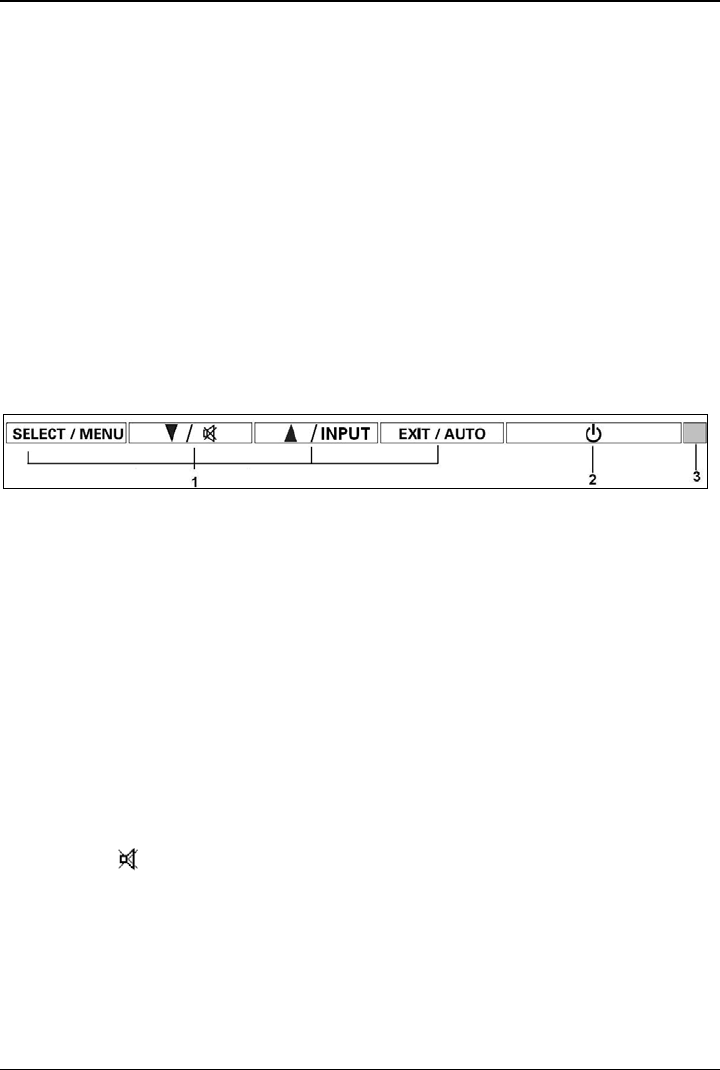
Changing the monitor settings with the buttons of the control panel
1 = Buttons for the OSD menu
(On-Screen-display)
2 = ON/OFF switch
3 = Power indicator
Use the buttons of the control panel to make the following monitor settings directly while the OSD
menu is switched off.
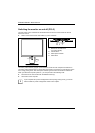
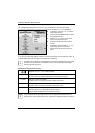
Performing auto-adjustment of the monitor
► Press the AUTO button for approx. 1 second while the OSD menu is switched off.
The
Auto Processing message is displayed.
Picture quality and position are set to optimum values for your system.
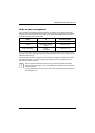
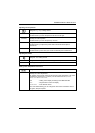
Selecting input signal (D-SUB/DVI-D)
► Press the INPUT button for calling the Input select setting window.
► Press the
6
or
5
button to select the desired input (analogue D-SUB or digital DVI-D).
This setting window can also be called, when the OSD menu is locked.
Activating/deactivating muting
► Press the button to switch the sound off and on again.
A message is displayed that the action has been performed.
18 A26361-K1143-Z120-1-7619, edition 3