23
LifeBook Application/Media Player
When you have finished with Application Panel utility,
click [OK]; the new settings will take effect. You can
reconfigure your Application Panel as often as you like.
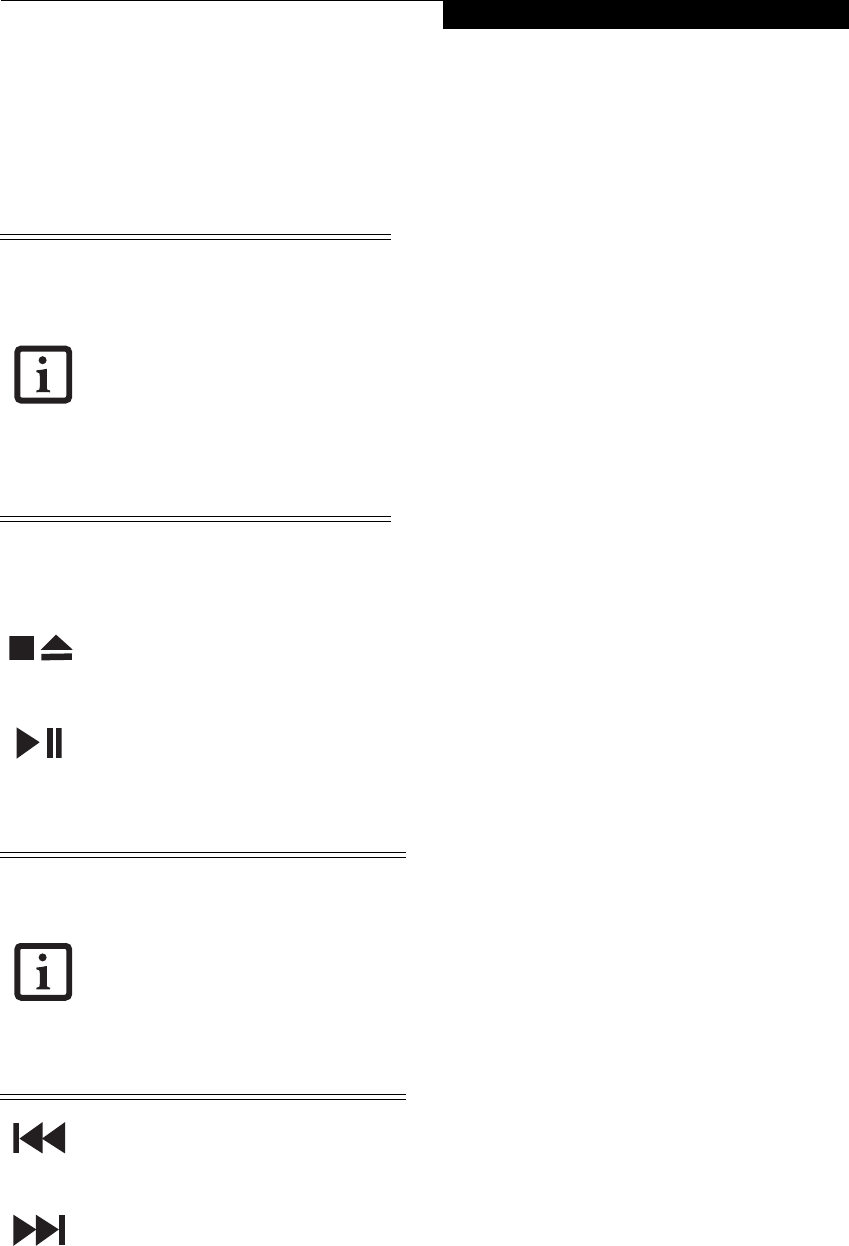
USING THE MEDIA PLAYER BUTTONS
The media player buttons are another way to use your
LifeBook notebook’s optical drive as a media player.
There is no configuration required for media player
operation. The buttons are pre-configured to work like a
normal media player. The buttons will operate as
follows:
Stop/Eject
Press this button once to stop a CD or DVD that is
playing. Press it twice to eject the disc.
Play/Pause
Press this button to start playing a CD or DVD starting
at the beginning. While the disc is playing, press it to
pause. Press it again to continue
.
Fast Backward
Press this button once to skip one track back.
Fast Forward
Press this button once to skip forward one track.
USING THE VISUAL OPTIMIZER
Visual Optimizer is a new feature which allows you to
optimize your video viewing experience. The Visual
Optimizer image quality enhancer delivers rich image
quality by employing cutting-edge technologies such as a
3D color management system, auto contrast correction,
black and white stretch, and edge enhancement.
The Visual Optimizer button is located adjacent to the
Mode button. (See figure 2-3 on page 8 for location). The
Visual Optimizer dynamically and automatically
enhances images for optimal quality. To use the Visual
Optimizer while viewing videos, press the button to acti-
vate it. To de-activate it, press the button again.
DESKTOP CONTROL PANEL
(WINDOWS XP MODELS)
If you have Microsoft Windows XP Pro installed on your
system, your notebook includes a desktop control panel
for your notebook’s desktop that you can use at any
time. You can use this panel to operate the media drive.
To use the desktop control panel:
1. Click on Start.
2. Click on All Programs.
3. Click on LifeBook Application Panel.
4. Click on CD Player.
The desktop control panel will appear in the corner of
your screen.
To close the panel:
1. Click on the “x” button.
To minimize the panel:
2. Click on the “-” button.
You can select from four appearances for your desktop
control panel. Double-click on the track display area of
the panel, and a menu will appear which will allow you
to select from a pull-down menu. On the same pop-up
are three other options: “Always on top”, “Continuous
Play”, and “Disable Stop/Eject Button CD Removal”. If
you click “Always on top”, the desktop controls will
always be seen on your screen, no matter what other
application you are running. If you click “Continuous
Play”, your media player will automatically start over at
the beginning of the disc in the drive as soon as it
finishes the last track. If you click “Disable Stop/Eject
Button CD Removal”, the disc will not be ejected auto-
matically when the Stop/Eject button is pressed.
You can move the desktop control panel to anywhere on
the desktop. Drag it by clicking on the track number
display, holding it down, and dragging the control panel.
When you place it where you would like, release the
mouse button
.
• If you have Microsoft Windows Media
Center Edition on your system, the
media player buttons do not function,
since the remote control device is used
to operate the optical drive.
• If you shut down from Windows while
the media player is playing a CD or
DVD, it will stop.
• You can’t go into Hibernation Mode
(Save-to-Disk) or Suspend Mode while
the media player is playing.
• The media player will only play when
the system is powered on.
• If you press the play button and noth-
ing happens, there is no disc in the
media player drive, you have other
than a media disc in the drive, or sys-
tem is not powered on.
• Because of the Windows auto-insertion
function, discs will start playing imme-
diately after they are inserted if your
LifeBook notebook is on. This will not
happen if you are using the media
player in Suspend mode.
N6420-Vista.book Page 23 Friday, February 16, 2007 4:48 PM
