


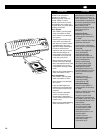

The GBC Pouch Laminator is
designed to run Carrier or
Carrierless pouches. Check your
pouches. Always run carrier
pouches with a carrier to prevent
pouch adhesive from oozing onto
the rollers. Know your pouch before
operating the laminator.
Carrier Pouches
1. After “READY” light illuminates
switch the machine to “RUN”.
2. Center the item to be laminated
into a pouch.
3. Insert the pouch and item into a
carrier which is provided with
each carton of pouches. Position
the sealed edge of the pouch
against the inside folded edge of
the carrier. Handle carriers
carefully so they can be re-used.
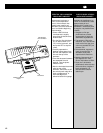
4. Insert the folded edge of the
carrier straight into the front of
the laminator until you feel the
rollers pick up the carrier.
5. Remove the warm carrier from
the rear of the pouch laminator
after it has stopped moving. Place
on flat surface to cool for one
minute before removing finished
pouch.
6. When you are finished laminating
switch the machine to “OFF”.
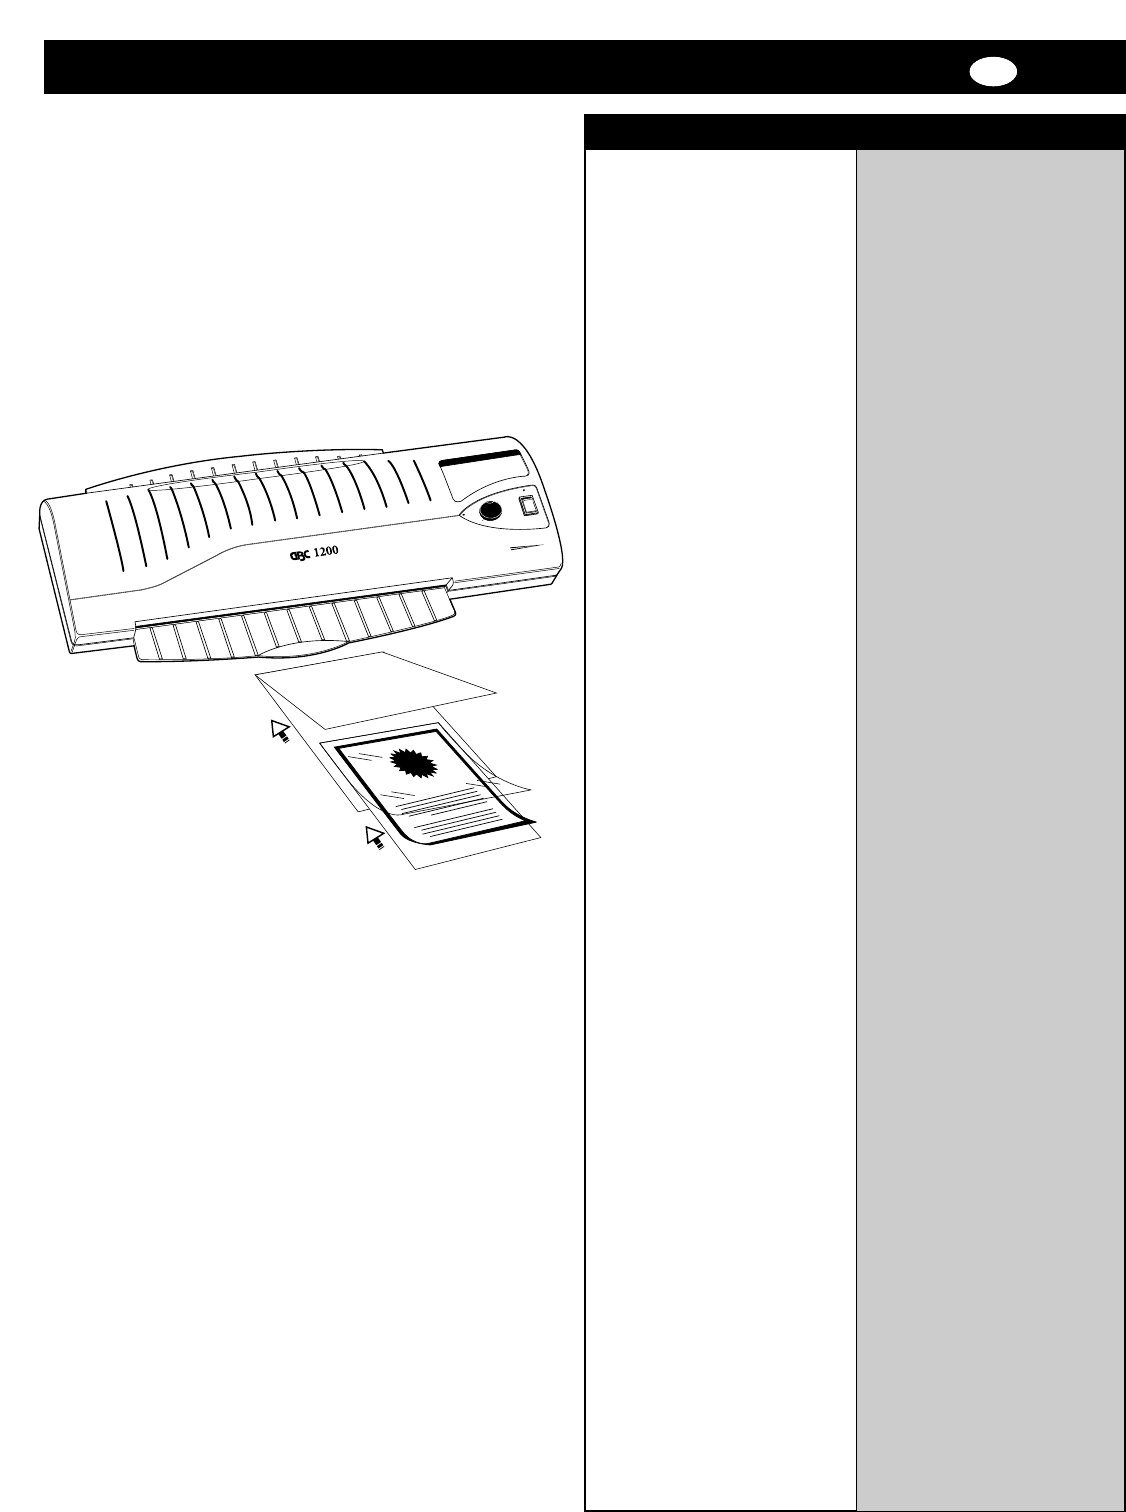
Carrier-less Pouches
1. After “READY” light illuminates
switch the machine to “RUN”.
2. Center the item to be laminated
into a pouch.
3. Insert the sealed edge of the
loaded pouch into the laminator
until you feel the rollers pick up
the pouch.
4. Remove the warm laminated
pouch from the rear of the
laminator after it has stopped
moving. Place the pouch on a flat
surface to cool.
5. When you are finished laminating
switch the machine to “OFF”.
La plastificatrice a Pouch GBC può
utilizzare pouches “con carrier” e
pouches “senza carrier”. Controllare
le vostre pouches. Le pouches con
carrier devono essere sempre usate
con il carrier per evitare che
l’adesivo finisca sui rulli.
E
’necessario conoscere il tipo di
pouch prima di usare la
plastificatrice.
Pouches Con Carrier
1. Quando la spia “READY” si
accende portare l’interruttore
su “RUN”.
2. Inserire il materiale che si deve
plastificare nella pouch.
3. Inserire pouche materiale nel
carrier fornito con la confezione
di pouches.
4. Inserire il lato piegato del
carrier direttamente
nell”imboccatua della
plastificatrice finché non si
sente che é stato afferrato dai
rulli di transcinamento.
5. Quando si sarà fermato
rimuovere il carrier caldo
all’uscita posteriore della
plastificatrice. Lasciare
raffreddare il carrier su una
superficie piatta per un minuto
prima di rimuovere la pouch
plastificata.
6. Ultimato il lavoro di
plastificazione spegnere la
macchina portando
l’interruttore su “OFF”.
Pouches Senza Carrier
1. Quando la spia “READY” si
accende portare l”interruttore
su “RUN”.
2. Inserire il materiale che si deve
plastificare nella pouch.
3. Introdurre la pouch nella
plastificatrice, inserendola dal
lato saldato, finché non si sente
che é stata afferrata dai rulli di
trascinamento.
4. Quando si sarà fermata,
rimuovere la pouch calda
all’uscita posteriore della
plastificatrice. Lasciare
raffreddare la pouch su una
superficie piatta.
5. Ultimato il lavoro di
plastificazione spegnere la
macchina portando
l’interruttore su off.
10
I
OPERATION UTILIZZO
T
E
M
P
E
R
A
T
U
R
E
1
2
3
4
5
6
7
8
9
1
0
®
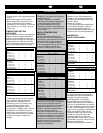
Lam
inator
DOCUMEMT
n
ew
s
print 2 2
3
3 N
/A
cop
y p
aper 2
2
3
3
8
ca
rd
stoc
k 5
5 5 5 9
3 M
IL
5
M
IL
7
M
IL 10
M
IL FO
IL
P
O
W
E
R
R
U
N
O
F
F
W
A
R
M
R
E
A
D
Y
C
O
L
D