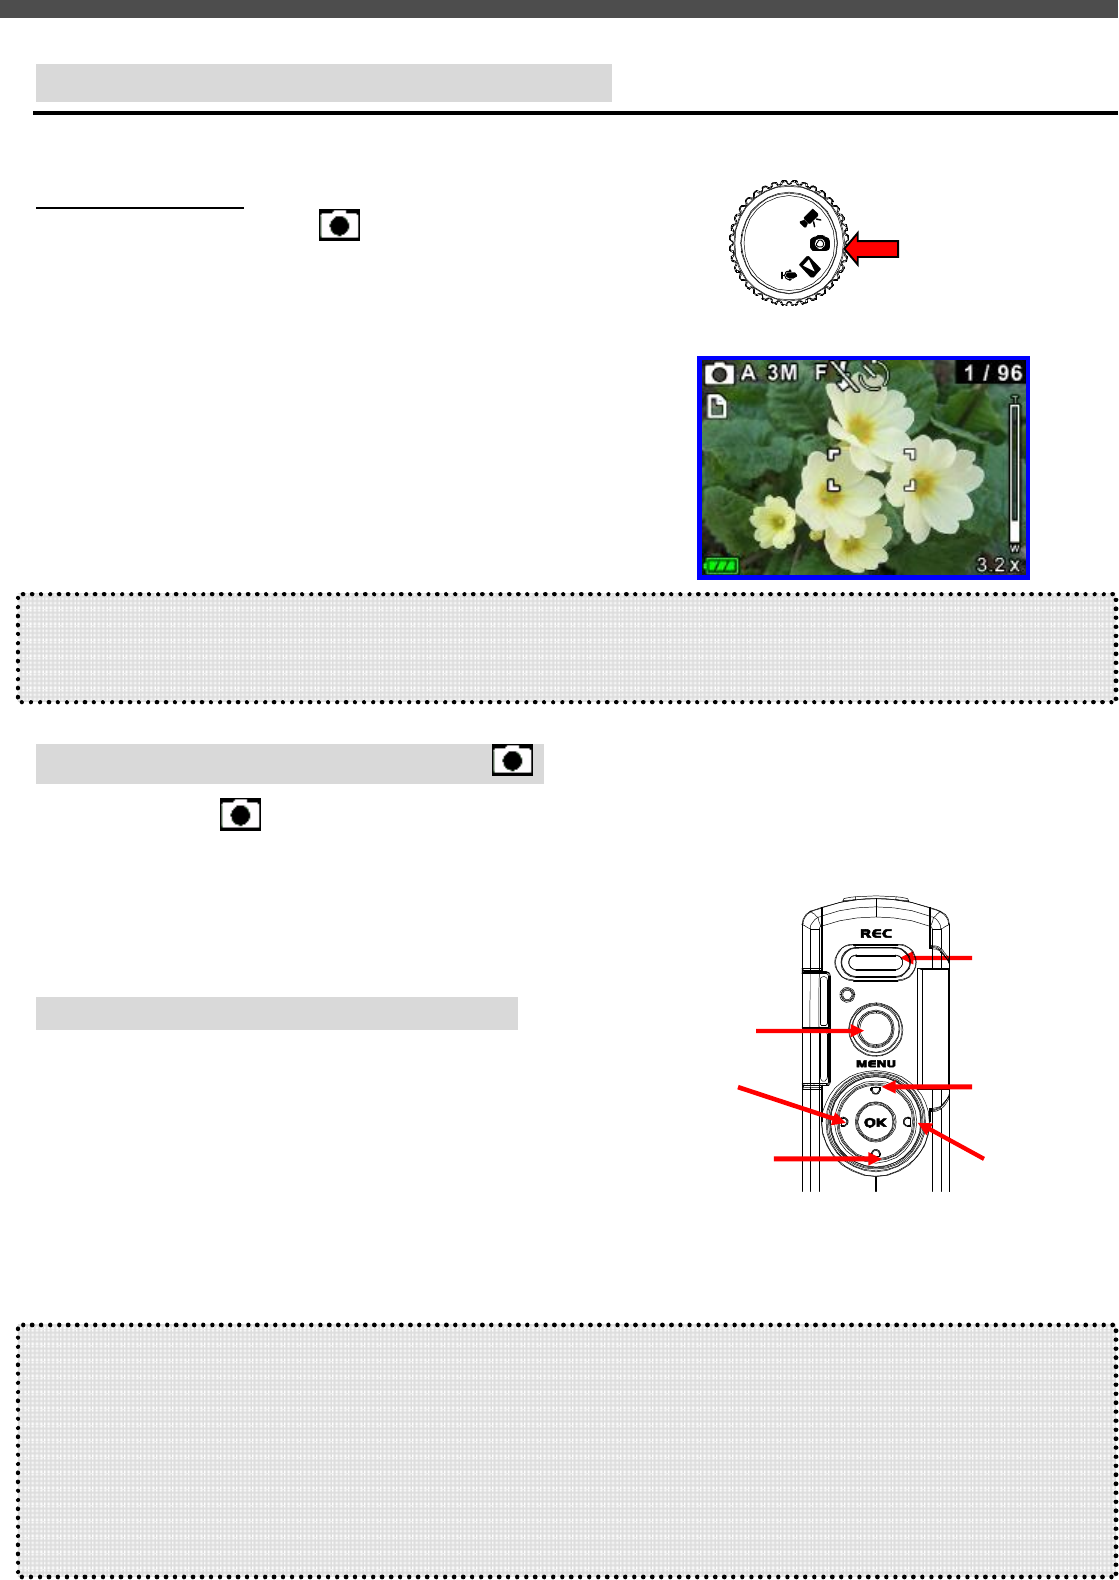
10. TAKING PHOTO (CAMERA MODE)
G-Shot5011CC has a 5-Mega Pixel sensor that can take high quality images with up to 2592 x 1944 pixels
TO TAKE A PHOTO:
1. Turn the Mode Dial to [ ] Camera mode.
2. Press [▲] button repeatedly to select photo
resolution setting [5MP] / [4MP] / [3MP] / [2MP] /
[VGA],
Or, press [▼] button to select photo resolution
[SF] Super Fine/ [F] Fine / [N] Normal (See next
section “Photo Resolution Vs Photo Quality”)
3. To start shooting photo, press [REC] button once.
Note:
l Before a photo is taken, you can see number of [total no. of photos have been taken] / [remaining shots] on
top right corner of LCD. The remaining shot is an approximation based on the unused memory
Menu Settings (Camera Mode )
When in Camera [ ] mode, you can use the default settings that have already been chosen for photo taking
If you want to change the settings to suit your needs, press the Menu button. Then use the 4-way arrow keys
go through each setting and make adjustments.
The following sections describe about the menu settings.
Changing resolution (Camera Mode)
Your camera offers 5 choices in resolution:
● 5M :
2592 x 1944pixels
● 4M : 2432 x 1824pixels
●
3M
: 2048 x 1536pixels
●
2M
: 1600 x 1200pixels
●
VGA: 640 x 480pixels
J TIPS - Choice of Resolution
- While in Camera mode, you can press [▲] key to toggle the resolution without entering the options menu.
u
[5M] / [4M]
/
[3M]
allows a photo to be taken as sharp as possible, which is suitable for 7”x 5” Photo
printout; too large for email.
u
[2M]
is suitable for 6”x4” Photo printout; acceptable for email.
u
[VGA]
is good for sharing with email to small for photo printout
Photo quality
shooting
Resolution
Flash mode
