p.24
Maintenance for Your Drive
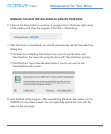
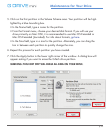
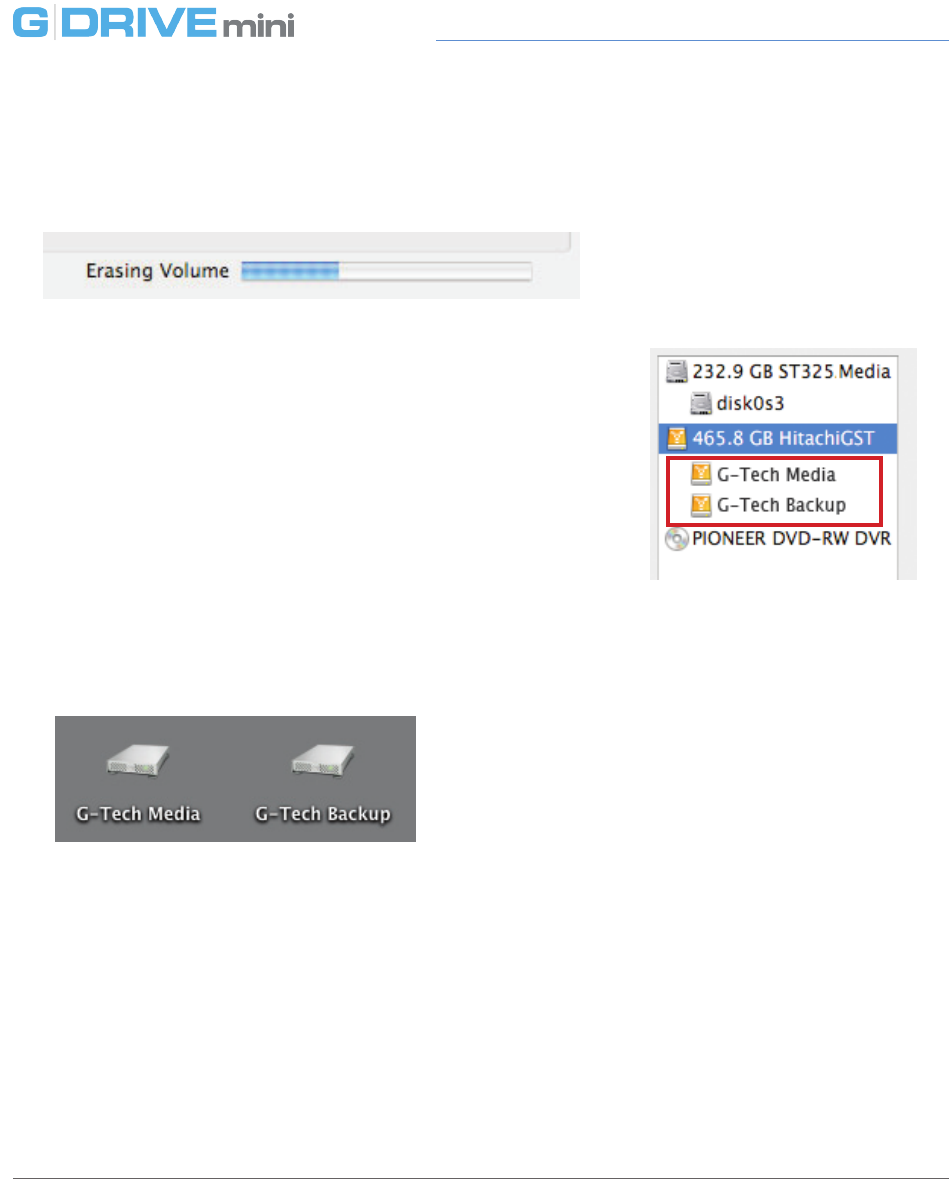
8. Click on the Partition button to continue. A progress bar in the lower right
corner of the window will show you the progress of the disk’s reformatting.
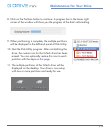
9. When partitioning is complete, the multiple partitions
will be displayed in the left-hand panel of Disk Utility.
10. Quit the Disk Utility program. After reinitializing the
drive, the custom icon for the G-Tech drive has been
erased. You can optionally restore this icon to each
partition with the steps on this page.
11. The multiple partitions of the G-Tech drive will be
displayed on the desktop. Your drive is now setup
with two or more partitions and ready for use.


