C:\data\Projector\AirShot\AirShot_FMData\2634400112_VPL-
CX8676_AirShot\2634400112_VPL-
CX8676_AirShot\2634400112\2634400112VPLCX8676WW\02C01.fm
masterpage: Left
8
Wireless Connection
VPL-CX86/CX76
2-634-400-11 (1)
Setting and connecting the
computer
1 Start the Projector Station for Air Shot
Version 2.
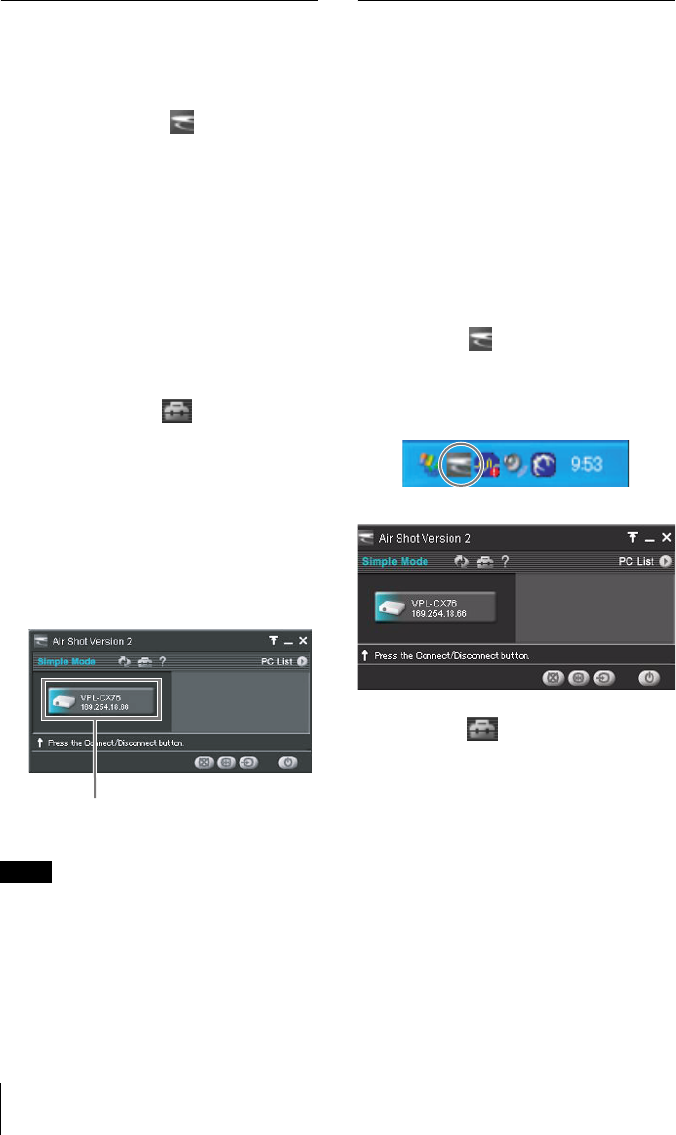
When it starts, the [ ] icon appears in
the task tray.
When [Create Shortcut Icon into Startup
Folder.] is selected at installation, the
Projector Station for Air Shot Version 2
starts automatically.
2 Make sure that the switch is set to
WIRELESS LAN and then connect
the USB wireless LAN module to the
USB terminal of the computer.
The wireless setting is automatically
done. When [Connect Projector
automatically when starting application]
is selected in
the [ Option Setting]
dialog box (page 17), the connectable
projector is searched and the image of
the computer is projected on the
searched projector.
3 When [Connect Projector automatically
when starting application
] is not
selected, click the projector button to
connect it.
It may take time to project an image due to the
computer.
Disconnecting the projector and
computer
Click the projector button to disconnect the
project from the computer.
To remove the USB wireless LAN module,
use [Safe to remove hardware] to stop the
device and then remove it.
When the projector you want to
connect cannot be found
Change the projector or add the projector to
be used. The changed or added projector
appears in the select list.
Setting
1 Click the [ ] icon in the task tray
and select [Open].
The main window of Projector Station
for Air Shot Version 2 opens.
2 Click the [ ] button of the main
window to open the [Option Setting]
dialog box.
The [Option Setting] dialog box is
opened when the computer is not
connected to the projector.
For details of the [Option Setting] dialog
box, see page 17.
3 Click the [Simple Mode Setting] tab.
The dialog box with a projector name
and serial number is displayed.
Note
Projector button


