


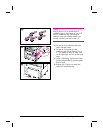


Note
Follow steps 10-13 to attach the five
stabilizing legs to the bottom of tray 4. If
the five stabilizing legs (which are in
addition to the four locking wheels) are
already attached, proceed to step 14.
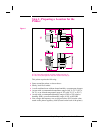
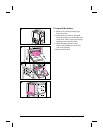
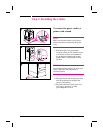
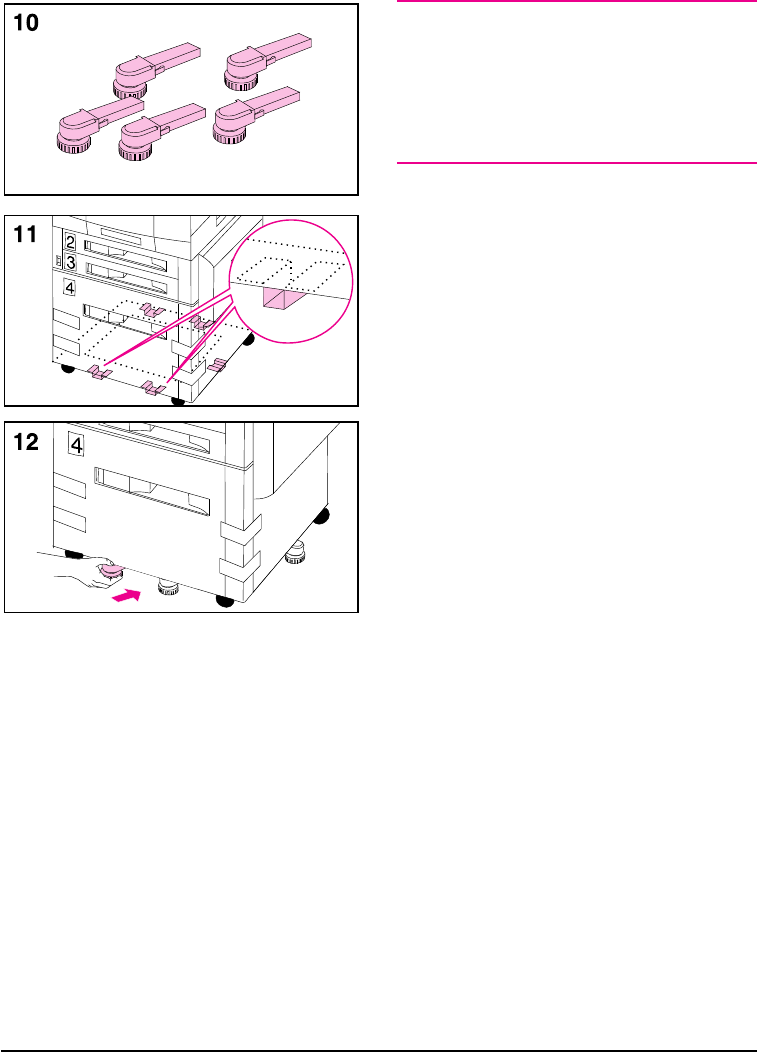
10 Locate the five stabilizing legs that
came with the printer.
11 Locate the five guides for the
stabilizing legs on the bottom of tray
4—two guides at the front edge, one
on the right edge, and two on the back
edge.
12 Insert a stabilizing leg into one of the
guides and push the leg into the guide
until it stops.
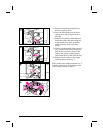
13 Repeat step 12 above to attach the
other four stabilizing legs.
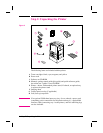
EN Step 2: Unpacking the Printer 7