


In the United States and many other countries/regions, setting the time, date, and other fax header
information is a legal requirement.
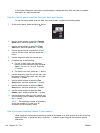
Use the control panel to set the fax time, date, and header
To use the control panel to set the date, time, and header, complete the following steps:
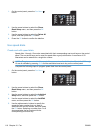
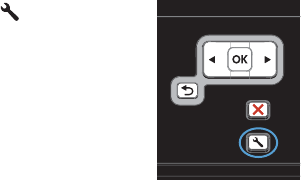
1. At the control panel, press the Setup
button.
2. Use the arrow buttons to select the System
Setup menu, and then press the OK button.
3. Use the arrow buttons to select the Time/
Date menu, and then press the OK button.
4. Use the arrow buttons to select the 12-hour
clock or 24-hour clock, and then press the OK
button.
5. Use the keypad to enter the current time.
6. Complete one of the following:
●
For the 12-hour clock, use the arrow
buttons to move past the fourth character.
Select 1 for a.m. or 2 for p.m. Press the
OK button.
●
For the 24-hour clock, press the OK button.
7. Use the keypad to enter the current date. Use
two digits to specify the month, day, and year.
Press the OK button.
8. Use the arrow buttons to select the Fax
Setup menu, and then press the OK button.
9. Use the arrow buttons to select the Basic
Setup menu, and then press the OK button.
10. Use the arrow buttons to select the Fax
Header menu, and then press the OK button.
11. Use the keypad to enter your fax number and
your company name or header, and then press
the OK button.
NOTE: The maximum number of characters
for the fax number is 20; use up to 25
characters for the company name.
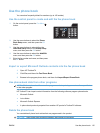
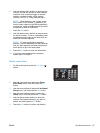
Use of common localized letters in fax headers
When using the control panel to enter your name in the header or to enter a name for a one-touch key,
speed-dial entry, or group-dial entry, touch the 123 button to open a keypad that contains special
characters.
114 Chapter 10 Fax ENWW