


Contents 46
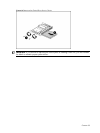
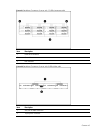
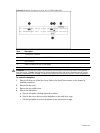
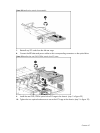
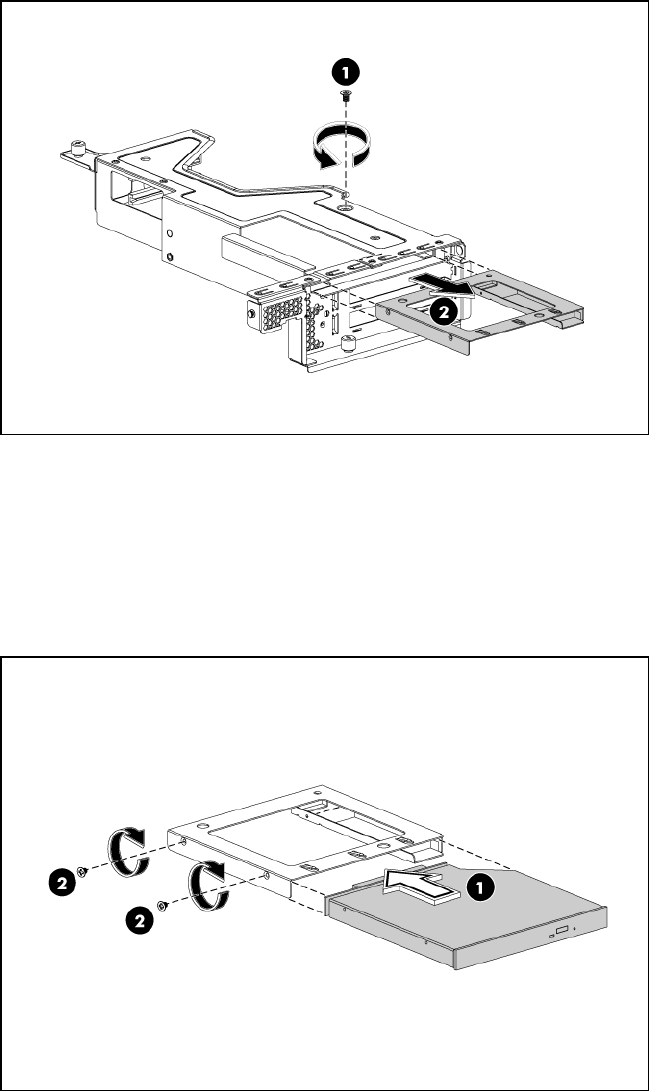
Figure 26 Removing the optical carrier
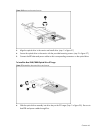
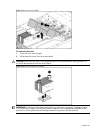
3. Align the optical drive in the carrier and install drive. (step 1 in figure 27)
4. Secure the optical drive to the carrier with the provided mounting screws. (step 2 in figure 27)
5. Connect the IDE data and power cables to their corresponding connectors on the optical drive.
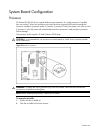
To Install the Rear DVD/CDRW Optical Drive PCI cage
:
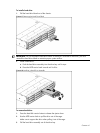
Figure 27 Assembling the optical drive and carrier
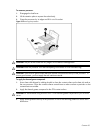
6. Slide the optical drive assembly into drive bay on the PCI cage. (Step 1 in figure 28). Be sure to
feed IDE and power cables through first.