


1-6
Installing the Switch 208/224
Installation Steps
Installing the Switch 208/224
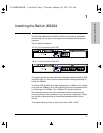
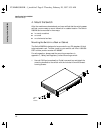
3. Verify the Switch’s Operation
After you have installed any modules, but before mounting the switch in its
network location, you should first verify that it is working properly by plugging
it into a power source and verifying that it passes its self test.
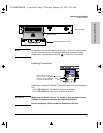
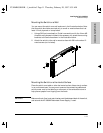
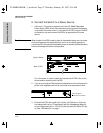
1. Connect the power cord supplied with the switch to the power connector
on the back of the switch, and then into a properly grounded electrical
outlet.
Note The Switch 208/224 does not have a power switch. It is powered on when the
power cord is connected to the switch and to a power source.
If your installation requires a different power cord than the one supplied with
the switch, be sure to use a power cord displaying the mark of the safety
agency that defines the regulations for power cords in your country. The mark
is your assurance that the power cord can be used safely with the switch.
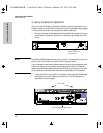
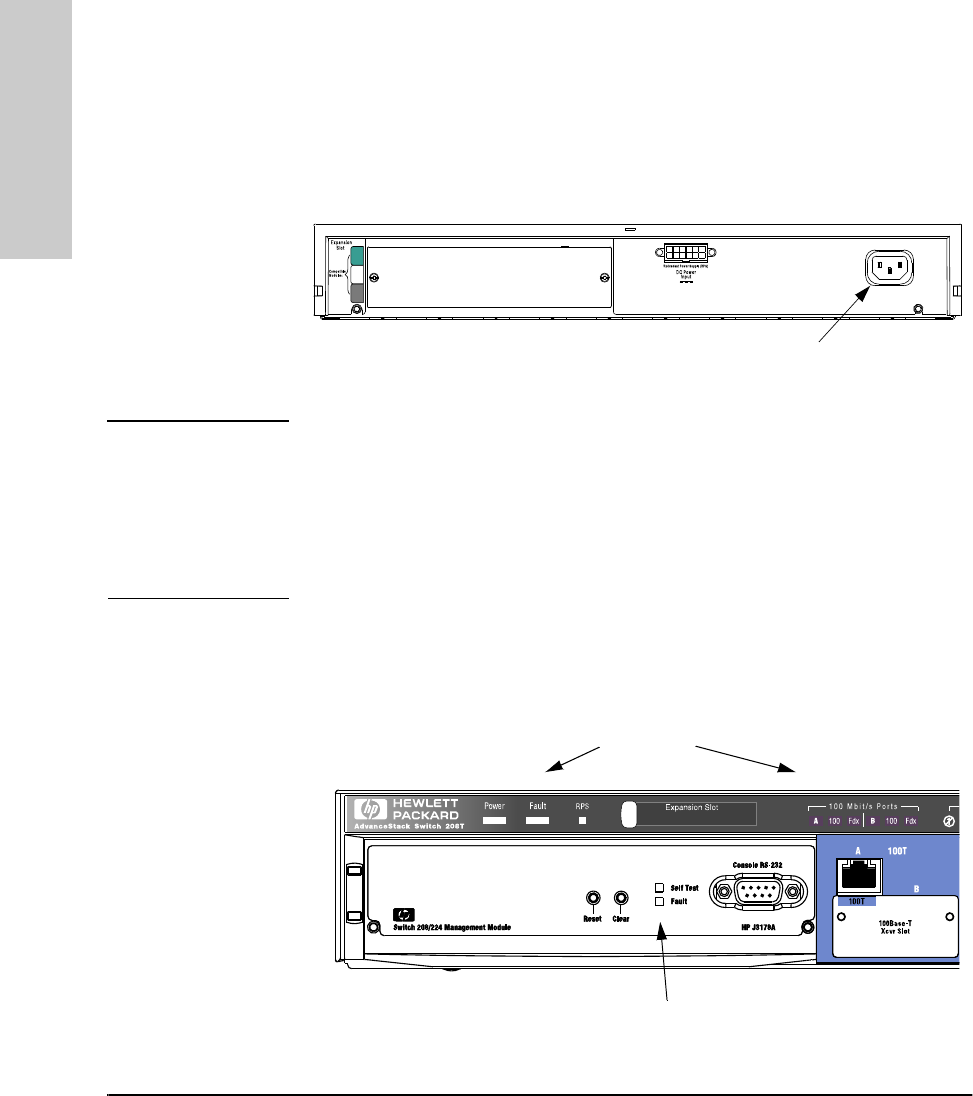
2. Check the LEDs on the switch’s front panel (and on the Switch Manage-
ment Module, if one is installed in the switch). The LED behavior is
described on the next page.
Connect power cord to
p
ower connector.
switch LEDs
Switch Management Module LEDs
YUMABOOK.BK : 1_instal.fm5 Page 6 Thursday, February 20, 1997 9:35 AM