


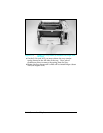


Fuser Assembly Removal
Caution
The Fuser Assembly may be hot. Allow plenty of
time for the fuser to cool before beginning the
fuser removal procedure.
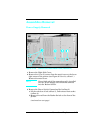
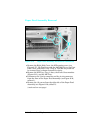
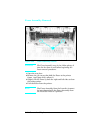
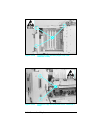
1 Open the rear door.
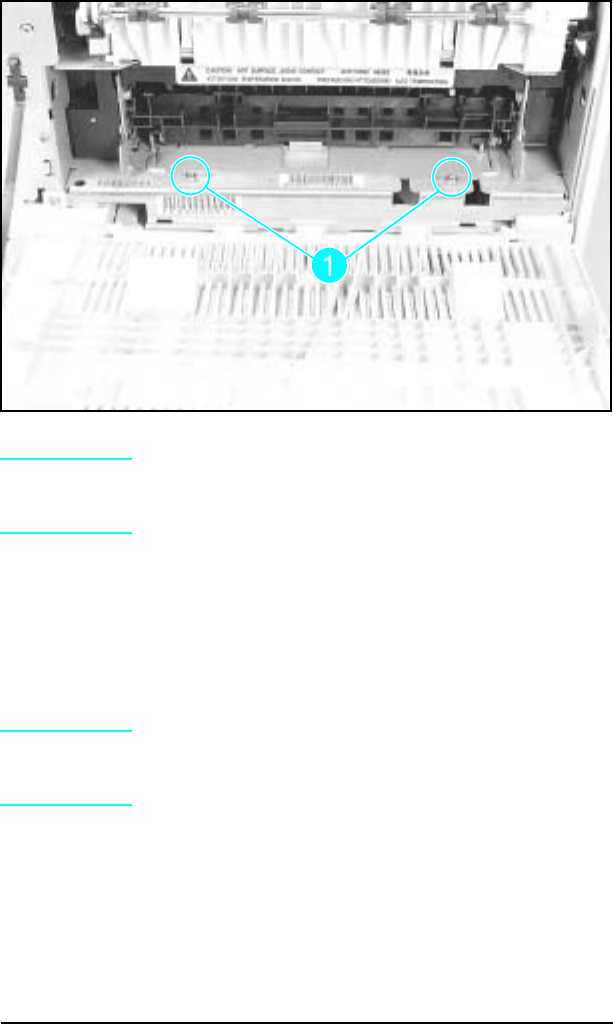
2 Remove the (2) screws that hold the Fuser to the printer
frame (see Figure 6-20, callout 1).
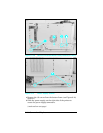
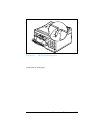
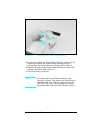
3 Slightly lift the Fuser by both the right and left sides to clear
the locator points.
4 Pull the Fuser from the printer.
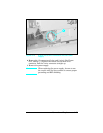
Note
The Fuser Assembly from the LaserJet 4 cannot
be interchanged with the Fuser Assembly from
the LaserJet 4 Plus or 5 printers.
Figure 6-20 Fuser Assembly Screws
6-22 Removal and Replacement