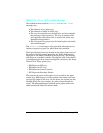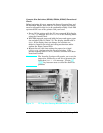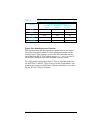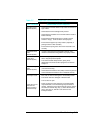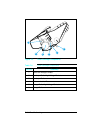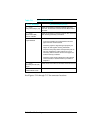
Jam Location Checks and Action Required
Input Area Jams
(Sensed by PS1.)
1. Check that the Transfer Roller is fully seated and shows no
sign of wear.
2. Check that the Toner Cartridge is fully seated.
3. Check that the cassettes are not overfull and the media is
loaded correctly.
4. Ensure that the media meets specs. (media is not too
smooth or rough), and it has been stored properly.
5. Ensure that the paper tray is fully seated (especially if
printing from the Lower Cassette).
6. Ensure that the spring force of the Lower Cassette is set
correctly.
Registration Area
Jams
(Sensed by PS1.)
1. If paper is damaged at the Registration Sensor (PS1),
check that the Transfer Charge Roller is properly seated.
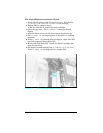
Lower Cassette
Paper Jams
(Sensed by PS1.)
1. The LC Tray (Tray 3) is not fully seated into the printer. Seat
the LC Tray firmly into the printer.
2. The Lower Cassette feed pressure (spring force)
adjustment is incorrect. Set the spring force as shown in
Chapter 3.
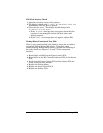
Fuser Assembly
Jams
(Sensed by PS3.)
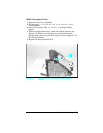
1. Check that the Fuser Pressure Roller Levers are down
(LJ4 and 4 Plus Only).
2. Check that the Exit Sensor Arm (PS3) is free throughout its
travel and that the Exit Sensor Arm is installed correctly.
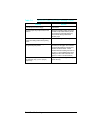
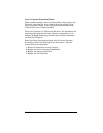
False Paper Jams
Paper Jam occurs
when the last
sheet of paper is
fed from the tray.
1. PS1, PS3, or PS5 are damaged or mechanically broken.
2. The sensor wires are damaged or disconnected.
3.
4.
The rear door is open.
Paper out sensors in the paper tray or envelope feeder
may be defective, or the sensor flags may be broken or
missing. PS2 is the sensor for the PC Tray (Tray 2), PS4 is
the sensor for the MP Tray (Tray 1), PS6 is the sensor for
the LC Tray (Tray 3), and PS7 is the sensor for the
Envelope Feeder.
Table 7-7
Paper Jam Troubleshooting Checklist
Troubleshooting 7-21


