


Output Assembly Removal
1 Remove the Right Side Cover, the Top Cover, and the Left
Side Cover.
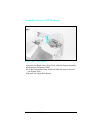
2 Release the grounding strap from the left side of the frame.
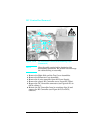
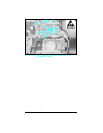
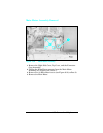
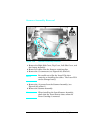
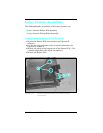
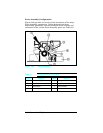
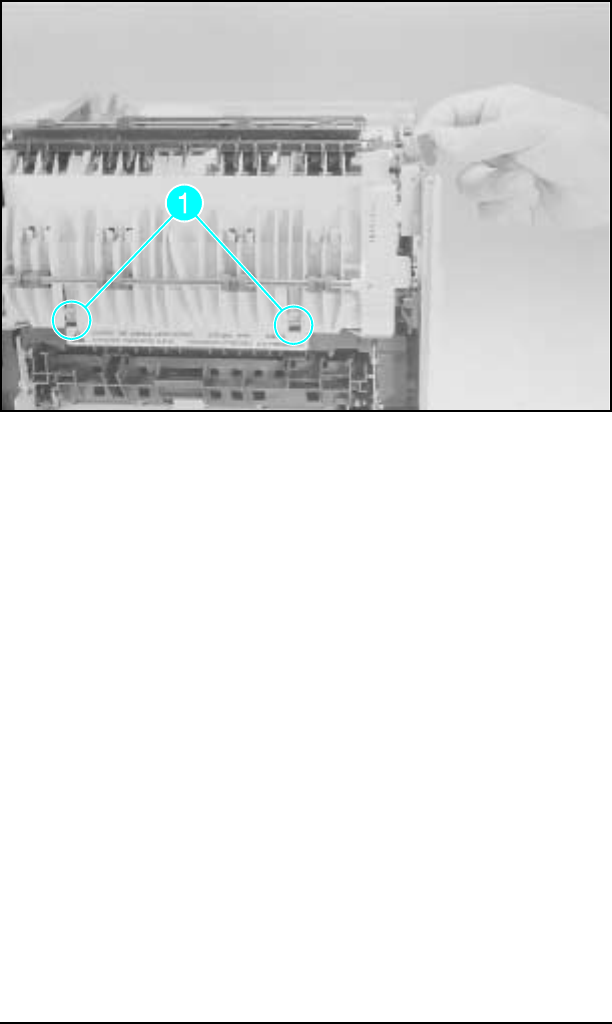
3 Rotate the top of the Output Assembly toward the front of the
printer while releasing the two retaining latches (see Figure
6-34, callout 1) until the locating tabs are free. Slide the
assembly to the rear and lift it out of the printer.
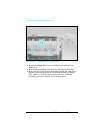
Figure 1-34 Output Assembly Removal
6-41 Removal and Replacement