


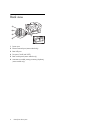
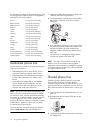

Set up the fax (optional)10
For information on setting up the device for faxing using
a serial-type phone system, see the Fax Configuration
Web site for your country/region.
Dedicated phone line
Use this section if you plan on using the following type
of phone line for the fax:
• Dedicated phone line (no other devices, such as
a phone or answering machine, share the line).
• Dedicated phone line without devices sharing the
line but with a subscription to a distinctive ring
service.
• Private Branch Exchange (PBX) or an Integrated
Services Digital Network (ISDN) line. For more
information about PBX and ISDN lines, see the
onscreen user guide on the Starter CD.
NOTE: You cannot receive faxes automatically if you
have a voice mail service at the same phone number
you use for fax calls. You must receive faxes manually;
this means you must be available to respond in person
to incoming fax calls. If you want to receive faxes
automatically instead, contact your telephone company
to subscribe to a distinctive ring service, or to obtain
a separate phone line for faxing.
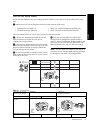
Set up the device to answer incoming calls manually.
Press the Auto Answer button until the light is off.
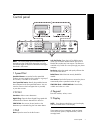
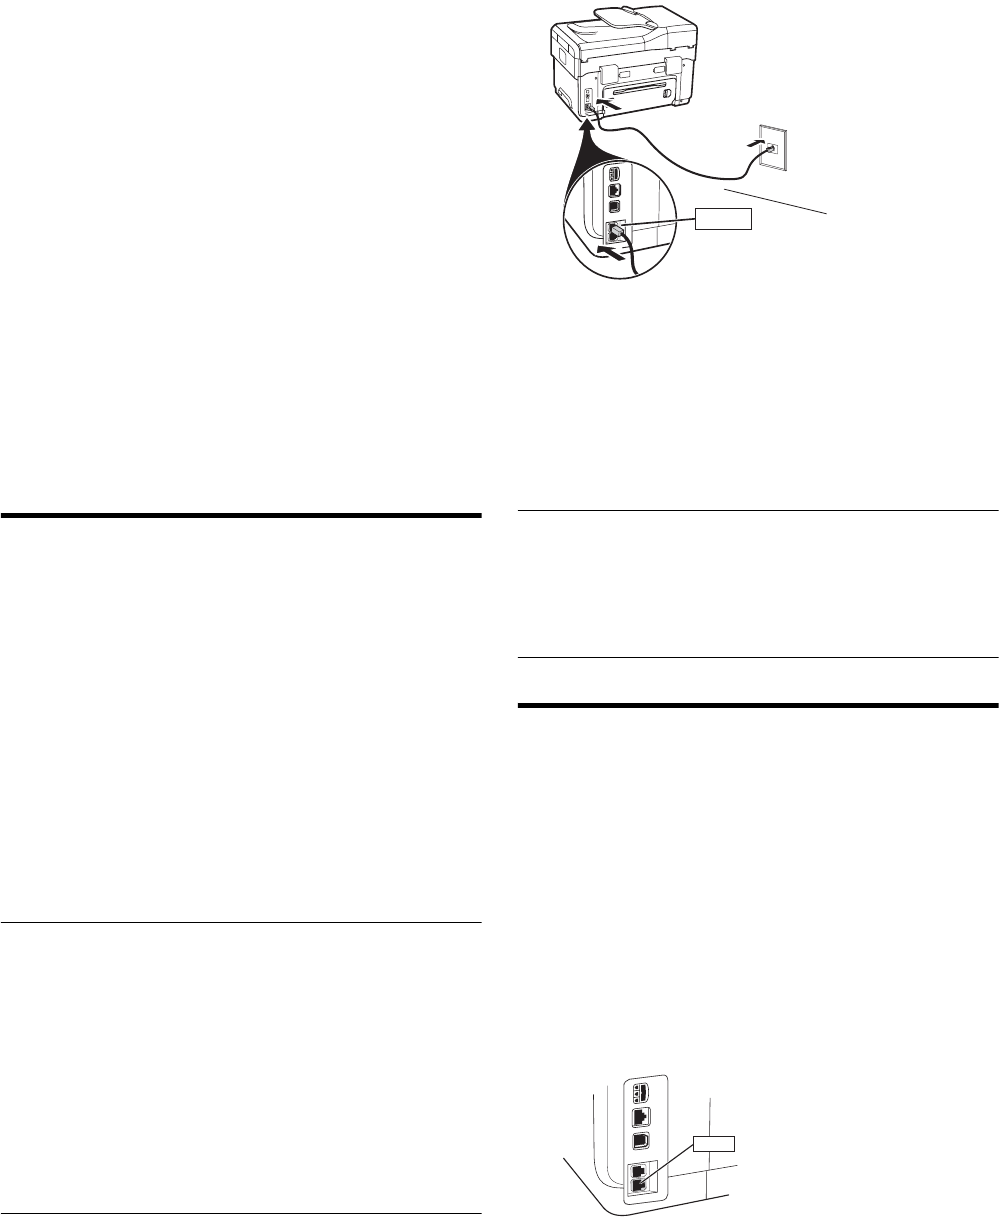
1. Unplug any telephone devices from the phone jack
where you are connecting the device.
2. Connect the phone cord that came with the device
between the 1-LINE port on the device and the
phone jack.
3. If you subscribe to a distinctive ring service, change
the Answer Ring Pattern setting to the pattern that
has been assigned to your fax number by the
telephone company, for example, double rings or
triple rings.
For information on changing this setting, see the
onscreen user guide on the Starter CD.
NOTE: Your device is factory-set to answer all ring
patterns. If you do not set the correct ring pattern
assigned to your fax number by the telephone company,
your device might answer both voice calls and fax calls,
or it might not answer at all.
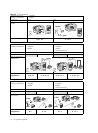
Shared phone line
If the fax is going to share the phone line with other
devices, such as a phone, answering machine,
computer/computer modem, or caller ID box, or if you
have voicemail service included with your line, you must
follow these instructions to determine how to set up your
fax.
1. Follow the steps for the “Dedicated phone line” on
page 10.
2. Plug additional devices into the 2-EXT port on the
back of the device.
3. Use the following tables to determine the rest of your
fax configuration.
Austria www.hp.com/at/faxconfig
Belgium (Dutch) www.hp.be/nl/faxconfig
Belgium (French) www.hp.be/fr/faxconfig
Denmark www.hp.dk/faxconfig
Finland www.hp.fi/faxconfig
France www.hp.com/fr/faxconfig
Germany www.hp.com/de/faxconfig
Ireland www.hp.com/ie/faxconfig
Italy www.hp.com/it/faxconfig
Norway www.hp.no/faxconfig
Netherlands www.hp.nl/faxconfig
Portugal www.hp.pt/faxconfig
Spain www.hp.es/faxconfig
Sweden www.hp.se/faxconfig
Switzerland (French) www.hp.com/ch/fr/faxconfig
Switzerland (German) www.hp.com/ch/de/faxconfig
United Kingdom www.hp.com/uk/faxconfig
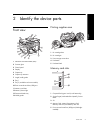
1-LINE
2-EXT