


Page 12
PRO RX Installation and User’s Manual
4. Installation
Please follow these few steps to install the PRO RX. This process typically takes
about 20 minutes to complete.
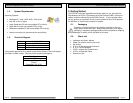
Overview of installation:
• Rackmount installation
• Disk Module Installation
• Host Bus Extender Card Installation
• PCI-express Extender Cable Installation
• Driver Installation
• RAID Console Installation
The PRO RX ship pre-configured in RAID 5 mode and pre-formatted
for Apple Mac OS X. After the driver installation step and a reboot, the
PRO RX icon will appear on the desktop ready for use.
Windows operation will require a format/partition process. The PRO
RX ship already pre-configured in RAID 5. After the driver installation,
simply run the Windows Disk Management utility to prepare the RAID
for Windows usage.
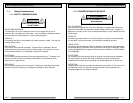
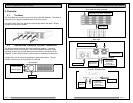
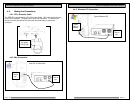
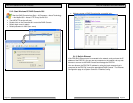
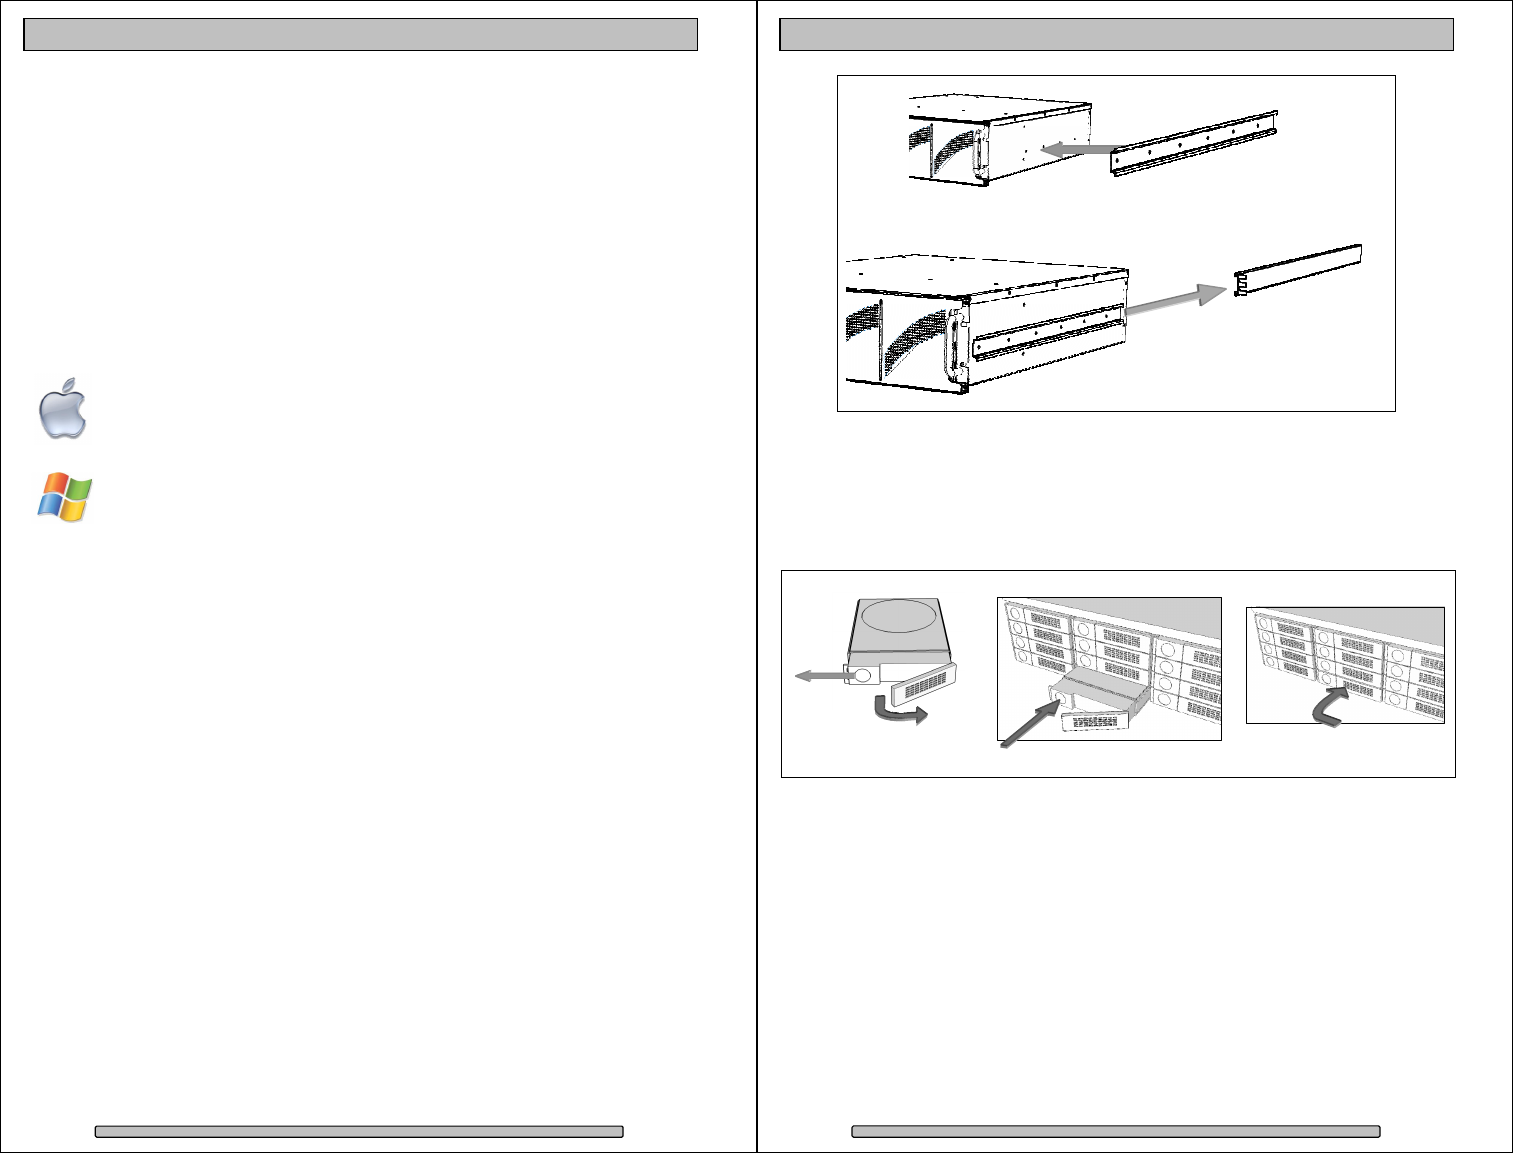
4.1. Rackmount Installation
The PRO RX can be rackmounted to a standard 19” rack. 3u height space is
required. A set of mounting rails are supplied and can be mounted to various
rack depths.
Mount the left and right rails to the rack, ensure sufficient 3u space is available.
Adjust depth as required.
Mount the left and right sliders on the PRO RX.
Install the PRO RX carefully on the rack by aligning the sliders in the rails.
Page 13
PRO RX Installation and User’s Manual
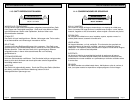
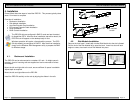
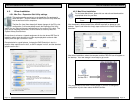
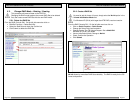
4.2. Disk Module Installation
Remove the front bezel. Install each marked Disk Module into the slot indicated.
Pull the lock of the Disk Module left to open the latch. Insert into slot until latch
begins to close, close latch to lock Disk Module into place.
Slider
Rail mounted
to rack.